Setting up the interface for this lesson
Alright, so now think of a project. The basic HTML for this project is shown in the following screenshot:
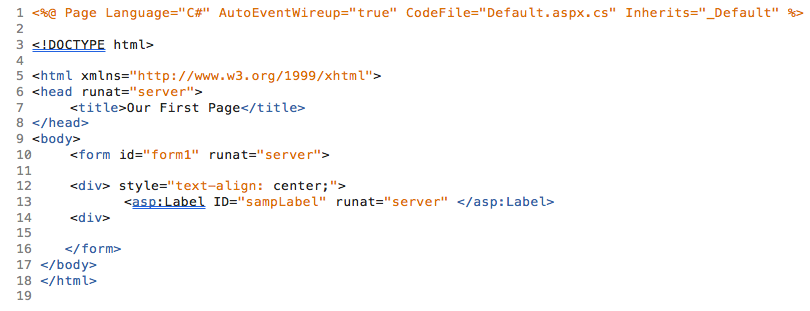
Figure 6.5.1: The basic HTML for the project in this lesson
The first thing that we are going to do is add files. Go to Solution Explorer, right-click on the name of the website, select Add, and then click on Class. Name the Vehicles class and then click on OK. When the Visual Studio message comes up, click on Yes.
Creating the Vehicles class file
Now we have a basic class called Vehicles, as shown in the following screenshot:
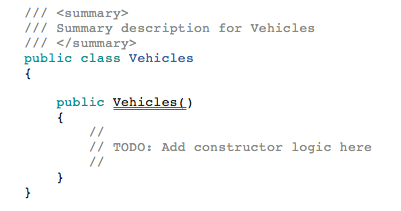
Figure 6.5.2: Public class Vehicles
Every vehicle virtually has two things: A make, which is whether it's a Honda or a Ford, and the model, for example, Accord, Focus, and so on. So, you have a Honda Accord, Ford Focus, and so on.
Introducing instance variables
Now enter the following beneath the open bracket under public class Vehicles:
private string make;
private string model;
These are two instance variables placed inside the...