Creating a single instance application
When you build applications for Windows, there are many reasons why you would want to restrict users from launching multiple instances of your application. Some common examples are installers, uninstallers, update utilities, media applications, utility tools, and so on.
In a normal application, when you launch the app, it creates a Windows process, and allocates its own memory space and resources. But, when you don't want to create multiple instances of the process for a single application that is already running, you want to silently quit the new instance and bring the running process into the foreground.
In this recipe, we will learn how to achieve this using Mutex (Mutual Exclusion) and unmanaged code.
Getting ready
To get started with this, open your Visual Studio instance and create a new project based on the WPF application template. During the project creation, give it the name CH01.SingleInstanceDemo.
How to do it...
Once the WPF project has been created, follow these steps to create a single instance of the WPF application:
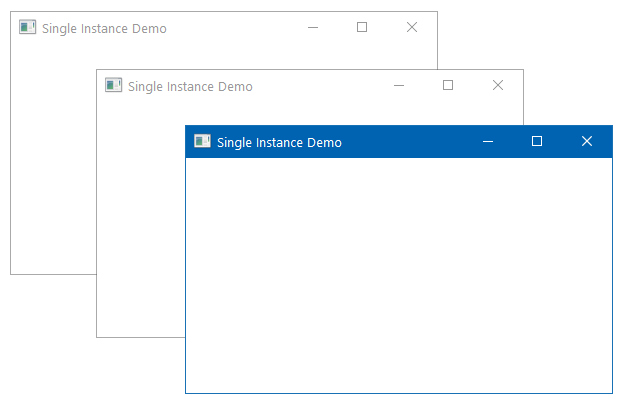
- Run the application by pressing the CTRL + F5 key combination. This will launch one instance of the application.
- Press CTRL + F5 multiple times to launch multiple instances of the application. Now it's time to make the application a single instance application:
- Close all the running processes and then follow the next steps to implement the single instance behavior.
- Open the
MainWindow.xamland add the window title toSingle Instance Demo. Here you can find the entire XAML code:
<Window x:Class="CH01.SingleInstanceDemo.MainWindow"
  xmlns=
    "http://schemas.microsoft.com/winfx/2006/xaml/presentation"
     xmlns:x="http://schemas.microsoft.com/winfx/2006/xaml"
     Title="Single Instance Demo"
     Height="250" Width="400">
    <Grid>

    </Grid>
</Window>- Open the
App.xaml.csfile and override the base implementation of theOnStartupmethod. - Change the code of the
OnStartupmethod so that it looks like the following code:
protected override void OnStartup(StartupEventArgs e)
{
  base.OnStartup(e);

  var mutex = new Mutex(true, "SingleInstanceDemo",
  out bool isNewInstance);
  if (!isNewInstance)
  {
    MessageBox.Show("Application instance is
     already running!");
    Shutdown();
  }
} - Add the
System.Threadingnamespace declaration, so that the Mutex can be discoverable. The Mutex resides in the aforesaid namespace. - Now compile the project to make sure that there are no compiler errors.
- Press CTRL + F5, which will run the first instance of the application.
- Now return to the Visual Studio, without closing the application, and then hit CTRL + F5. This time, instead of launching the application UI, an
Application instance is already running!message will pop up on the screen. ClickingOKwill close the message. - Press CTRL + F5 again. Observe that no second instance of the UI is visible on the screen.
How it works...
It's a trick to handle the application to have only a single instance. The Mutex (Mutual Exclusion) object is used to define the instance with a unique name. Here we called it SingleInstanceDemo. The Boolean out parameter returns whether the current calling thread has been granted the initial ownership of the mutex object.
Note
A Mutex object is a synchronization object, which is generally used to synchronize access to a shared resource, so that only one thread can access that resource at a single point in time.
For the first instance of the application, it will be granted as the initial ownership. When the second instance runs, the calling thread will not get the initial ownership because the mutex object with the same name, SingleInstanceDemo, already exists and is running.
So, the Boolean value of isNewInstance will be false and the message box will get displayed on the screen. The second instance of the application is still running at that moment and calls the Shutdown() method when you click on the OK button to close the message box.
Thus, the second instance will be removed from the process list. The first instance will continue running on the system.
There's more...
There could be a scenario where the application is running in a background process and the user tries to relaunch the application. In such a scenario, instead of showing a message to the user, you may want to activate the already running application and show its UI.
You can do this by changing a bit of the existing code and integrating an unmanaged code call. To do so, open the App.xaml.cs file once again and follow these steps:
- Add the following
using namespaceinto the file:System.Runtime.InteropServices. - Then, you need to add the following unmanaged code declaration from the
user32.dllto theApp.xaml.csfile:
[DllImport("user32", CharSet = CharSet.Unicode)]
static extern IntPtr FindWindow(string cls, string win);

[DllImport("user32")]
static extern IntPtr SetForegroundWindow(IntPtr hWnd);- Add the following method to activate the already running window, provided that the title of the window is static. In our case, it is
Single Instance Demo, modified in theMainWindow.xamlpage:
private static void ActivateWindow()
{
    var otherWindow = FindWindow(null, "Single Instance Demo");
    if (otherWindow != IntPtr.Zero)
    {
        SetForegroundWindow(otherWindow);
    }
} - Now, instead of calling the
MessageBox, call theActivateWindow()method in theOnStartup. Here, you can find this new code:
protected override void OnStartup(StartupEventArgs e)
{
    base.OnStartup(e);

    var mutex = new Mutex(true,
     "SingleInstanceDemo",
     out bool isNewInstance);
    if (!isNewInstance)
    {
        // MessageBox.Show("Application instance is
           already running!");
        ActivateWindow();
        Shutdown();
    }
} - Now run the application. It will launch the
MainWindowtitledSingle Instance Demoon the screen. - Return to Visual Studio. This will put the application window in the background. Now run the application once again by pressing the keyboard shortcut CTRL + F5. This time, instead of running a different instance to show the UI, it will activate the existing window and push the running application to foreground.
It's not mandatory that the application window must always have a static title. In such cases, it will become more complex to handle said scenario.