Creating a classic Windows application and testing the NuGet package
In this recipe, we will look at creating a classic Windows application and using the NuGet package submitted in the previous chapter. We will create a brand new project and use the library.
Getting ready
Make sure you have completed the previous recipe that submitted a NuGet package. Make sure that the package is ready for installation at nuget.org.
How to do it...
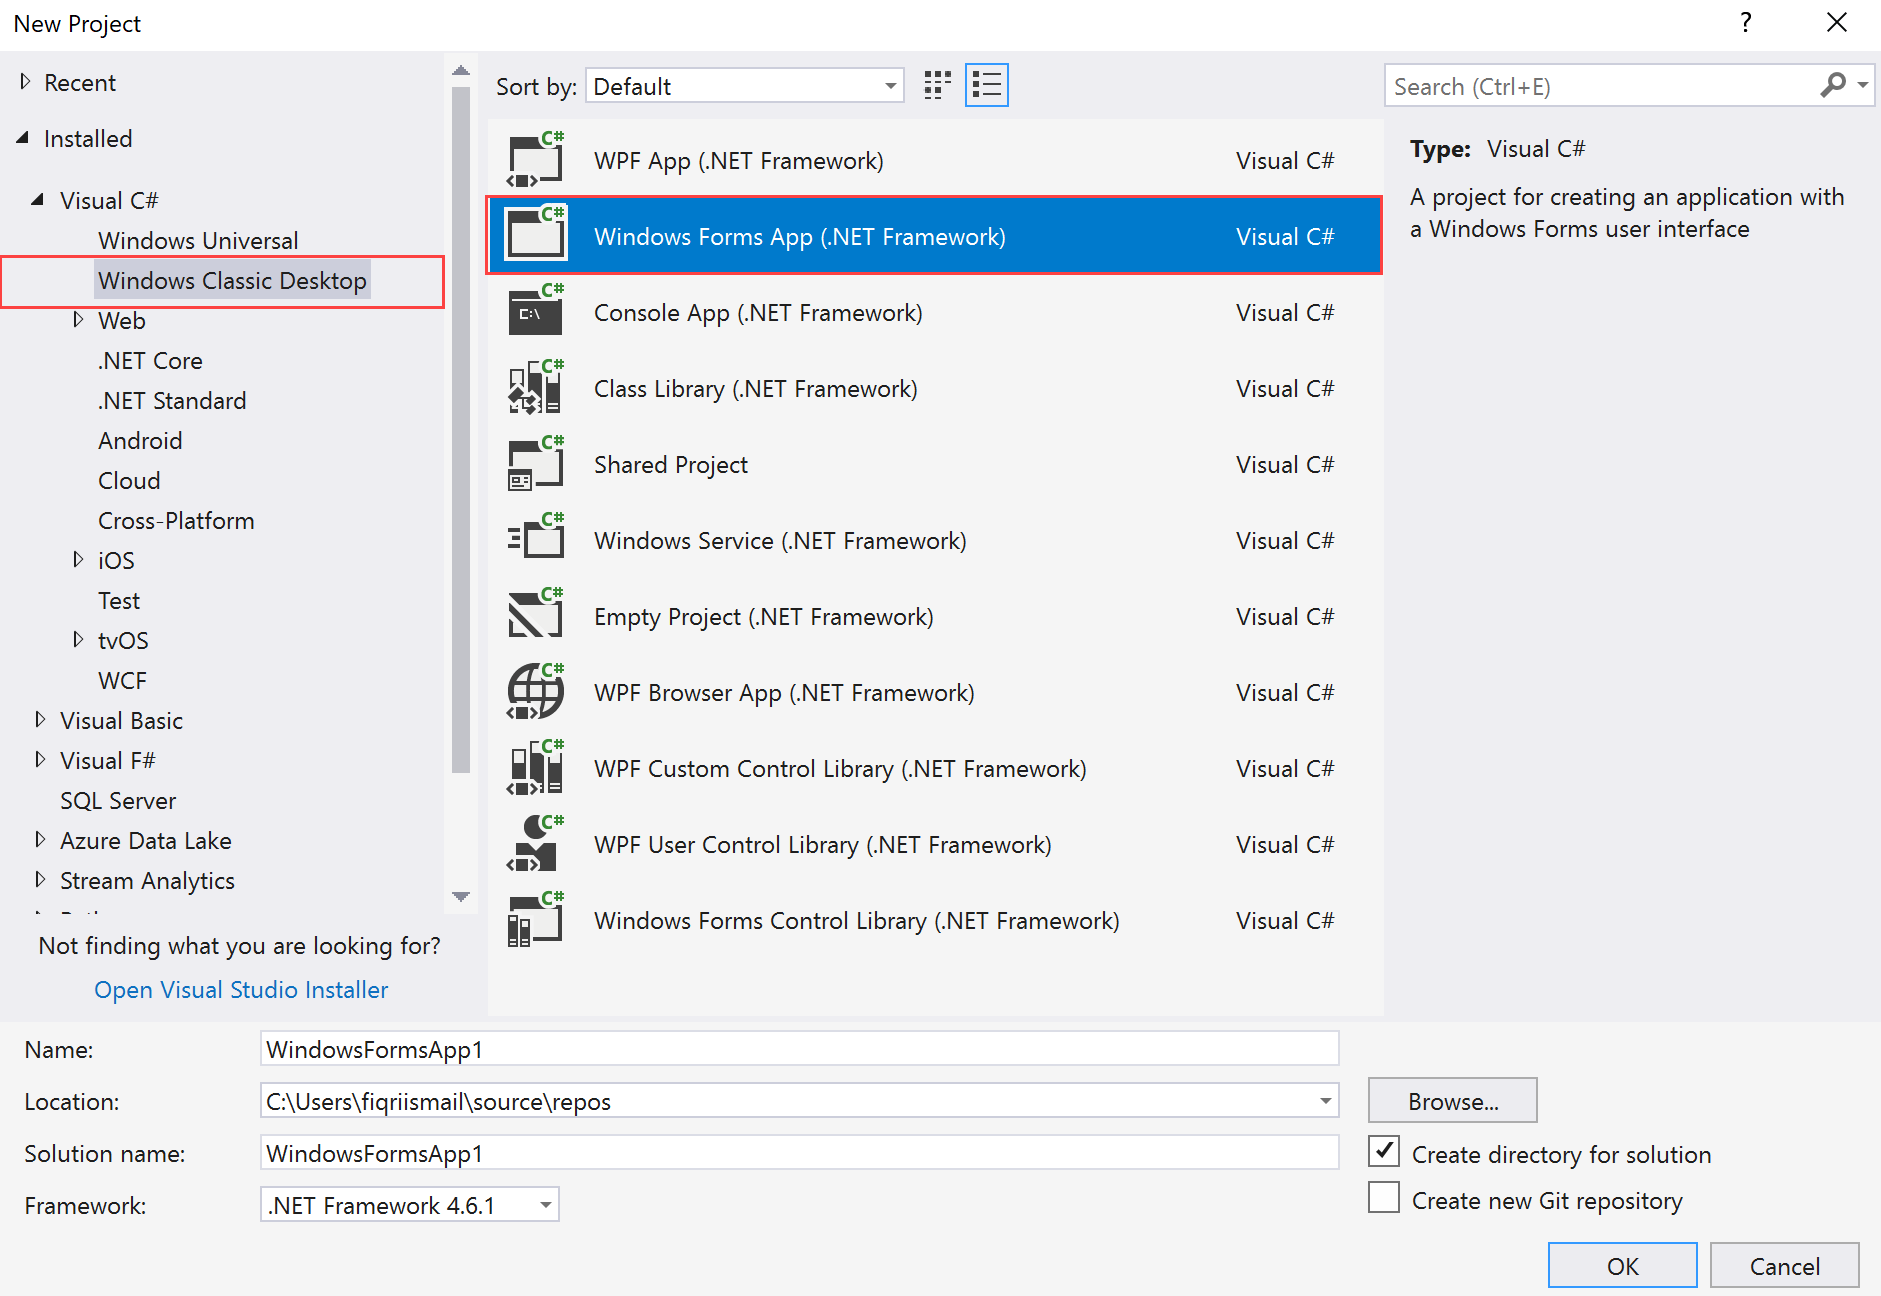
- Open Visual Studio 2017.
- Click
File|New|Projectand selectWindows Classic Desktopin the right-hand pane underVisual C#. - Select
Windows Forms App (.NET Framework)in the right-hand pane:
- Now, in the
Name:textbox, typeChapter11.Packaging.WinAppUsageand, under theLocation:textbox, select a proper location and leave the other fields as they are:

- Click
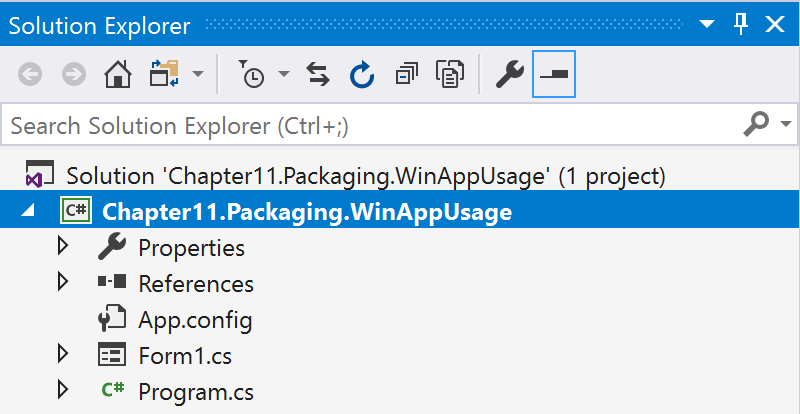
OK. - The
Solution Explorer(Ctrl + Alt + L) should look like this:
- Now, click on
Form1.csand change the name toMainForm.cs. - Answer
Yesto confirm the change to the class name as well. - Now, drag two buttons to the form...