Single posts and thumbnails
Now we'll take a look at the single post page. Right now, we have this roll of posts from our site, but that's it; we can't click on it and go to the individual post, where we would have our comments and things like that. So let's go ahead and work on that:
- Let's go to the
index.phpfile and make the title clickable. We'll add a link to the title. To do this, let's go to the<h3>tag, as shown in the following code; add the<a>tag, and wrap that around the<title>tag:
      <?php get_header(); ?>
         <div class="main">
            <div class="container">
               <?php if(have_posts()) : ?>
                  <?php while(have_posts()): the_post; ?>
                     <h3>
<a href="<?php the_permalink(); ?>">
                        <?php the_title(); ?>
</a>
                     </h3>
                     <div class="meta">
                     Created By <?php the_author(); ?> on <?php the_time('F
                         j, Y g:i a'); ?>
                     </div>
                     <?php the_content(); ?>
                  <?php endwhile; ?>
               <?php else : ?>
                  <?php echo wpautop('Sorry, No posts were found.'); ?>
               <?php endif; ?>
            </div>
         </div>
<?php get_footer(); ?>- Let's save it and reload:
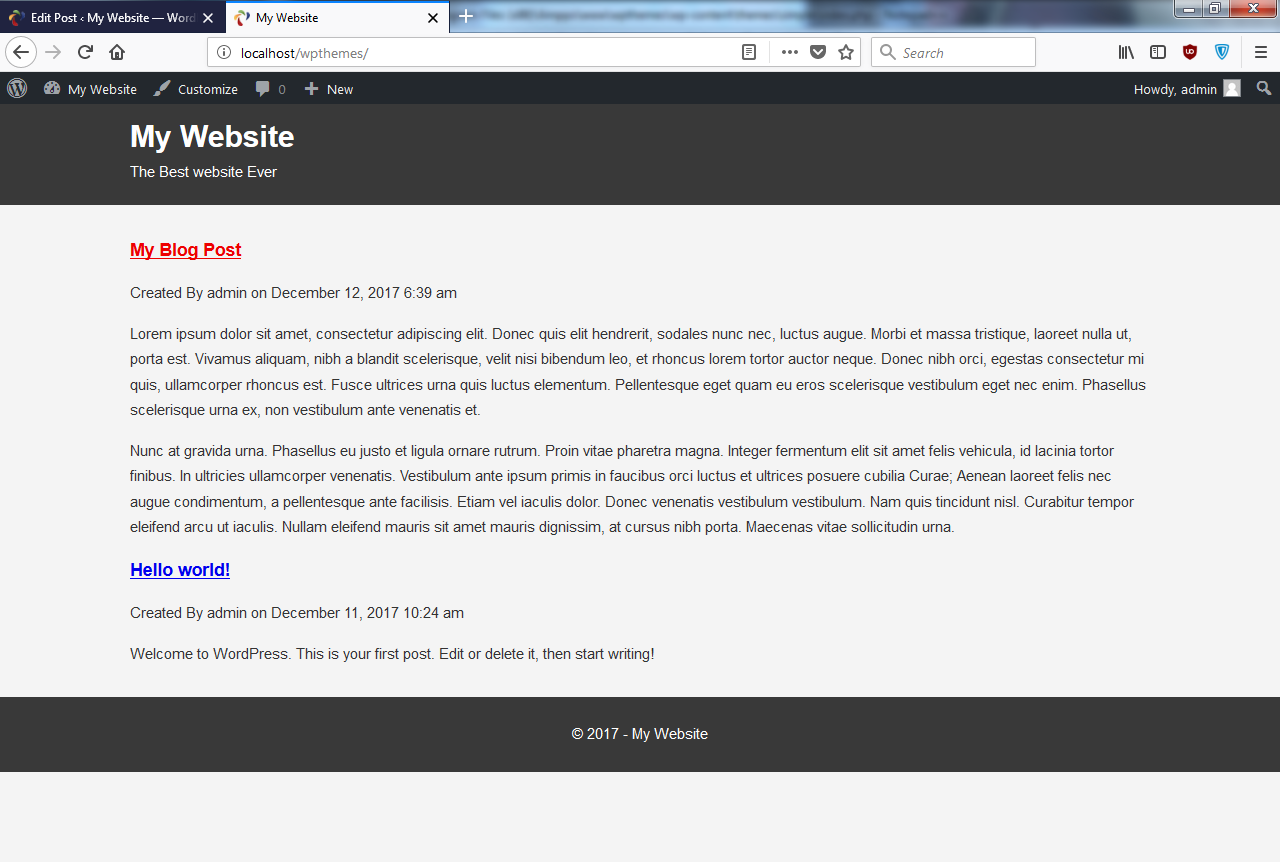
Now you'll see we have a link on the titles. For example, when we click on My Blog Post, it takes us to the post.
- Let's add a little bit of style to the links. I don't like the color of the links; I also want to make the description bold so that it stands out. It is good to wrap each post in its own div. Where we have
while, we'll put it in<article>, as shown in the following code:
      <?php get_header(); ?>
         <div class="main">
            <div class="container">
               <?php if(have_posts()) : ?>
                  <?php while(have_posts()): the_post(); ?>
<article class="post">
                        <h3>
                        <a href="<?php the_permalink(); ?>">
                           <?php the_title(); ?>
                        </a>
                        </h3>
                        <div class="meta">
                        Created By <?php the_author(); ?> on
                        <?php the_time('F j, Y g:i a'); ?>
                        </div>
                        <?php the_content(); ?>
</article>
                  <?php endwhile; ?>
               <?php else : ?>
                  <?php echo wpautop('Sorry, No posts were found'); ?>
               <?php endif; ?>
            </div>
</div>- Then, in our style sheet, let's add the color:
      a{
          color:#333;
      }
The color will be just the same as the text.
- Now we will just add a border at the bottom using this code:
      article.post{
          border-bottom:1px #ccc solid;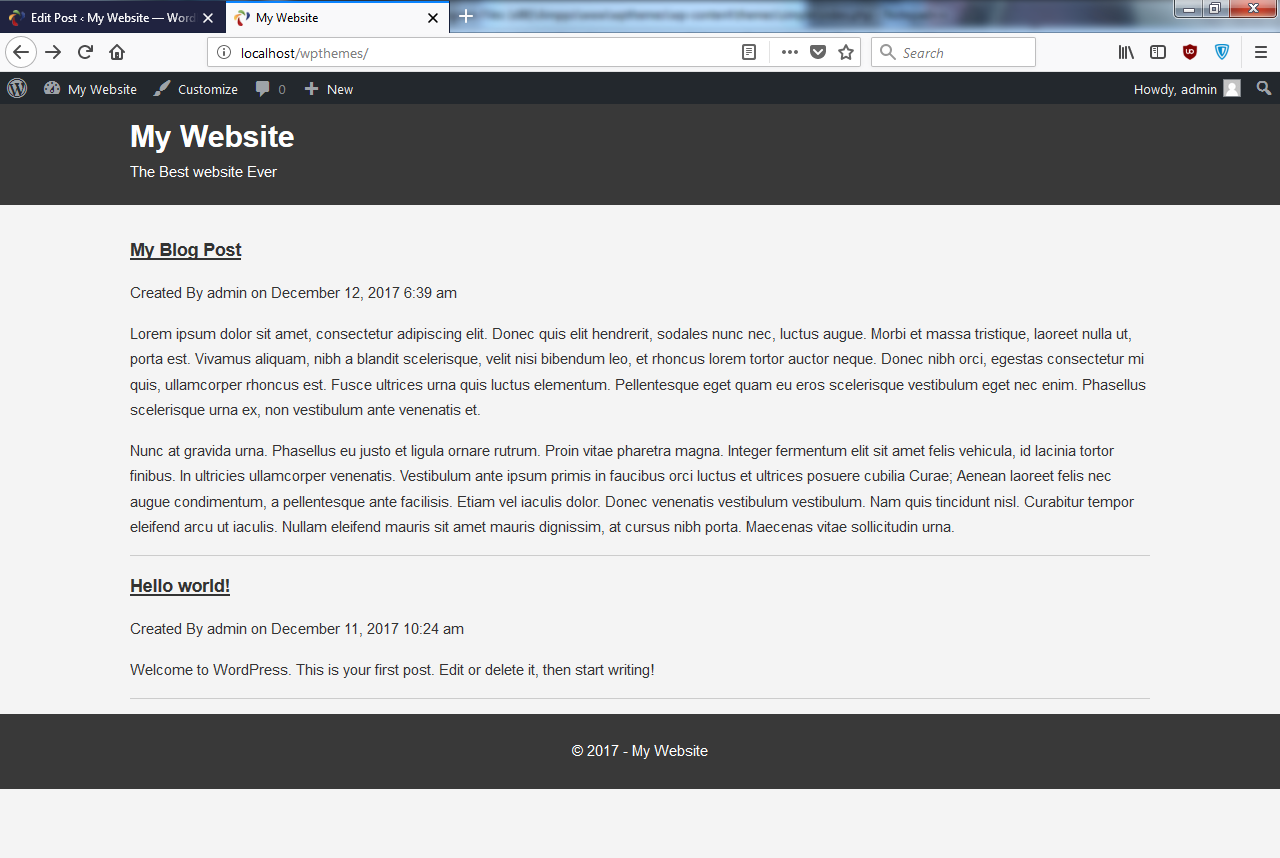
}- When you reload you can see the border at the bottom:
- Now we have the title. The title has a link, but we'll usually see some kind of Read More button as well, so let's go ahead and add that. All we have to do is just add the code, shown in the following code block. We'll say
Read Moreand give it the class of a button:
      Created By <?php the_author(); ?> on <?php the_time(
        'F j, Y g:i a'); ?>
      </div>
      <?php the_content(); ?>
      </article>
      <br>
<a class="button" href="<?php the_permalink(); ?>">
         Read More
</a>- Now, we should have a link for
Read More. To do that, we will add the following code block:
      article.post{
          border-bottom:1px #ccc solid;
          overflow:hidden;
      }

      article.post a.button{
          display:inline-block;
          background:#333;
          color:#fff;
          padding:10px 5px;
          margin-bottom: 10px;
          text-decoration: none;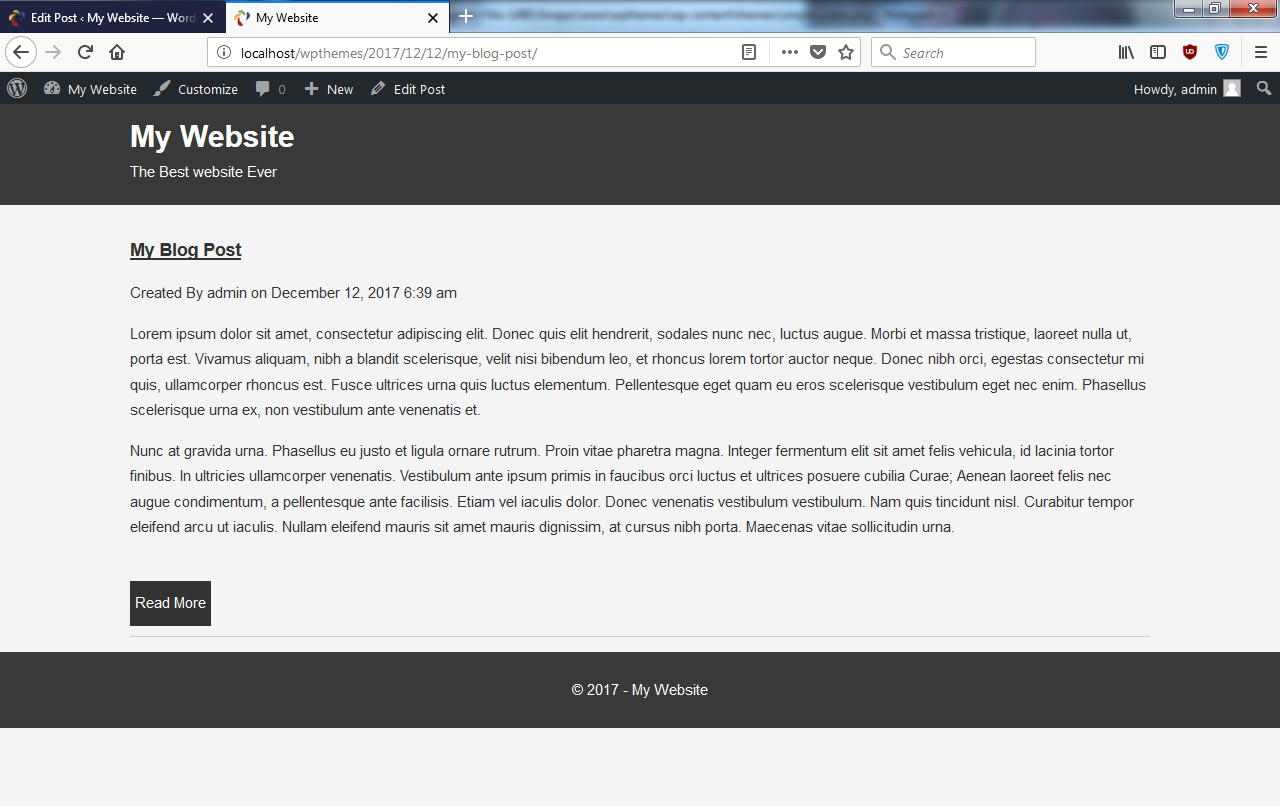
}- We can now go to the single page, as shown in the following screenshot:
- Now, in the single page, we don't want
My Blog Postto be a link; that's kind of silly, so we want to change that. Also, there's going to be other things we want. We'll want a comment form as well, so we need to have a special page for single posts. - So we'll create a new file in our theme, and we'll just call it
single.php, and let's just sayTEST.
- If we go back to the single page and reload, we get
TEST. If we go back to our main website, which is our main post roll, it is the same as before, but if we go to a single page we getTESTonly, because it's automatically looking at thesingle.phpfile. So what we can do is copy the code fromindex.php, and we can use this code as a starting point. If we paste that insingle.phpand save, it'll show us the same result. Now we can change whatever we want in thesingle.phpfile, and it will only take effect on the single page. - We can get rid of the link and
Read Morein the code; we're obviously not going to want that. So now we have a single page:

- Let's add a little bit of style to our single page. To do that, we will make
meta, as shown here:
      .meta{
          background:#333;
          color:#fff;
          padding:5px;
      }
As you can see here, I have also added some padding at the bottom of the post.
I'm not trying to go nuts with the styling, because like I said, I just want you to kind of learn the code rather than learn how to create a great design; we'll be getting into that later.
Adding an image to the post
Now, if we go to the form shown here to add a post, and you look on the right-hand side, you don't see a Featured Image box, which you may have seen in other WordPress themes or on other WordPress websites. The reason for that is we didn't include that functionality:
- Let's go into our
themesfolder, and we'll create a file and save it asfunctions.php. Now, this is where we can put a custom function; this is where we can hook into certain parts of the code, register widgets, and do all that—basically, anything dynamic. - Here, we'll create a setup function. To do this, we will add the following code block:
      <?php
      function simple_theme_setup(){
          // Featured Image Support
          add_theme_support('post-thumbnails');
      }
      add_action('after_setup_theme', 'simple_theme_setup');
Here, we have added a comment, Featured Image Support, followed by a function called add_theme_support. Now this function isn't going to run if we leave it just like this. So, we have used add_action and certain hooks that we can hook into and run this function. The one that we want is called after_setup_theme. Then, the second parameter will be the name of the function. We will save it and then run it.
- Let's go back and reload this page:
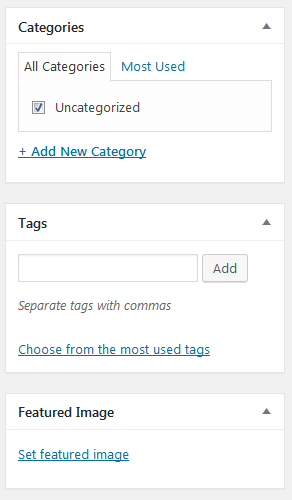
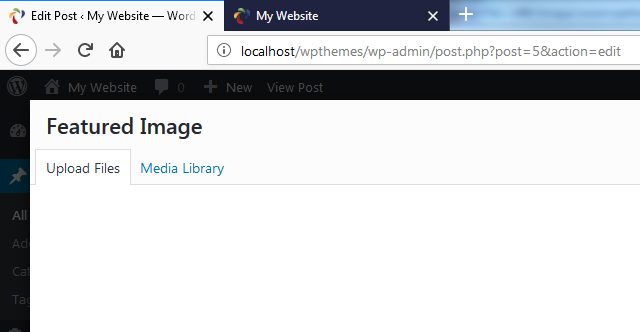
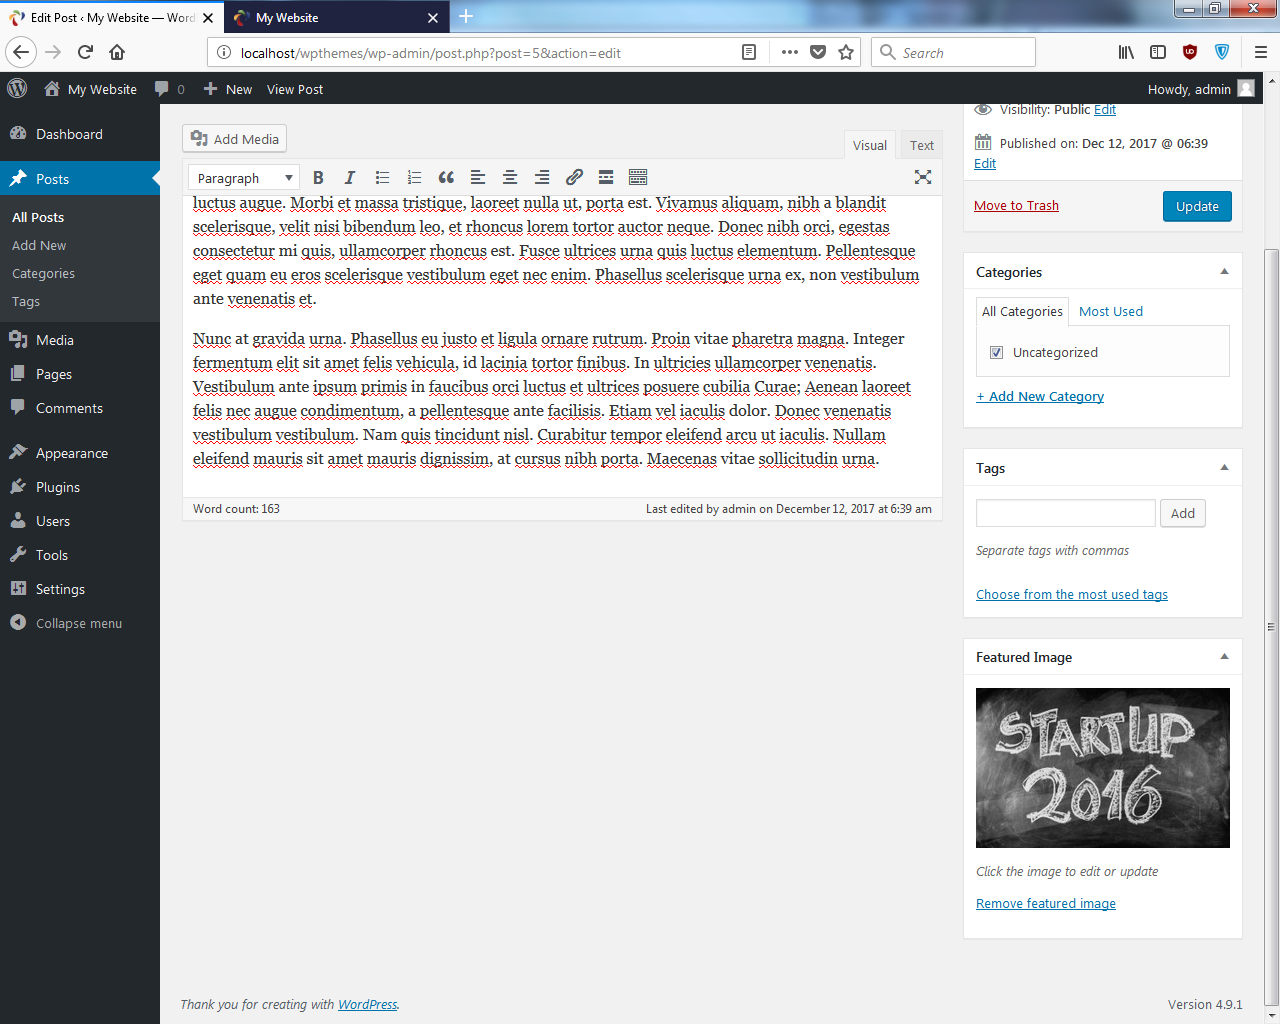
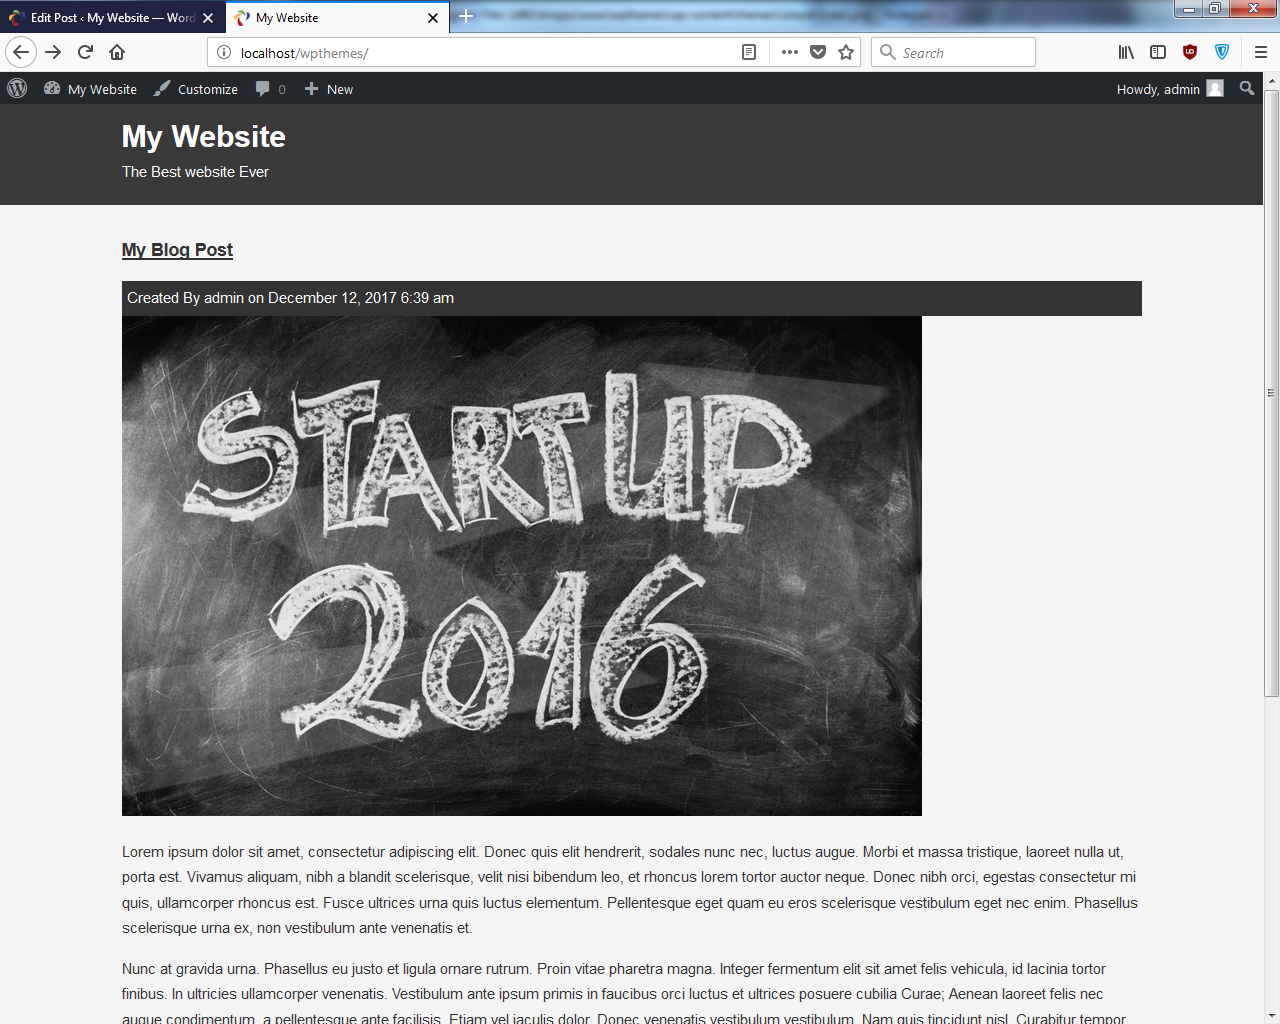
Now you'll see down at the bottom that we have the Featured Image box. If we click on that, we can go ahead and upload files, as shown here:
- Now, I'll choose an image and save it so that you can see it's inserted, and we can then click on
Update:
Now, if we go to the frontend and reload, we'll not see it yet, because we didn't add it to our index.php file.
- Let's go to the
index.phpfile. You don't have to show the image in the index. You can just show it in single page if you want, but usually you want it to be shown on both pages. So, inindex.php, let's just add the image right belowmeta, as shown here:
      <div class="meta">
      Created By <?php the_author(); ?> on <?php the_time(
        'F j, Y g:i a'); ?>
      </div>
<?php if(has_post_thumbnail()) : ?>
         <div class="post-thumbnail">
         <?php the_post_thumbnail(); ?>
         </div>
      <?php endif; ?>
At first, it's not going to look too great, but we'll fix that later on. In the preceding code, we have first checked to see if there's an image using an if statement. If there's a thumbnail, then we'll create a <div> tag. We'll give it a class of post-thumbnail and then add php the_post_thumbnail, as shown in the preceding code block.
- Let's save it, go back, and reload. You will get the following result:
Now, it looks a little out of the way because it's not reaching 100% across the page, but we're actually going to put a sidebar in a little bit, when we get to the widgets, so that it looks a lot better. However, I am going to add a width of 100% in the CSS, where we have this post, this class="post-thumbnail".
- Let's go into our style sheet and add the following code block:
      .post-thumbnail img{
          width:100%;
height:auto;
      }
For the image, we want the width to be 100% and we can keep height:auto.
- When we reload, we can see that it reaches across the whole page:

I know that's really big, but like I said, we'll get a sidebar in there, and it'll shrink that a little bit.
- Now we also want the image on the single post page. So we'll copy the code from
index.phpand paste it in thesingle.phpfile, right undermeta:
      <div class="meta">
      Created By <?php the_author(); ?> on <?php the_time(
        'F j, Y g:i a'); ?>
      </div>
      <?php if(has_post_thumbnail()) : ?>
         <div class="post-thumbnail">
            <?php the_post_thumbnail(); ?>
         </div>
      <?php endif; ?>
Now we'll get the same image on the single page as well.
As you can see, in the posts on the index page, it shows the whole content, but we want just a piece of the content to show.
- To do that, let's go to the
index.phpfile, and instead of sayingthe_content, we can actually saythe_excerpt, as shown in the following code:
<?php the_excerpt(); ?>
What this will do is, it will cut the content to around 55 words. You can actually customize that and make it as long or as short as you want, and that's actually really easy.
- Go to the
functions.phpfile and create a custom function, as shown here:
      <?php
      function simple_theme_setup()>{
          // Featured Image Support
          add_theme_support('post-thumbnails');
      }

      add_action('after_setup_theme', 'simple_theme_setup');

      // Excerpt Length
      function set_excerpt_length(){
          return 25;
      }

      add_filter('excerpt_length', 'set_excerpt_length');
We'll just say set_excerpt_length, and all we need to do here is just return a number, so let's say we wanted it to be 25. Then, what we can do is, instead of add_action, we'll say add_filter, because add_action is usually used to add something or create something; add_filter is usually used to change something. The filter we want to hook into here is called excerpt_length. Then, we just want to put in the name of our function, which is set_excerpt_length.
- If we go back and reload, we can see that it's only 25 words long. If you want it a little longer, let's say return 60. I just wanted to show you that it's possible.
So we have our index page set up, and we have our single post page set up, apart from the comments, which we'll do a little later. However, in the next section, we will see how we can create a menu and start dealing with pages as well as posts.