Pages and menus
In this section, we'll start looking at pages and menus. In addition to creating posts in WordPress, we can also create pages:
- If we go to the backend and click on
Pages, you'll see we have aSample Page:
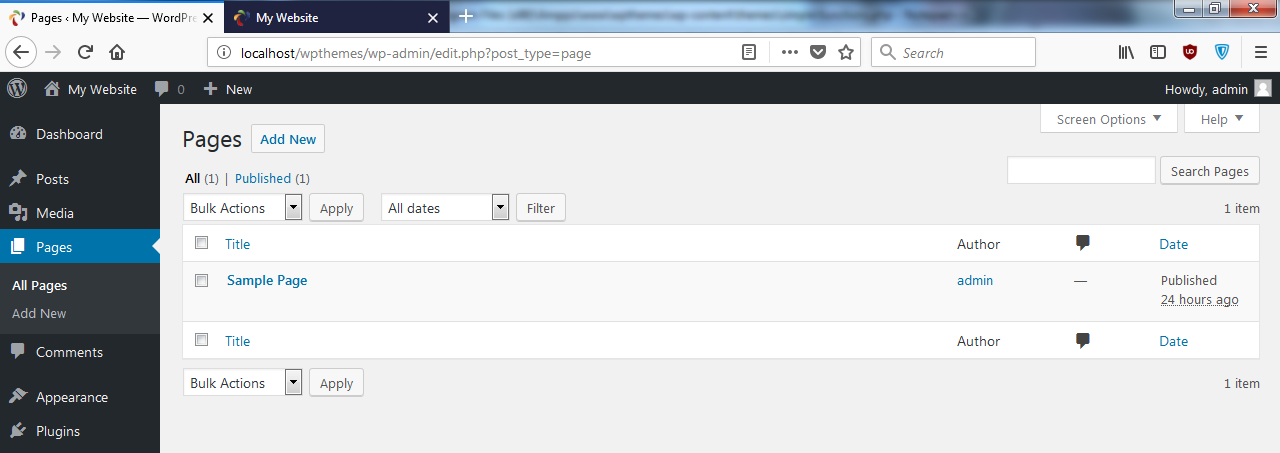
- Let's create a new one, and we'll just call it
About page. Then we'll just grab some content, say two paragraphs. Let's just click onPublish:

- So we have an
Aboutpage, and we have aSample Page. Let's create one more and call itServices. Now we need some kind of navigation. Let's go ahead and do that. - In order to use the menu system, we need to edit the
functions.phpfile, because right now, if we go toAppearance, there's noMenusoption. So let's open upfunctions.phpand enter the following code:
      <?php
      function simple_theme_setup(){
          //Featured Image Support
          add_theme_support('post-thumbnails');

//Menus
          register_nav_menus(array(
              'primary' => __('Primary Menu')
          ));
      }

      add_action('after_setup_theme', 'simple_theme_setup');
In this simple_theme_setup function that we created, we will add register_nav_menus. Then we will pass in an array, and to do that, we will set the primary and then the readable version. We'll use the double underscore function; we don't need quotes here, though. It is a localization function, and it has to do with using multiple languages in your theme. So we'll enter Primary Menu and then save it.
- Now, if we go to the backend, reload, and go to
Appearance, you'll see we have thisMenusoption:
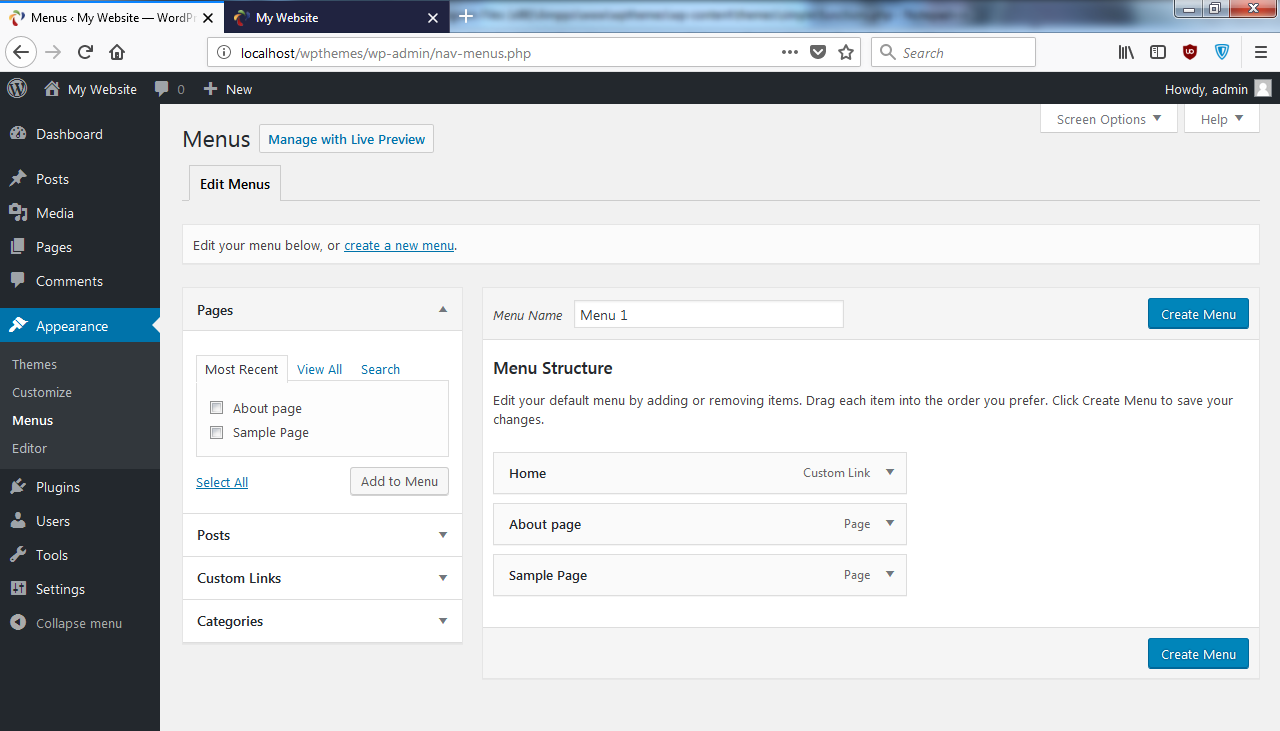
- If we click on
Create Menu, now you can see that by default it has all the pages on the site and you can remove some if you want:

If you want to add pages, you can easily do it; click on Add to Menu. We'll just keep what we have here, and then we need to make sure to choose Primary Menu, where it says Theme locations. We'll save this.
- Now, if we go to the frontend and reload, we'll not see anything yet because we haven't included it in our header file; this is where we want to add the menu, because we want it on every page.
- Let's go right underneath the
<header>tag and create a<nav>tag, as shown here:
      <!DOCTYPE html>
      <html <?php language_attributes(); ?>>
      <head>
         <meta charset="<?php bloginfo('charset'); ?>">
         <title><?php bloginfo('name'); ?></title>
         <link rel="stylesheet"
          href="<?php bloginfo('stylesheet_url'); ?>">
         <?php wp_head(); ?>
      </head>
      <body>
         <header>
            <div class="container">
               <h1><?php bloginfo('name'); ?></h1>
               <span><?php bloginfo('description'); ?></span>
            </div>
         </header>
<nav class="main-nav">
            <div class="container">
               <?php
                  $args = array(
                    'theme_location' => 'primary'
                  );
               ?>
         <?php wp_nav_menu($args); ?>
         </div>
         </nav>
We'll add a class of main-nav, then we'll wrap it in a container. Then, all we have to do is open up some php tags and create a variable called args. This is just going to hold an array of arguments; we only need one for now, and that'll be theme_location. We're basically specifying what menu we want to put here, and that'll be primary, which is the only one we have. Then, what we can do is, we can call a function called wp_nav_menu and just pass in that args variable. Let's save this.
- Go to the frontend, reload, and there's our menu:
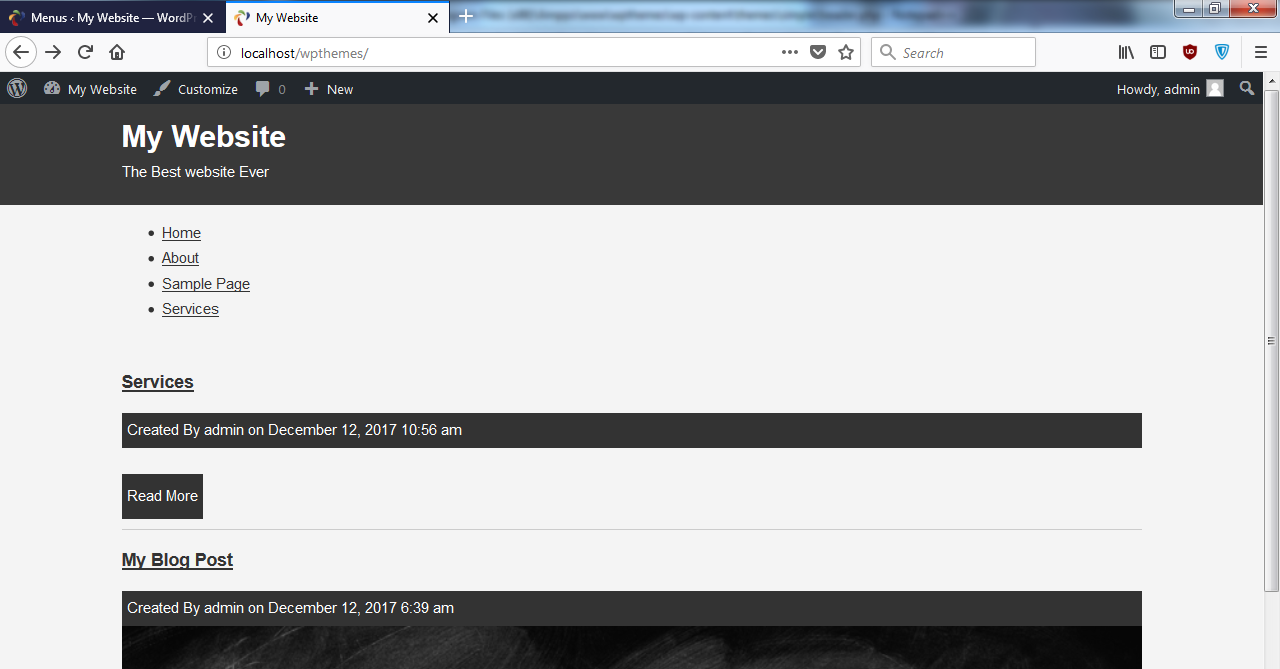
The menu has all the pages that we created.
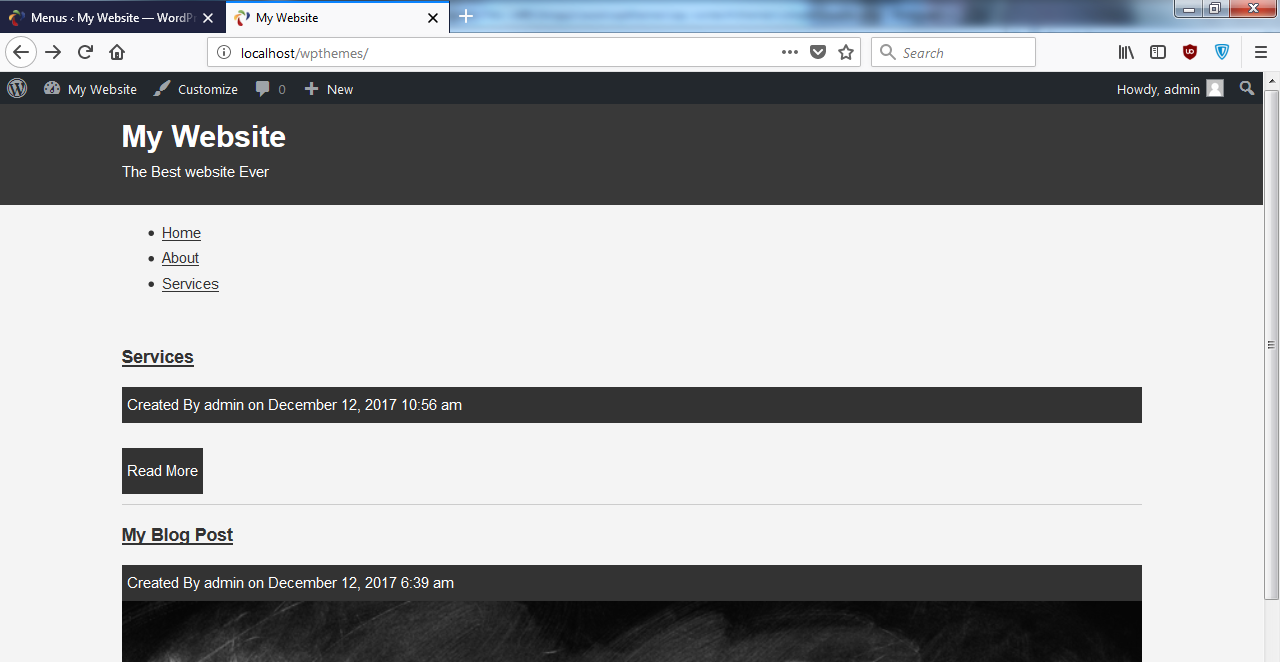
- If we want to remove one, go to
Menus, selectSample Pagewe want to remove, save, reload, and now that's gone:
- Just to style this a little bit, let's go to
style.cssand add this code:
     .main-nav{
         background:#000;
         color:#fff;
         padding:5px;
     }

     .main-nav ul{
         margin:0;
         padding:0;
     }

     .main-nav li{
         list-style:none;
         float:left;
         padding-right:15px;
     }

     .main-nav a{
         color:#fff;
         text-decoration:none;
     }
We'll add main-nav and give it a background; we'll add a black background and white color for text. To style the list items, we will add main-nav li; first we want to remove the bullet, so we'll say list-style: none, and then we want to float these menu to the left. We will also add padding-right:15px, and then we will add the links; make sure that they are white, and remove the text decoration as well. Next we will add ul, and we will remove the default margin and padding. Then we'll add some padding to main-nav, say 5px.
- When we reload, we have a little navigation menu:
- If we click on
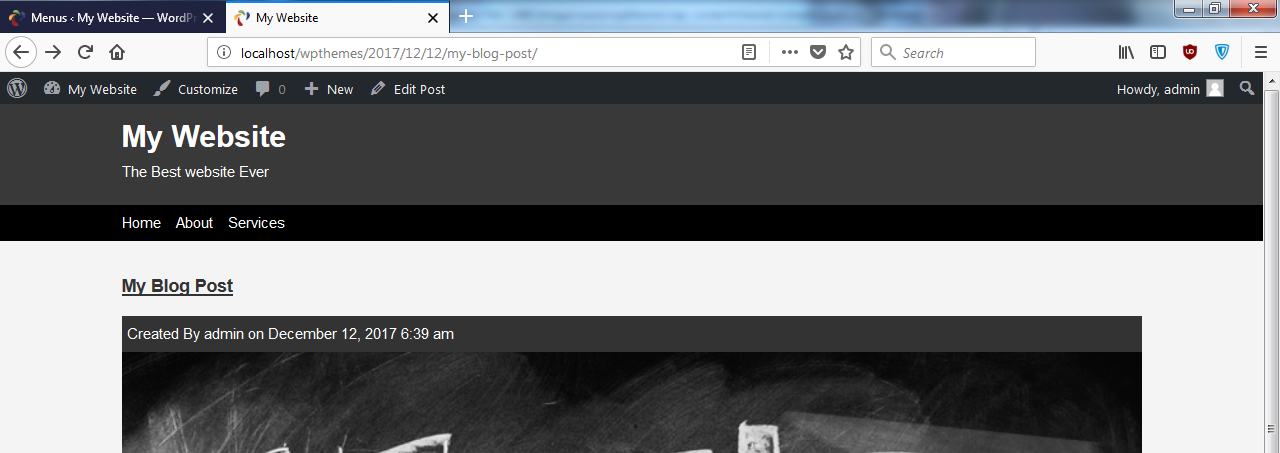
About, it'll take us to the About page, and it's the same withServices. Now you will notice that when we go toAbout, it has been formatted the exact same way as theindex.phppage, as if it was a post—but it's not, it's a page:
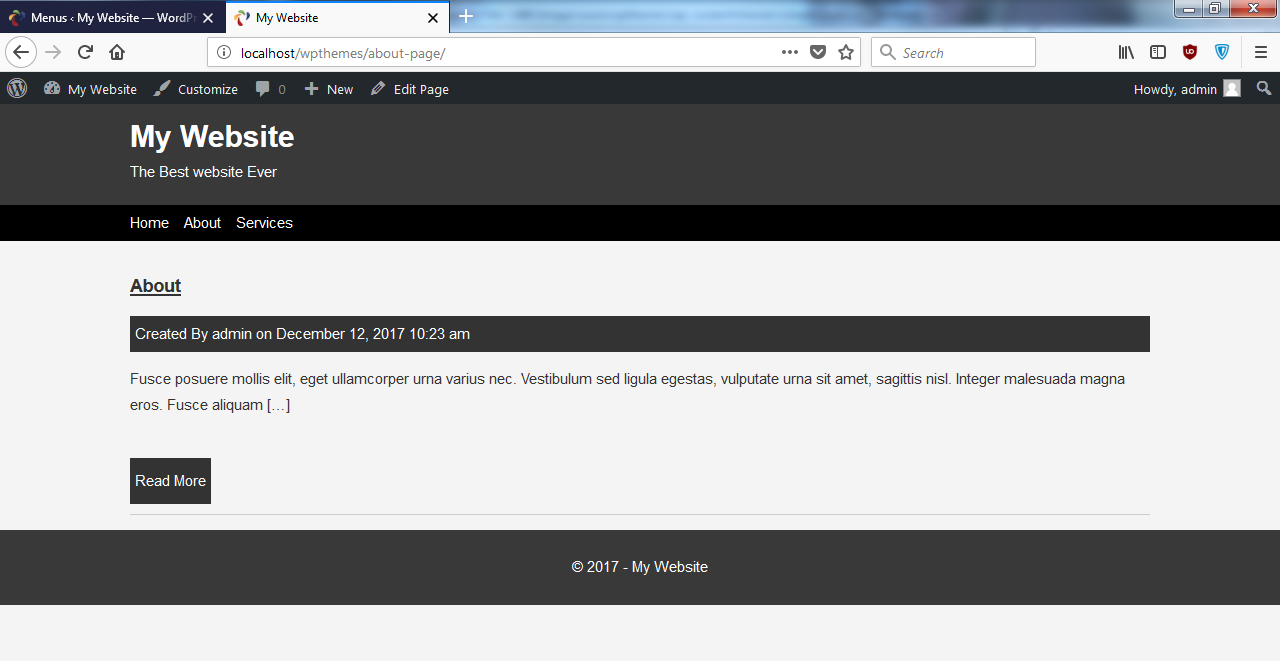
We'll not need the metadata or the Read More link. So what we need to do is add another page to our theme.
- Let's create a new file and save it as
page.php. - Now if I go back and reload, it's blank because it's looking at the empty file. So what we can do is copy the code that's in
index.phpand use it inpage.php.
- Here are few changes that we will do in the code:
      <?php get_header(); ?>
         <div class="main">
            <div class="container">
               <?php if(have_posts()) : ?>
                  <?php while(have_posts()): the_post(); ?>
                     <article class="post">
                        <h3>
                           <?php the_title(); ?>
                        </h3>
                        <?php if(has_post_thumbnail()) : ?>
                           <div class="post-thumbnail">
                              <?php the_post_thumbnail(); ?>
                           </div>
                        <?php endif; ?>
                        <?php the_content(); ?>
                        <br>
                     </article>
                  <?php endwhile; ?>
               <?php else : ?>
                  <?php echo wpautop('Sorry, No posts were found.'); ?>
               <?php endif; ?>
            </div>
         </div>

      <?php get_footer(); ?>
The first thing we'll do is remove the link from the title, because we don't want to go anywhere else. Also, we can get rid of Read More completely. It also has an excerpt, and we don't want that; we want the whole thing, so we'll change that to the_content(). Then, in meta, we can get rid of the whole div and save it; let's take a look:
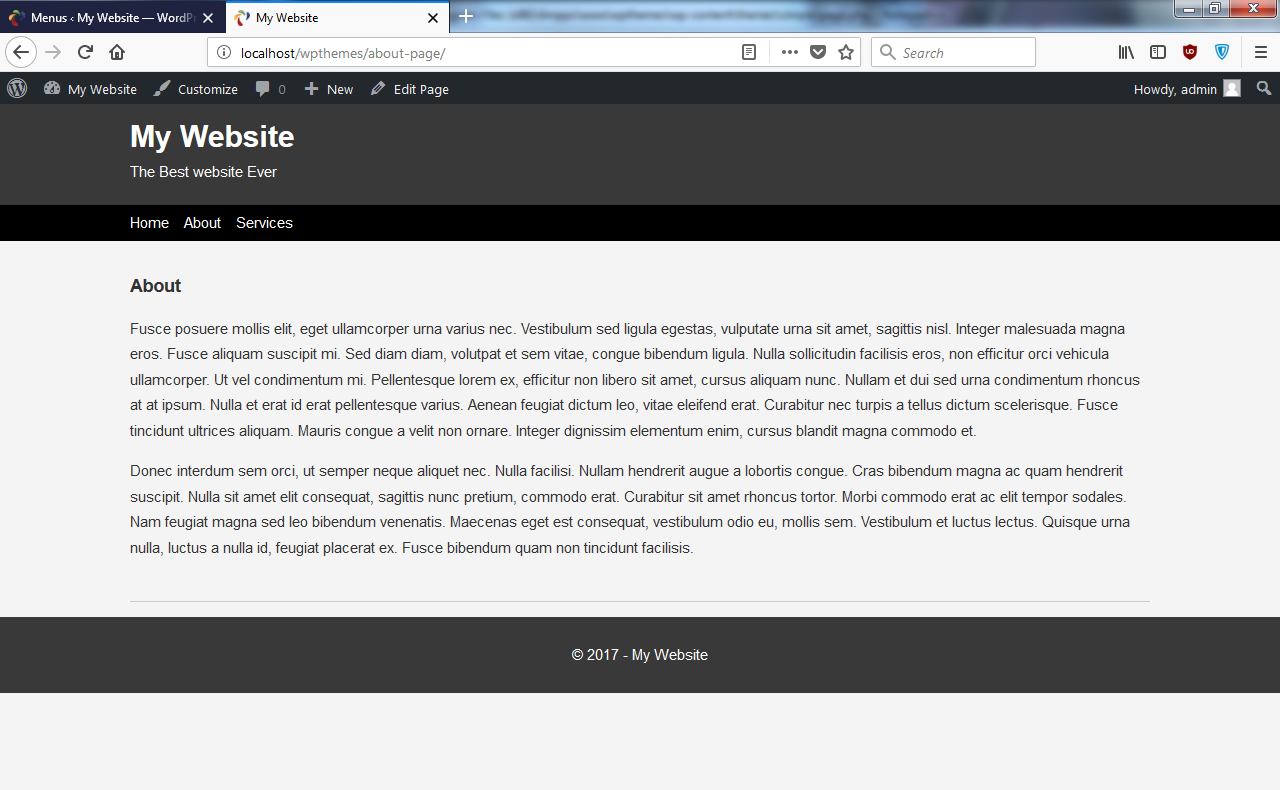
Now it looks more like a regular web page. We'll do the same thing with Services. This is how you can create pages and how you can target the markup for that page. You can also create custom pages and custom templates; you can kind of have different layouts for different pages, but we'll get into that in the next project. There's a lot more to building a theme. There's a lot more you can do that we're not going to get into in this project, but I just want to cover the basics in this project. We now have pages and a menu. In the next section, we'll get into widget locations, because now we want to be able to have a sidebar with widgets.