


Creating A Django project
One of the great things about using VS for Django development is that the only thing you need to install other than VS is Python. So if you followed the instructions in Chapter 1, Introduction to Django and Getting Started, and have installed Python, there is nothing else to do-VS takes care of the virtual environment, installing any Python modules you need and even has all of Django's management commands built in to the IDE.
To demonstrate these capabilities, lets create our mysite project from Chapter 1, Introduction to Django and Getting Started, but this time we will do it all from inside VS.
Start a Django project
Select File > New > Project from the top menu and then select a Python web project from the dropdown on the left. You should see something like Figure G.6. Select a Blank Django Web Project, give your project a name and then click OK:
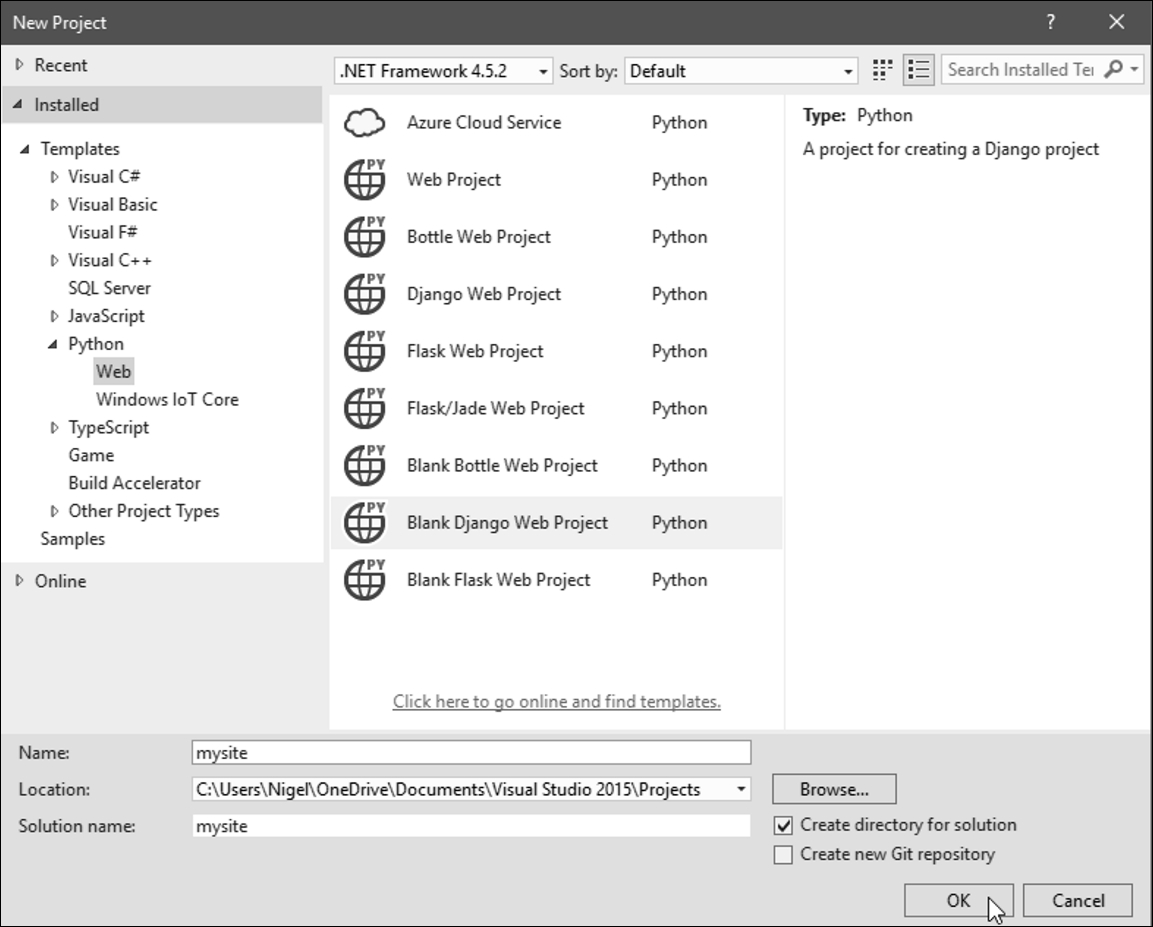
Figure G.6: Create a blank Django project
Visual Studio will then display a popup window saying that this project requires external packages (Figure G.7). The simplest option here is to install directly into a virtual environment (option 1), but this will install the latest version of Django, which at the time of writing is 1.9.7. As this book is for the 1.8 LTS version we want to select option 3 I will install them myself so we can make the necessary changes to the requirements.txt file:
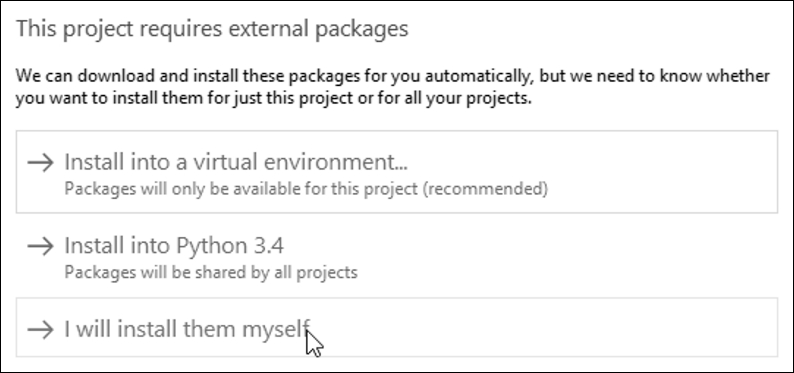
Figure G.7: Install external packages
Once the project has installed, you will notice in Solution Explorer on the right of the VS screen the complete Django project structure has been created for you. Next step is to add a virtual environment running Django 1.8. At the time of writing the latest version is 1.8.13, so we have to edit our requirements.txt file so the first line reads:
django==1.8.13
Save the file and then right click Python Environments in your Solution Explorer and select Add Virtual Environment... (Figure G.8):
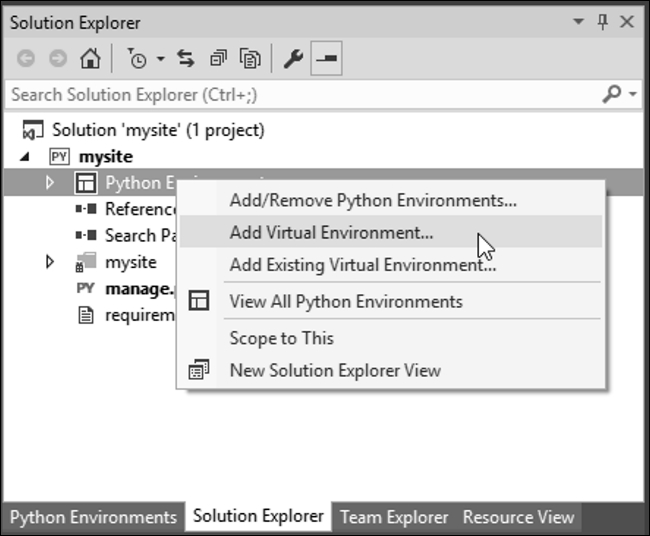
Figure G.8: Add virtual environment
In the popup window, change the default environment name from env to something more meaningful (if you are following on from the example in Chapter 1, Introduction to Django and Getting Started, use env_mysite). Click Create and VS will create a virtual environment for you (Figure G.9):
Note
You don't have to explicitly activate a virtual environment when using VS-any code you run will automatically run in the active virtual environment in Solution Explorer.
This is really useful for cases like testing code against Python 2.7 and 3.4-you just have to right click and activate whichever environment you want to run.
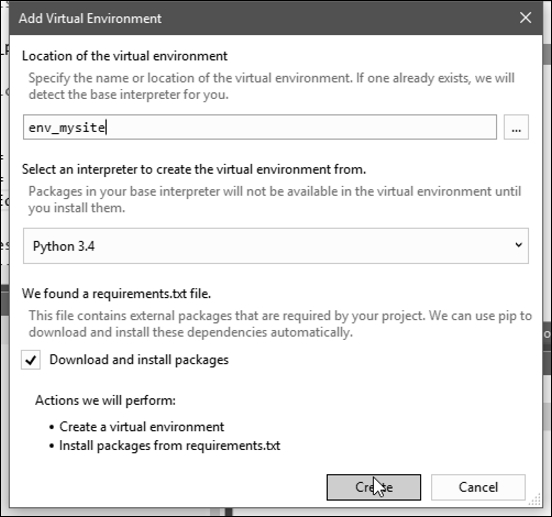
Figure G.9: Create the virtual environment


