Installing ROS on a virtual machine
As we know, complete ROS support is only available on Ubuntu and Debian distributions. If we are Windows or macOS X users and we don't want to change the operating system of our computer to Ubuntu, we can use tools such as VMware or VirtualBox to help us to virtualize a new operating system on our computers.
VMware Workstation Pro is the industry standard for running multiple operating systems as virtual machines on a single PC. It is commercial software but also has free product trials and demos (https://www.vmware.com/in.html).
Alternatively, VirtualBox is a free and open source hypervisor for x86 computers that can be installed on several host operating systems, including Linux, macOS, Windows, Solaris, and OpenSolaris (https://www.virtualbox.org/).
Note
We can get the detail information for VMware and VirtualBox from their official websites and search on the internet for tutorials instead.
How to do it…
Once the virtual machine starts and is configured properly, we should see another window on the host system, as seen in the following screenshot:
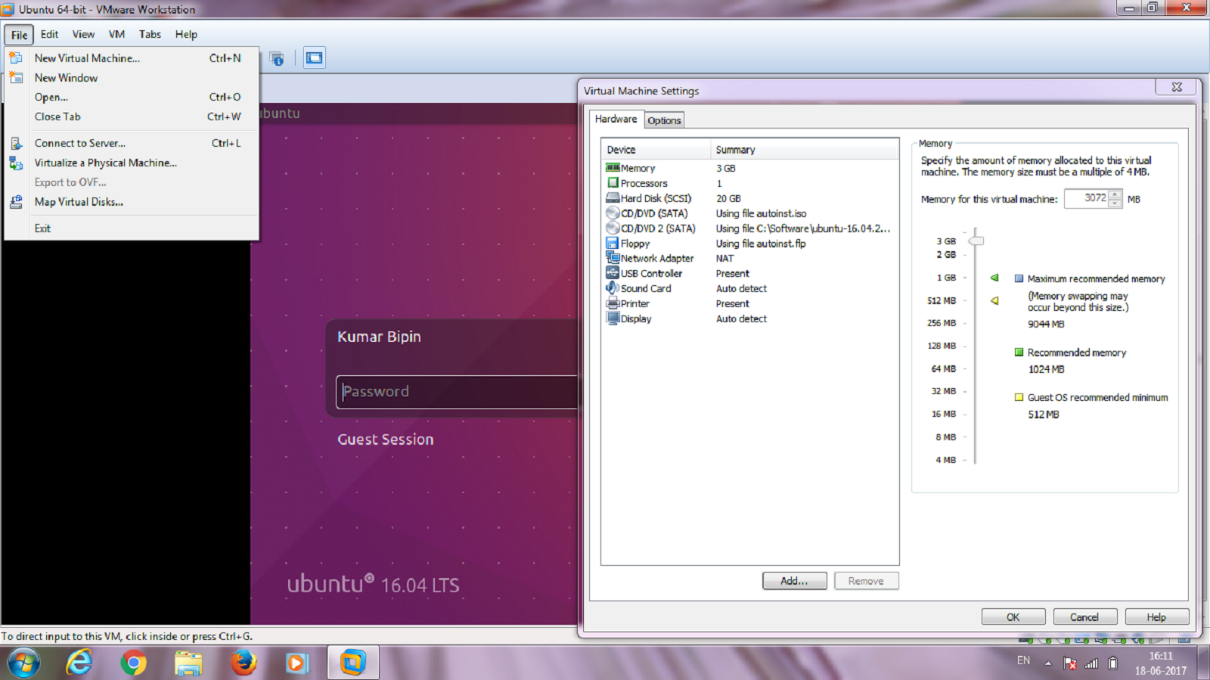
Virtual machine
There is no difference in an ROS installation on a virtual machine. Therefore, we can simply install ROS Kinetic following the same instructions described in the previous section. We can run most of the examples and stacks that we are going to work with. Unfortunately, the virtual machine may have problems when working and interfacing with external custom hardware through ROS. Moreover, performance degradation could also be observed with ROS running in a virtual machine. It is possible that the example source code discussed in Chapter 4, ROS Visualization and Debugging Tools, will not work.
The following screenshot shows ROS running on one of the virtual machines and the ROS installation:
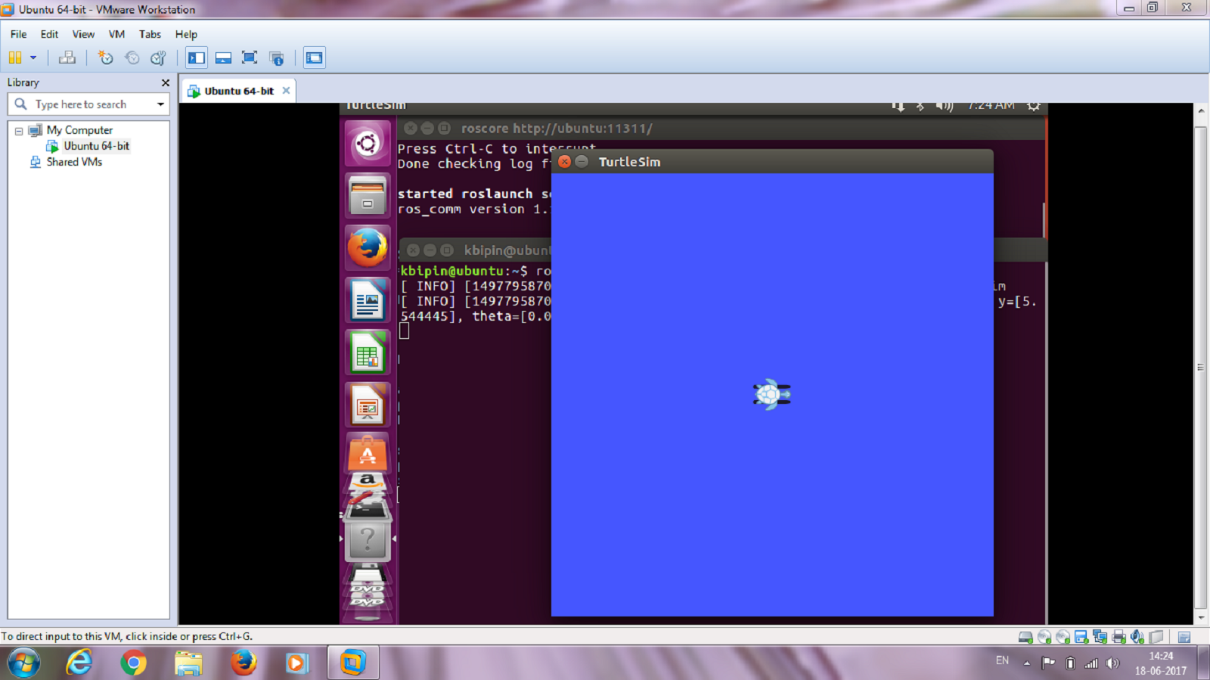
ROS on virtual machine