
Dynamic downloadable reports in Shiny
In this section, we will learn how to use the Shiny downloadhandler function to render and download reports. We will also learn how to write an R Markdown document and make it dynamic.
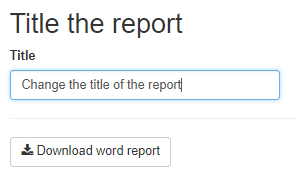
Before we begin, let's understand the application that we are going to create. The following screenshot shows the main page of the application, where we have a textbox to change the title of the report and and a button to download the document in a Word file:
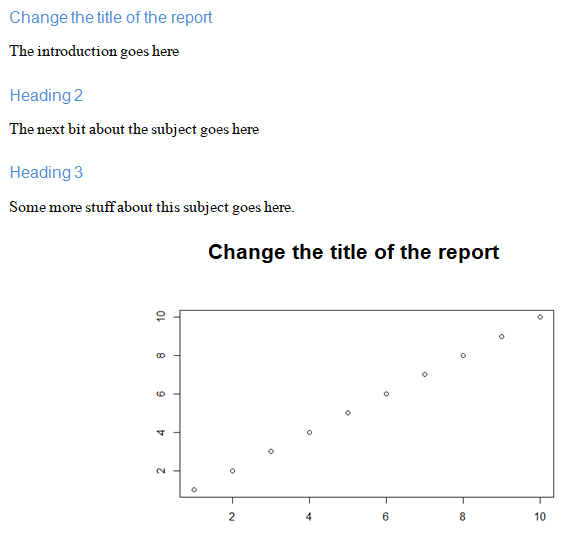
On downloading the report, you should find the new title of the document as well as the title of the graph, which are the same as we used in the textbox, as seen in the following screenshot:
Note
If you are using a Linux or Ubuntu system, you can open the document using the LibreOffice application found at www.libreoffice.org.
Add the following code to the ui.r file in the DownloadWord folder:
fluidPage(
   titlePanel("Title the report")
   textInput("title", "Title", value = "Your title here"),
   hr(),
   downloadButton("downloadwrodreport", "Download word report")
)
The previous code is self-explanatory. It consists of the title of the page, a textbox to add the title to the report's horizontal line, and a button. This button is defined as a Download button function that will download the file that is mentioned in our server.r file under the downloadhandler function.
In the downloadWord.r file, we have a library, rmarkdown, which is used to make the document rendering function work. The downloadwordReport function that we just saw in our ui.r file contains the downlaodHandler function:
library(rmarkdown)
function(input, output){
     output$downloadWordReport =
       downloadHandler(filename = "report.docx",
                       content = function(file){

                        render("report.Rmd", output_format =                                          "word_document",
                                output_file = file,
                                quiet = TRUE)
         })
}
The downloadHandler function has the following structure. The first part will define the filename that is assigned to the report. This filename can be in any form. For example, we can use today's date to provide the filename or any random name with an extension. As you can see in the code, we have simply used report.docx in our example. The second part, the content function, is defined to write the content using the argument file function. This function takes the argument file and writes whatever you want to that file using the previously defined filename.
In our application, this content will write the content present in the report.rmd document into a Word document and assign the filename of report.docx, which will be provided to you to download with the changes required.
Now, let's look at the R Markdown document:
---
output: word_document
---

# `r input$title`

The introduction goes here

## Heading 2

The next bit about the subject goes here

### Heading 3

Some more stuff about this subject goes here.

```{r, echo = FALSE}

plot(1:10, main = input$title)

```
In the Markdown document, first we will mention the output format. This is an optional step as we have already mentioned the output format in the function. We need to be careful when writing the remaining code. This is similar to Markdown document. In the previous code block, you will find various headings that are defined using hashes (#) for headings and subheadings. We have also defined a few inline R functions and code blocks using backticks and curly brackets { }, similar to the method we saw earlier. And finally, there is the plot with the title dynamically taken from the textbox in the UI. We have finally done with creating an application using HTML and CSS. We will now learn how to use HTML templates with R and Shiny.