
How to set up a project using scheme, screens, workflows, and permissions
In the last section, we learned about the configuration scheme of JIRA, and how to set up projects with regard to screens, workflows, permissions, and even notifications.
In this section, we're going to learn about the following in detail:
- Screens
- Workflows
- Permissions
- Notifications
Screens
We are going to flip over to the JIRA account and look at our project view:
- First, we will select a project, and once we have our project loaded up, we're going to go ahead and choose our settings for this project. We'll go over to the left-hand menu and select
Settings. As we learned previously, we will set up our settings. - We saw a little bit about this in the previous section, but we're going to learn more deeply about
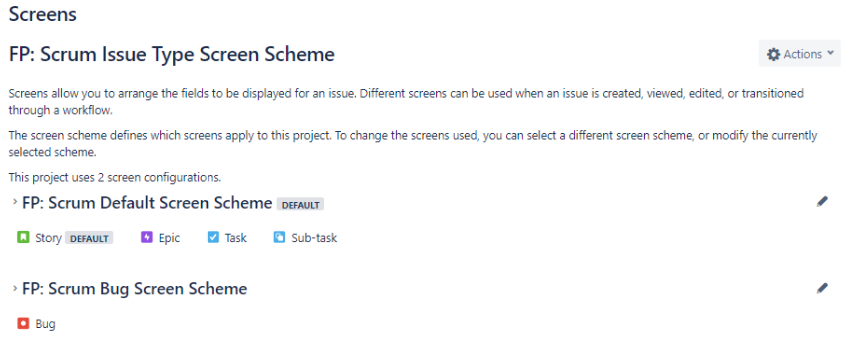
Screens. We can see that we use what's called a Scrum issue type screen scheme. We've got a default screen scheme that will cover the different issue typeStory,Epic,Task, andSub-task, and then we've got a bug screen scheme that will cover the issue typeBug, as shown in the following screenshot:
- Click the edit icon on the right. We can then take a look at the default issue screen, as follows:

- This will give us control over all of the different fields that appear in an issue type. There may be some that we don't need to use, because our organization doesn't use them or we don't find value in those, in which case removing them from the interface will make things faster, so we don't need to have a view of those. The way we would do that is by dragging and moving these into different orders, but let's say for instance that we didn't want components. Therefore, we can easily just remove those by clicking on
Remove. The components will no longer appear on any of our issue types with the exception of bug, right? We haven't configured the bug one yet.
- At the bottom, we can see the ability to select the field, so we can actually select a field if we want to add something back, like
Components:
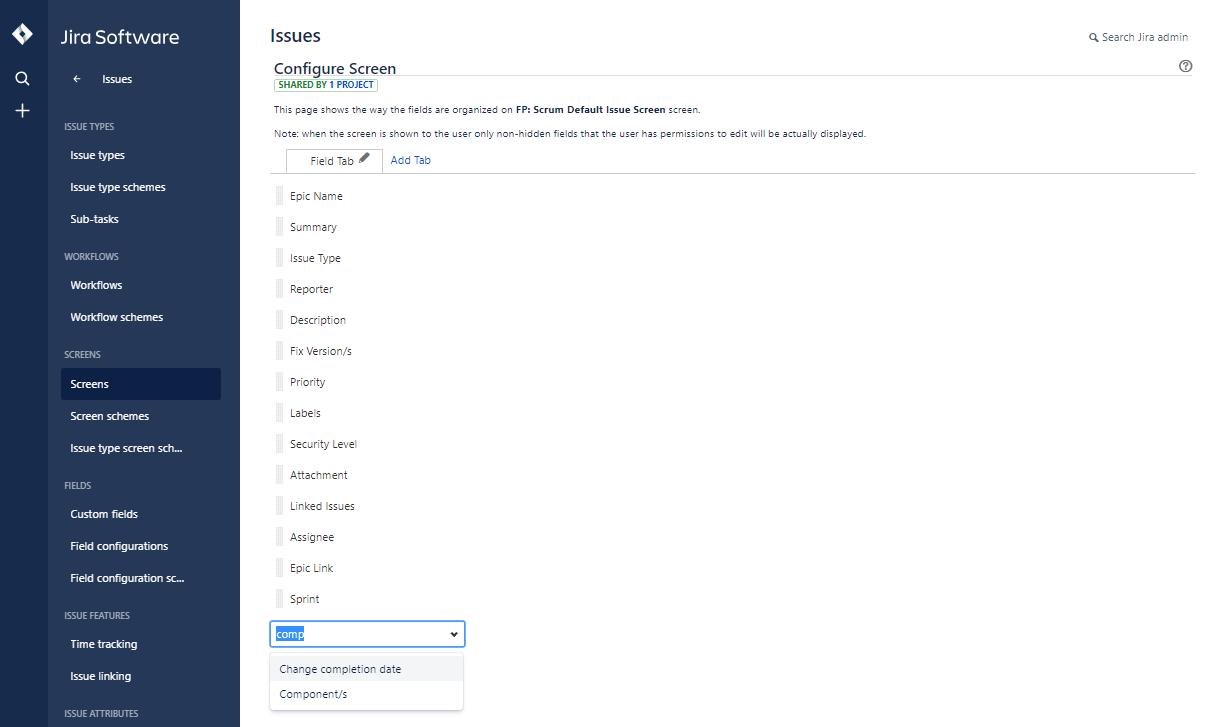
Or, we could even just type components and add it back that way, and we'll drag it back up to the right before the description where we had it before. That's how we use screens in JIRA. Next, let's take a look at workflows.
Workflows
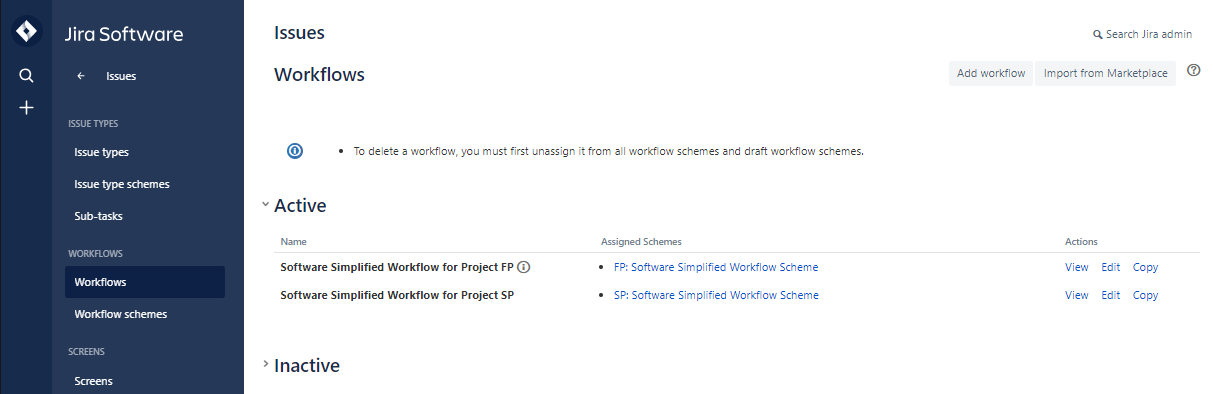
From the options on the left-hand side, click on Workflows.
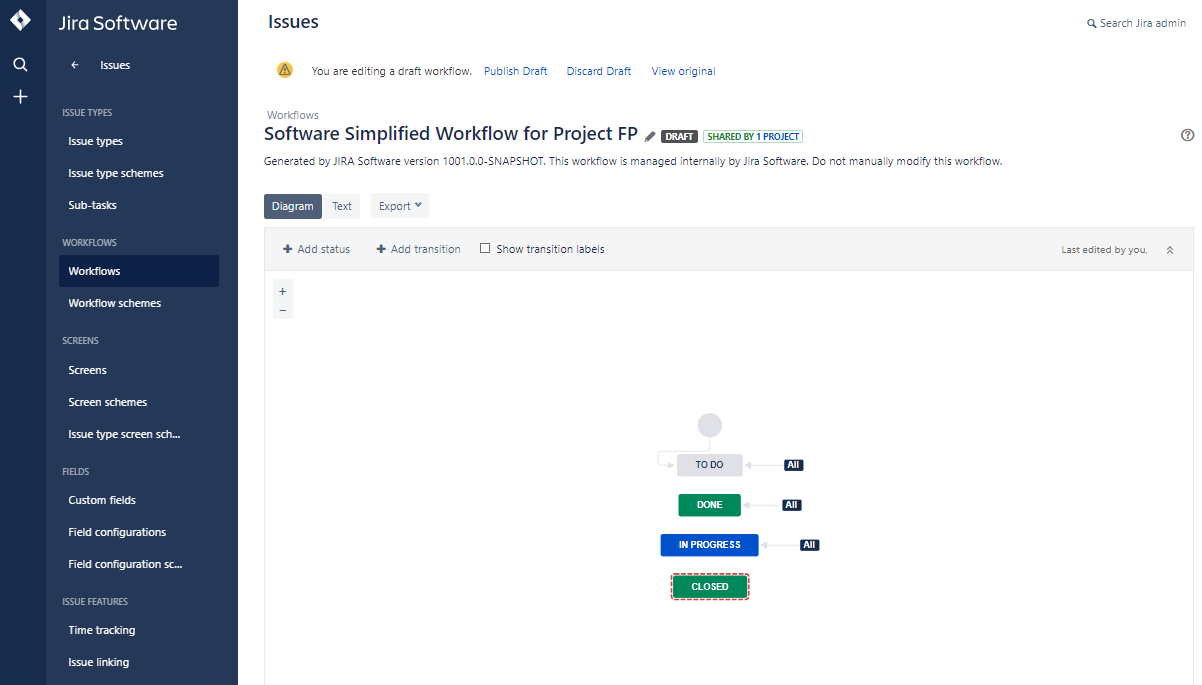
What the workflow is going to let us do is allow us to see the different ways that a status can affect another status, and how items can move from one status to the next so that we can see how this works:
- Click on
FP: Software Simplified Workflow Scheme, as shown in the following screenshot:
This will take us to the following screen:
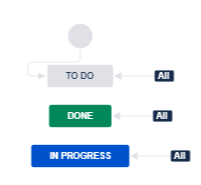
- Any thing, and any type, can be move to
TO DO. Once we create any type, we can automatically move itTO DO, any type can moved toDONE, and any type can move toIN PROGRESS. - We can actually add a status as
Closedby clicking onAdd status.
- Drag the
Closedstatus to the bottom, belowIN PROGRESS, and now we have a new status:
Then, we can allow different transitions to happen to this closed status. One example that we might want to do would be, let's say, if we have story points assigned to an item, or perhaps hours assigned to an item. When we move that through the workflow, and that item goes from IN PROGRESS to DONE, when we move it to CLOSED, we may want to have the remaining hours update itself to zero. This is an example of something that we might want to do with that workflow.
Permissions
We want to take a look at permissions, so we'll bring up the Permissions options for our default software scheme, which is what we're using for our Scrum project, as can be seen in the following screenshot:
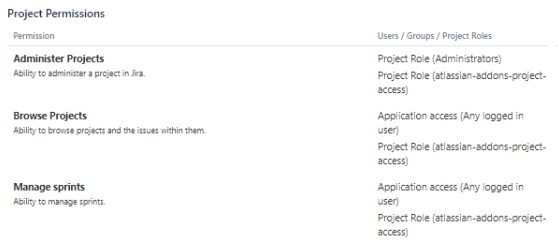
Project Permissions
Since we're the only one that's actually accessing and controlling this, we have access to everything, but if we had more people that were assigned to this project, then we would be able to identify who can do what, both from a project permissions perspective as well as from an issue permissions perspective.
Notifications
We can see that we have a Notifications option under our First Project. We learned a little bit about this in the last section, but we will learn more about it now:
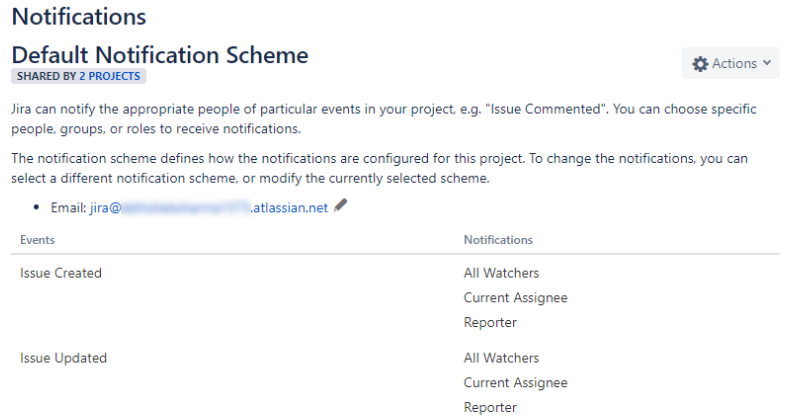
But let's say we were the person who reported an issue, and, when that issue was created, we would want the current assignee, the person that's assigned to that issue, to be notified, and we'd also want any of the watchers of that item to be notified as well. We, as the reporter, would be notified. But then let's say that that issue goes ahead and gets updated. Once that issue gets updated, it may be that we don't want to be notified of that. Therefore, we can edit the notifications.
Click on Delete under the Issue Updated section. This will take us to the following screen:
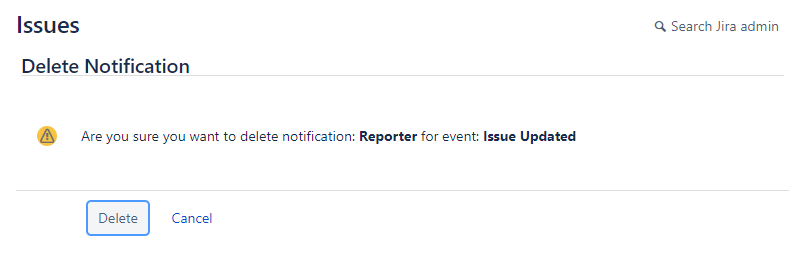
The reporter will now be notified when an item is created but not when it's updated. The reporter is again notified when the item is assigned.