Creating a basic tile
We want our game to be endless, but in order to do so, we will need to have pieces that we can spawn to build our environment; let's do that now:
- To get started, we will first need to create a single piece for our runner game. To do that, let's first add some walls to the floor we already have. From the
Hierarchywindow, select theFloorobject and duplicate it by pressing Ctrl + D in Windows or command + D on Mac. Rename this new object asLeft Wall.
- Change the
Left Wallobject'sTransformcomponent by adjusting theScaleto(1, 2, 10). From there, select theMovetool by clicking on the button with arrows on the toolbar or by pressing the W key.
Note
For more information on Unity's built-in hotkeys, check out: https://docs.unity3d.com/Manual/UnityHotkeys.html.
- We want this wall to match up with the floor, so hold down the V key to enter the Vertex Snap mode.
In the Vertex Snap mode, we can select any of the vertices on a mesh and move it to the same position of another vertex on a different object. This is really useful for making sure that objects don't have holes between them.
- With the Vertex Snap mode on, select the inner edge and drag it until it hits the edge of the floor.
Note
For more info on moving objects through the scene, including more details on Vertex Snap mode, check out https://docs.unity3d.com/Manual/PositioningGameObjects.html.
- Then, duplicate this wall and put an other on the other side, naming it
Right Wall:
As you can see in the preceding screenshot, we now protect the player from falling off the left and right edges of the play area. Due to how the walls are set up, if we move the floor object, the walls will move as well.
Note
For info on moving Unity's camera or navigating to the scene view, check out: https://docs.unity3d.com/Manual/SceneViewNavigation.html.
The way this game is designed, after the ball rolls past a single tile, we will no longer need it to be there anymore. If we just leave it there, the game will get slower over time due to us having so many things in the game environment using memory, so it's a good idea to remove assets we are no longer using. We also need to have some way to figure out when we should spawn new tiles to continue the path the player can take.
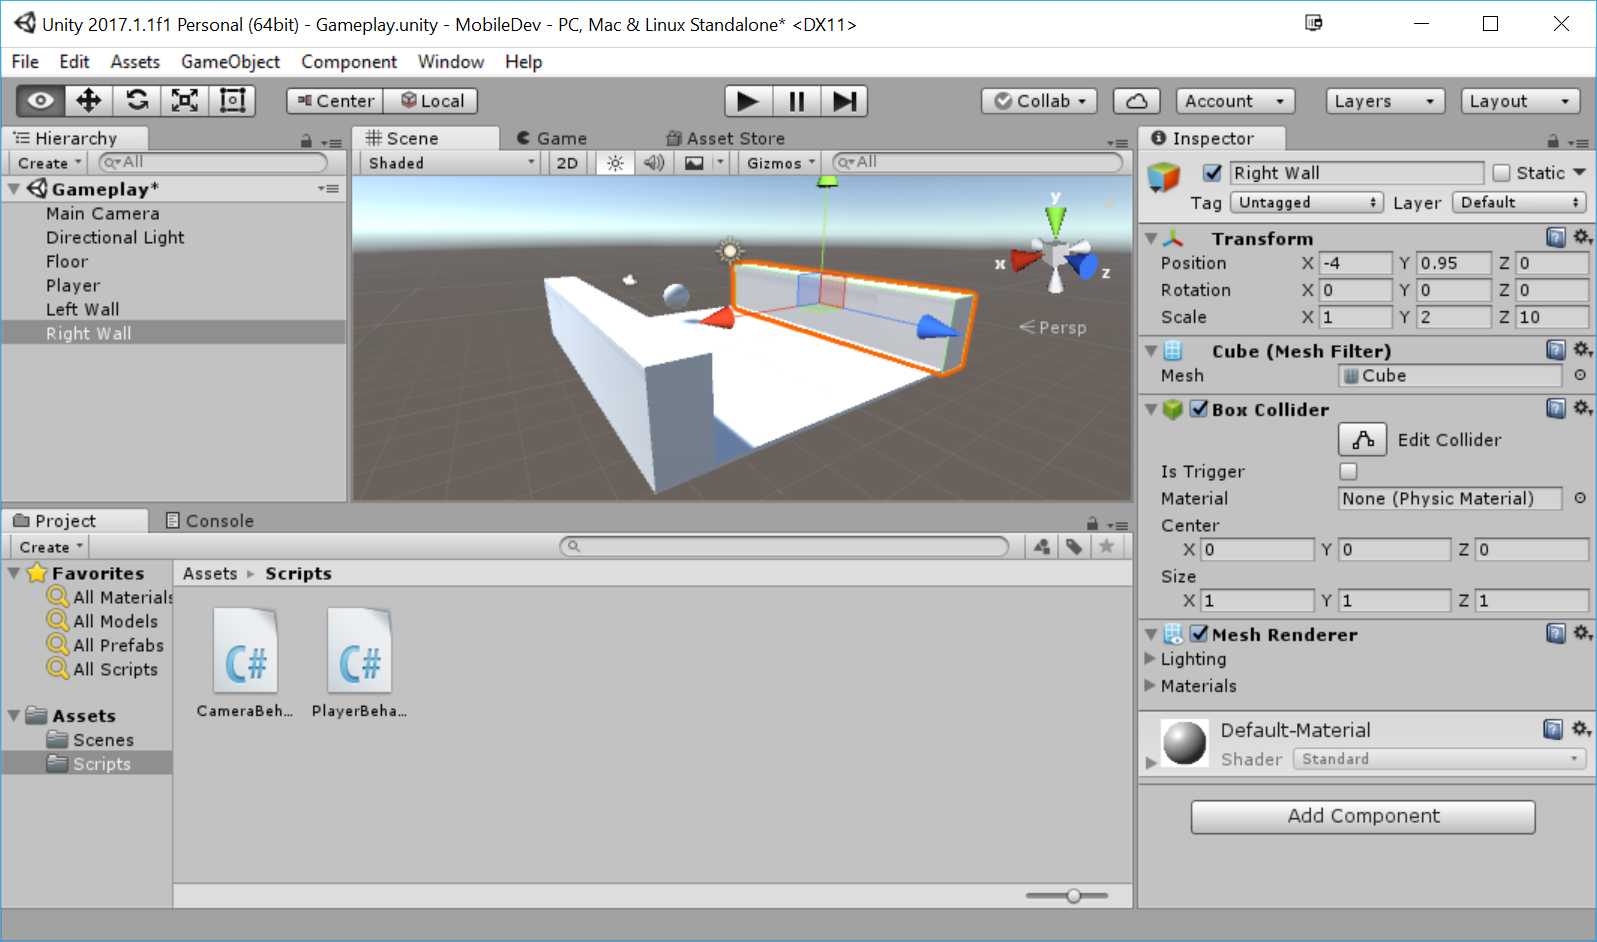
- Now, we also want to know where this piece ends, so we'll add an object with a Trigger collider in it. Select
GameObject|Create Emptyand name this objectTile End. - Then, we will add a
Box Collidercomponent to ourTile Endobject. Under theBox Colliderin theInspectorwindow, set theSizeto(7, 2, 1)to fit the size of the space the player can walk in. Note that there is a green box around that space showing where collisions can take place. Set thePositionproperty to(0, 1, 10)to reach past the end of our tile. Finally, check theIs Triggerproperty so that the collision engine will turn the collider into a trigger, which will be able to run code events when it is hit, but will not prevent the player from moving:
Like I mentioned briefly before, this trigger will be used to tell the game that our player has finished walking over this tile. This is positioned past the tile due to the fact that we want to still see tiles until they pass what the camera can see. We'll tell the engine to remove this tile from the game, but we will dive more into that later on in the chapter.
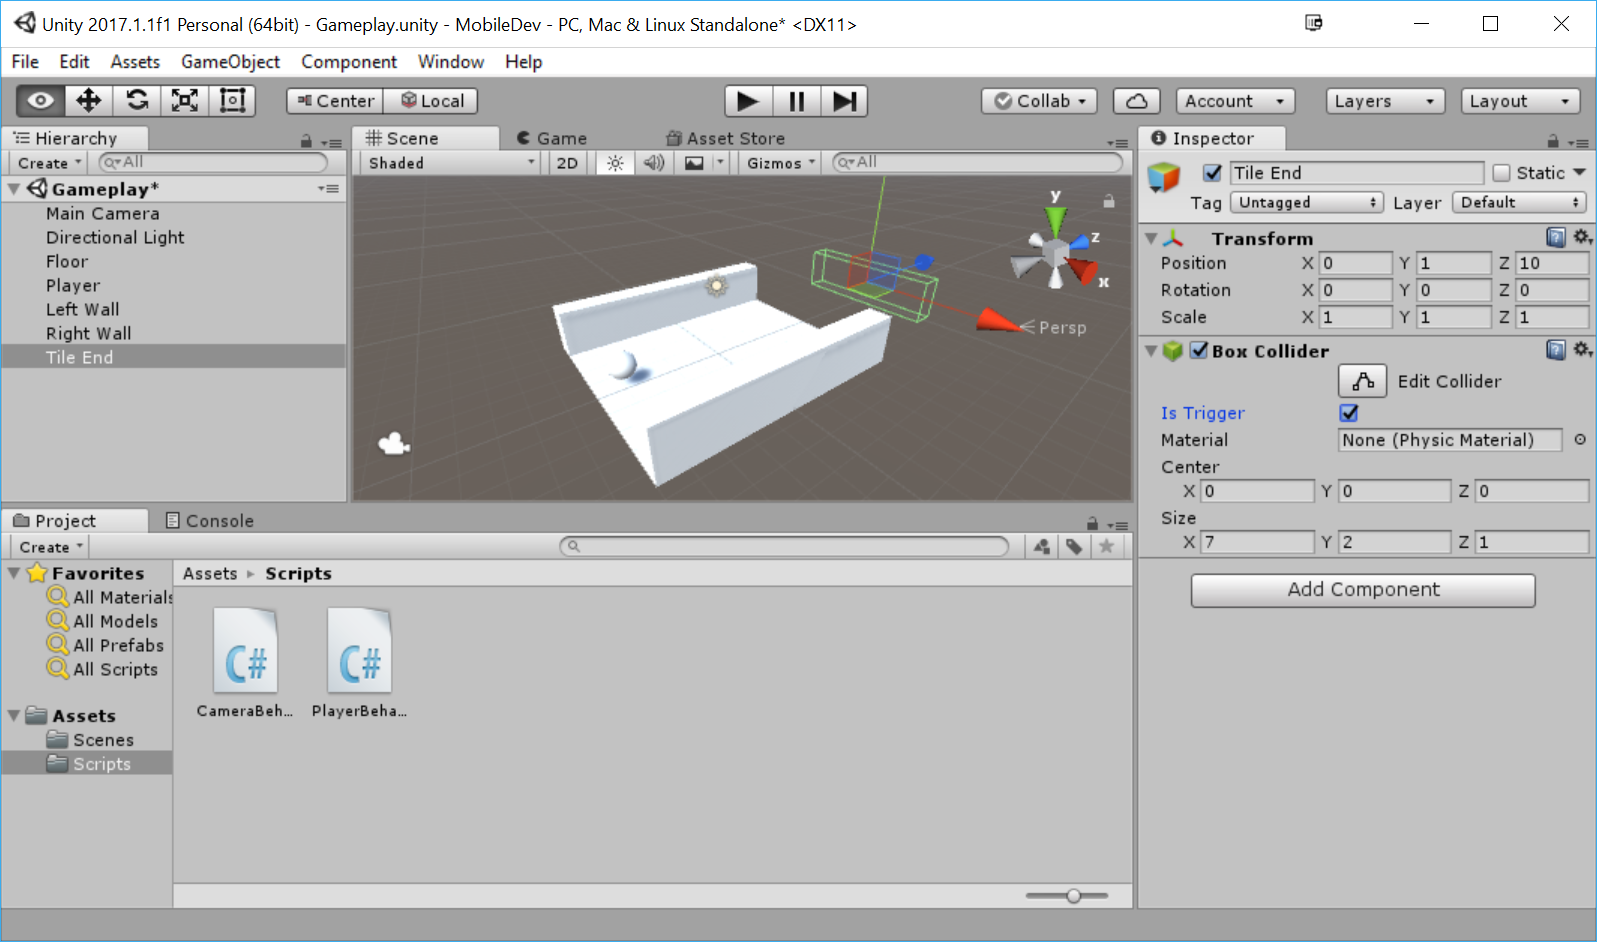
- Now that we have all of the objects created, we want to group our objects together as one piece that we can create duplicates of. To do this, let's create an
Empty Game Objectby going toGameObject|Create Emptyand name the newly created object toBasic Tile.
- Then, go to the
Hierarchywindow and drag and drop theFloor,Tile End,Left Wall, andRight Wallobjects on top of it to make them children of theBasic Tileobject. - Currently, the camera can see the start of the tiles, so to fix that, let's set the
Basic Tile'sPositionto(0, 0, -5)so that the entire tile will shift back. - Finally, we will need to know at what position we should spawn the next piece, so create another child of
Basic Tile, give it the name,Next Spawn Point, and set itsPositionto(0, 0, 5).
Note
Note that when we modify an object that has a parent, the position is relative to the parent, not its world position.
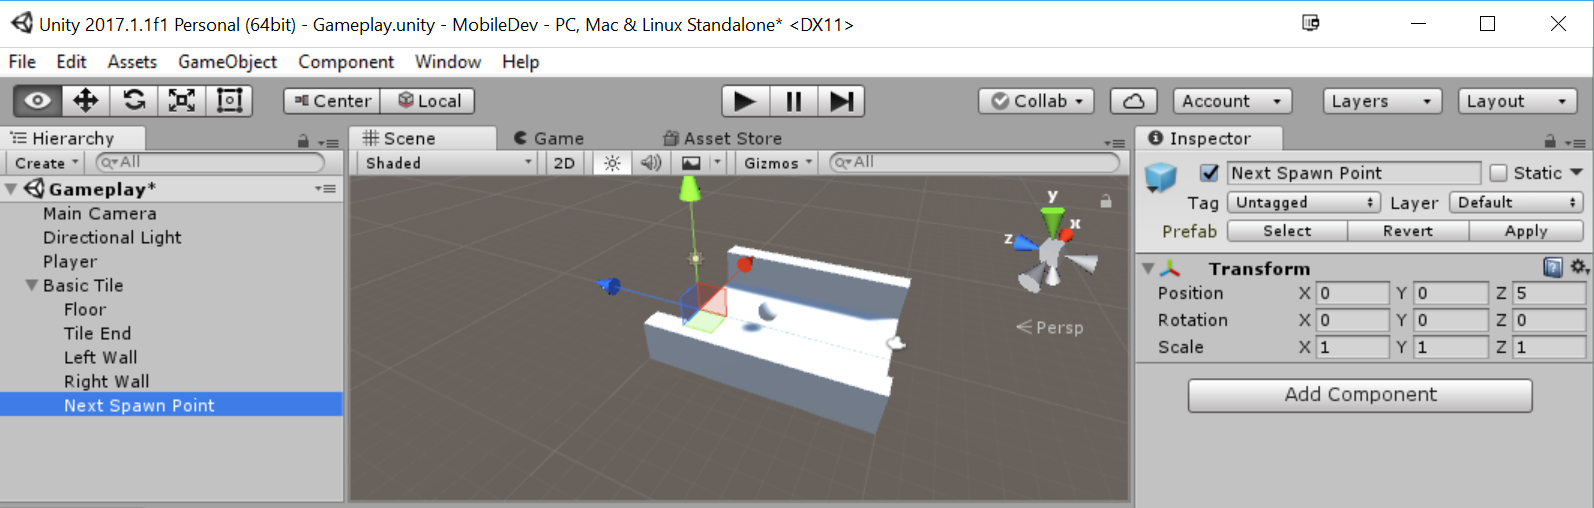
Notice that the spawn point is on the edge of our current title. Now we have a single tile that is fully completed. Instead of duplicating this a number of times by hand, we will make use of Unity's concept or prefabs.
Prefabs, or prefabricated objects, are blueprints of game objects and components that we can turn into files, which can be duplicates. There are other interesting features that prefabs have, but we will discuss them as we make use of them.
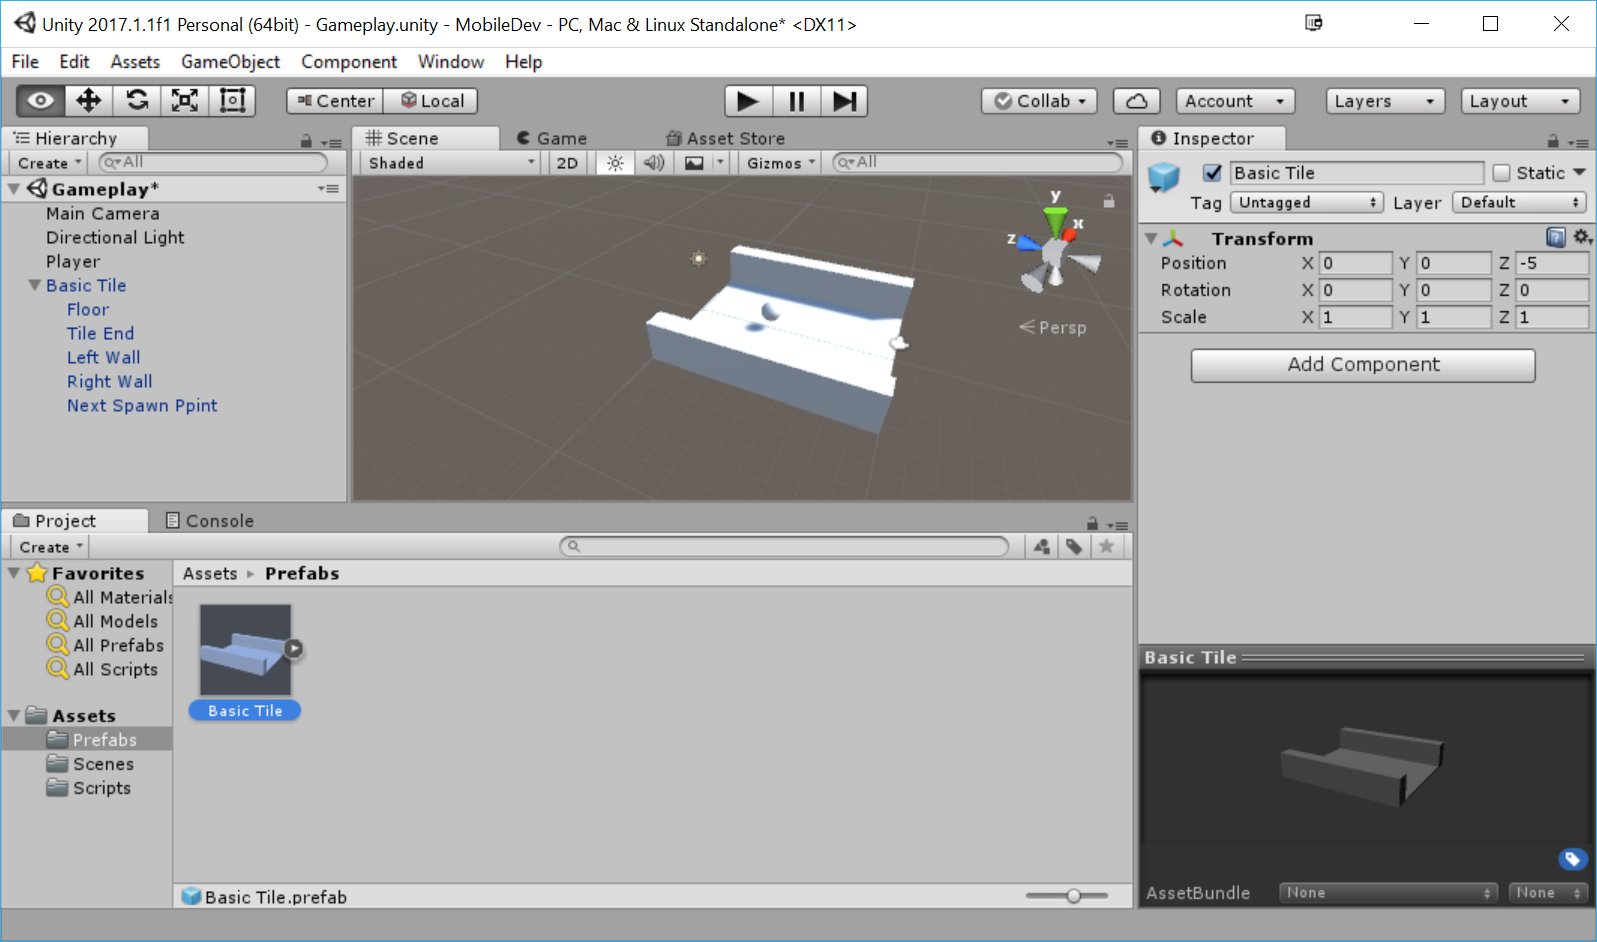
- From the
Projectwindow, go to theAssetsfolder and then create a new folder calledPrefabs. Then, drag and drop theBasic Tileobject from theHierarchywindow to theProjectwindow inside thePrefabsfolder. If the text on theBasic Tilename in theHierarchywindow becomes blue, we will know that it was made correctly:
With that, we now have a tile prefab that we can create duplicates of the tile through code to extend our environment.