The Blynk app builder
The Blynk app builder provides an easy way to build IoT apps that can be run on smartphones and tablets. It provides a predefined set of draggable and droppable modules known as widgets, and allows the users to make further configuration on widgets with an easy-to-use user interface. Using the app builder, you can build apps for your personal use or business purposes, as shown in the following screenshot.
If you want to build an app with Blynk for business purposes, visit http://www.blynk.io/business/ for more information:
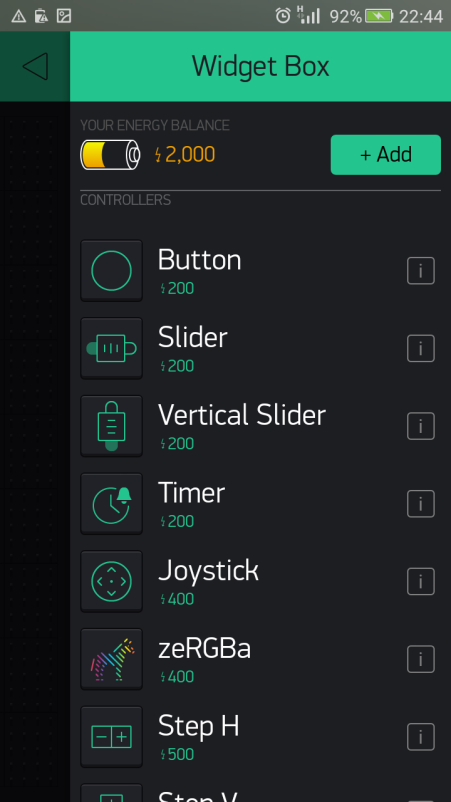
Blynk widget Box
Installing the Blynk app builder
The Blynk app builder is currently available for Android and iOS platforms. The following steps explain how to install the Blynk app builder on your Android smartphone or tablet:
- Tap the apps icon in the lower-right corner of the home screen (consider that this is the default location).
- Swipe left and right until you find the Play Store icon.
- Tap the Play Store icon.
- The first time you open the Play Store, you may be prompted to sign in with your Google credentials. If you still don't have a Google account, you can create a free account with Google.
- Once you sign in with Google Play Store, you can search for a specific app.
- Tap the magnifying glass in the upper-right corner, type in the name
blynk, and tap the magnifying glass on the keyboard to execute the search. You will get a result on the screen as follows:
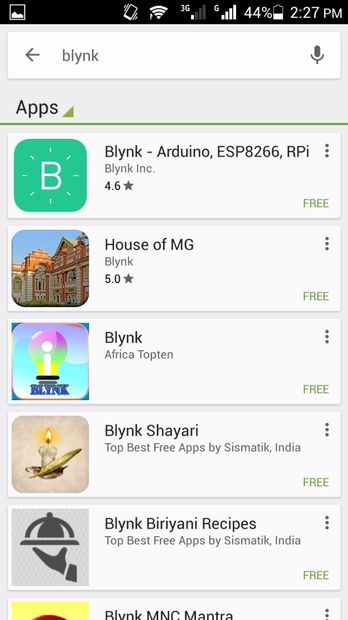
Search results for Blynk
- Tap
INSTALLto start the installation process. Also, you can find more information about the app by tapping theMORE INFObutton:
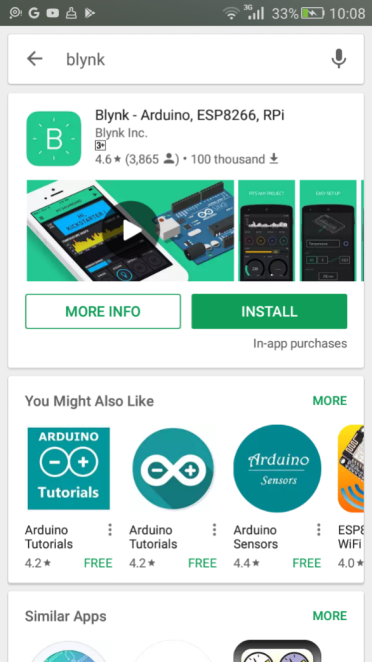
Installing Blynk app
- Tap
ACCEPTto allow the Blynk app to access some resources on your mobile device:
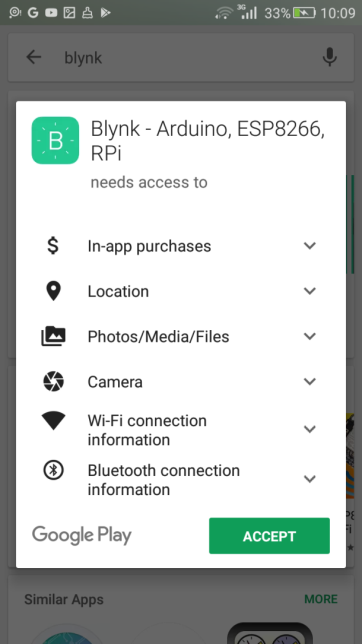
Permitting access to resources in your mobile device
- The installation process will take some time depending on the bandwidth of your internet connection.
- After completing the installation, you can open the Blynk app by tapping on the
OPENbutton with Google Play. This will help you to open the Blynk app builder for the first time without moving to the home screen of your smartphone or tablet:
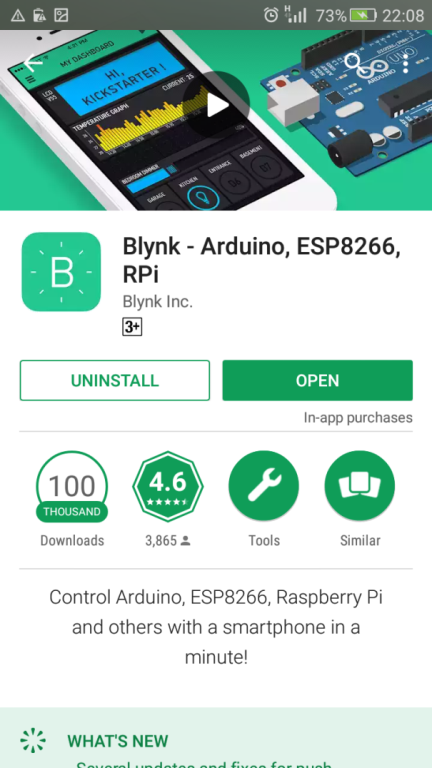
Once installed, opening Blynk app builder from Google Play
- After installation, an application icon associated with the Blynk app builder can be found on the home screen of your smartphone or tablet:

Opening Blynk app builder from Android home screen
Creating a Blynk account
Before you start to create applications with the Blynk app builder, you should create a user account with Blynk Cloud. The following steps will guide you through how to do that:
- Open the Blynk app builder on your mobile device by tapping on the application icon labeled
Blynk. - Tap
Create New Account. - Alternatively, you can log into the Blynk app builder with your Facebook account by tapping on the
Log In with Facebookbutton:
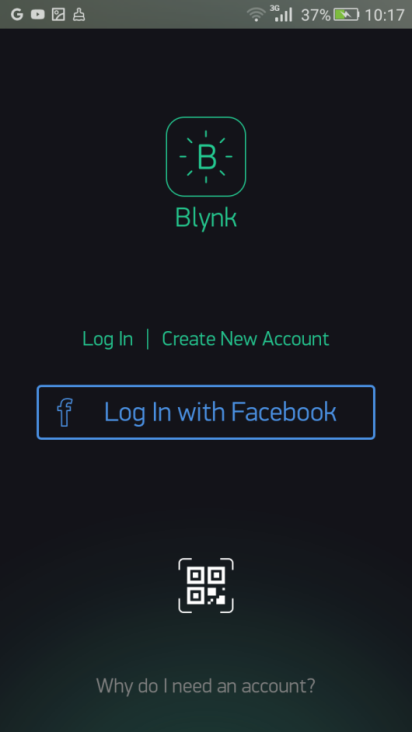
Creating new account—step 1
- On the
Create New Accountpage, type your email address for the username, and a password. - Then, tap the
Sign Upbutton:
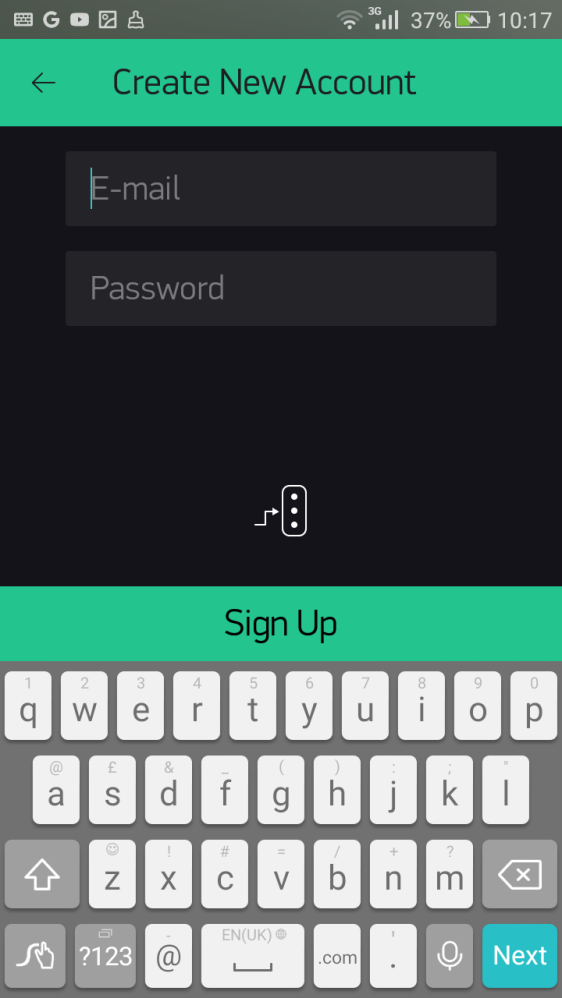
Creating new account—step 2
- A user account will be created, and you will automatically be logged in to the Blynk app builder (Blynk Cloud).
- First, you will be notified on how energy works. Tap on the
Cool! Got it.button:
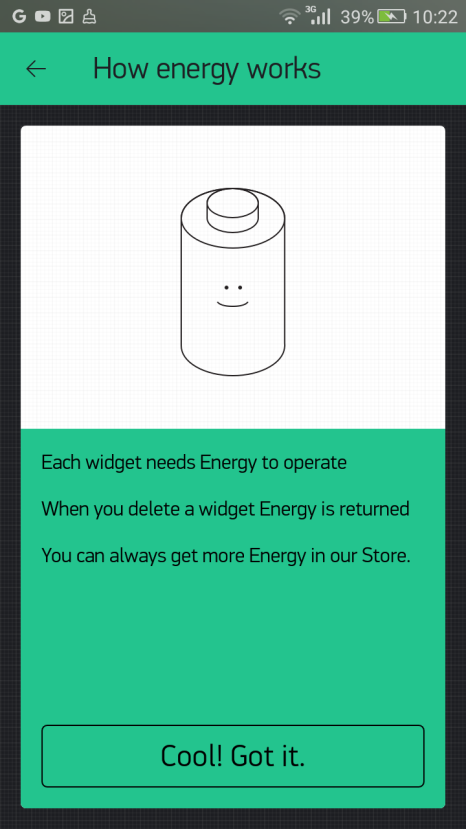
Notification about how energy works
Note
Each widget needs energy to operate. When you delete a widget, energy is returned.
- At any time, you can log out from the app builder by tapping the log out icon in the toolbar. When prompted, tap
LOG OUT, or tapCANCELif you want to stay logged in.
Note
At the time of writing, Blynk doesn't send any email message to your email account confirming the creation of the new user account.
- When you log into the Blynk app builder again, type in your email address associated with the Blynk account and the password, then tap
Log In. - You can reset your password by tapping
Reset Passwordat any time.
Creating a new project
Now that you have created a new account with Blynk Cloud and logged in to your Blynk app builder running on your smartphone or tablet, you can follow the following steps to create a new project with the Blynk app builder:
- To start building a project, tap
New Project. This will bring you to the createNew Projectwizard:
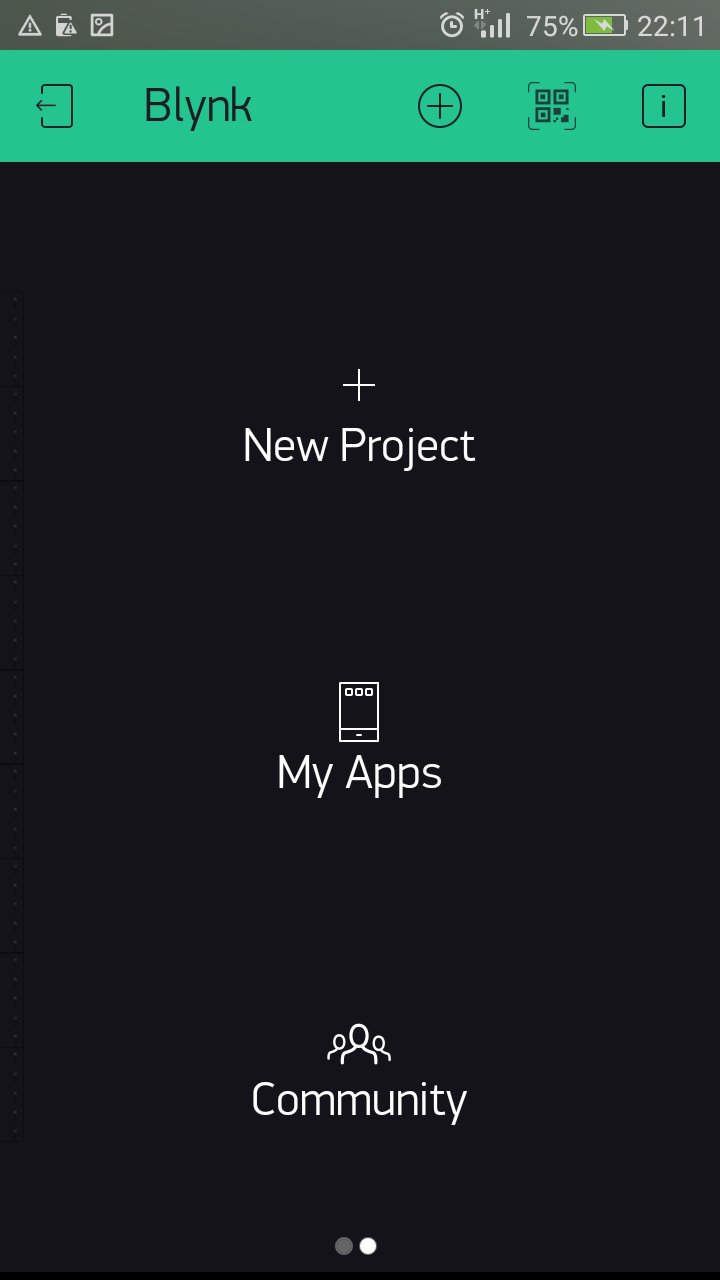
Creating a new project
- Type in
demoin theProject Nametextbox:
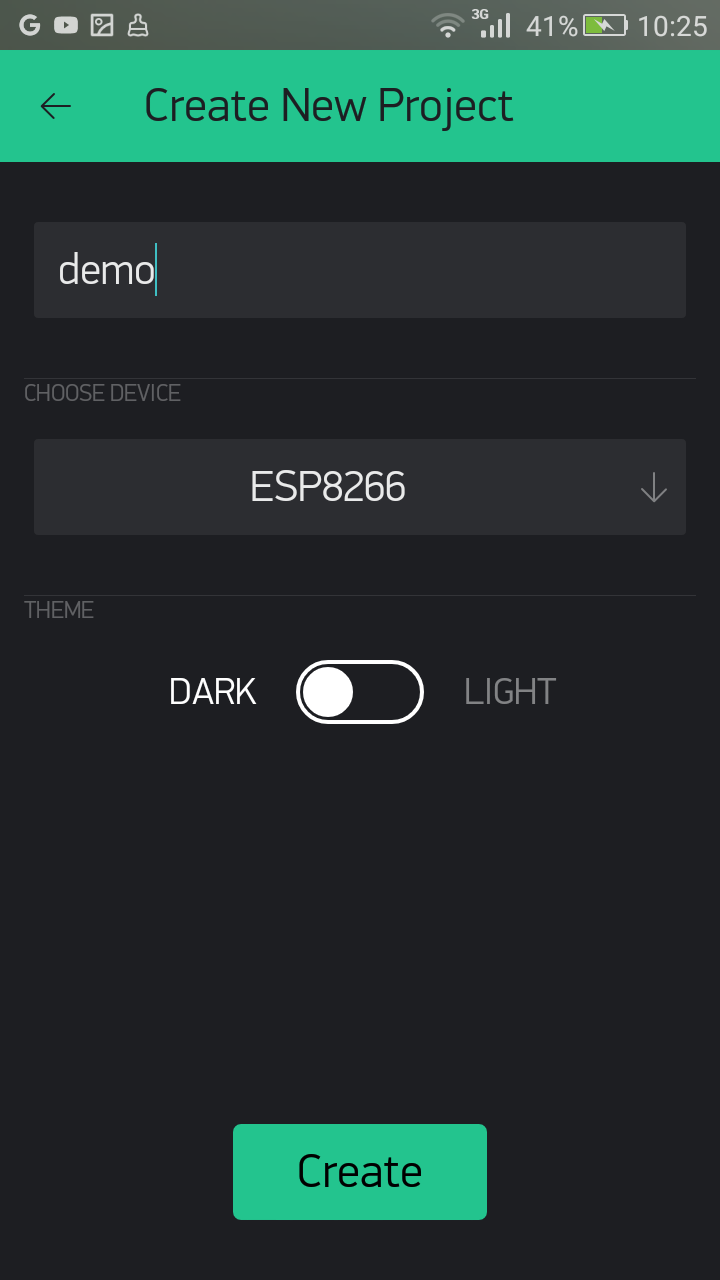
Creating new project—project name
- Tap the
CHOOSE DEVICEdropdown box to see the available hardware models (the default is ESP8266). Then, tapRaspberry Pi3 Bfrom theSelect your hardwarelist. You may find other versions of the Raspberry Pi as well. Following are the available options for Raspberry Pi versions:Raspberry Pi 2/A+/B+Raspberry Pi 3 BRaspberry Pi A/B (Rev2)Raspberry Pi B (Rev 1)
- After choosing the hardware model, tap
OK:
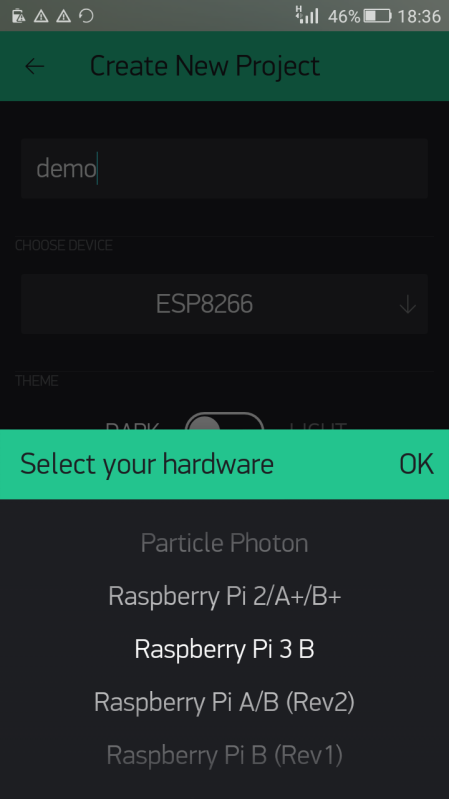
Creating new project—Selecting hardware
- Tap on the
CONNECTION TYPEdropdown list to see the available connection types. Then selectWiFifrom theCONNECTION TYPElist, followed byOK. - Tap the
Createbutton to create the project workspace:
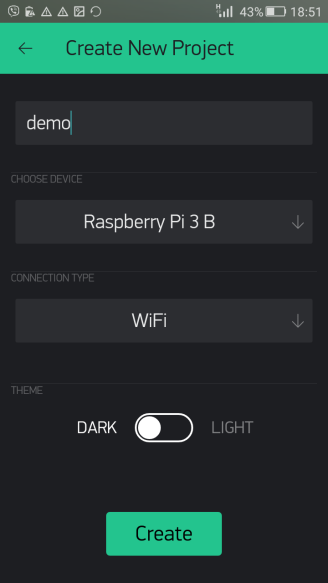
Creating new project
- After successfully creating the project, the app builder will send an auth token to confirm your project. Every new project you create will have its own auth token. The auth token is a unique identifier that consists of alphanumeric characters, and authorizes you to access the Blynk Cloud, located at https://www.blynk.cc/:
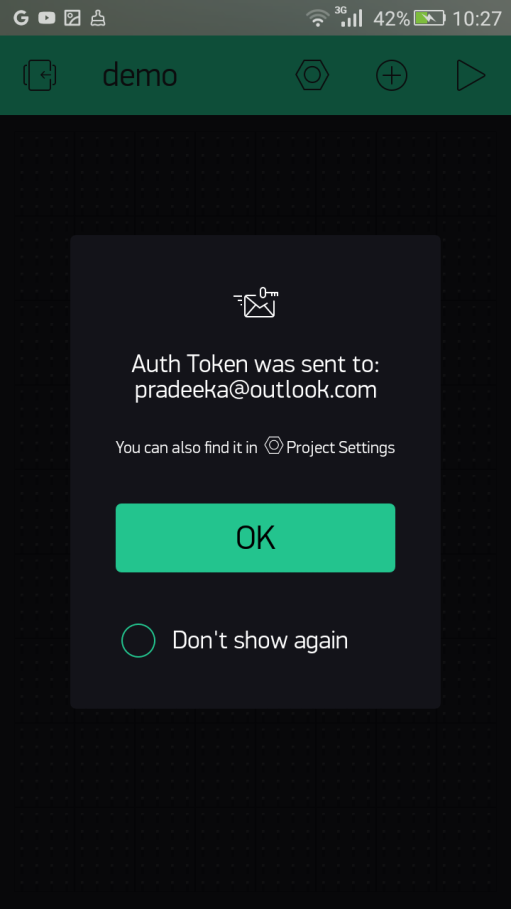
Notification about the auth token
- At the same time, you'll have an auth token automatically sent to the email address you provided.
Note
If you have lost your auth token,you can still find it with your project inProject Settings(the nut icon).
- Tap the nut icon in the toolbar to get to the
Project Settingspage. Then, scroll down to find theDEVICESsection. Tapdemo Raspberry Pi 3 B (WiFi). - Alternatively, you can tap
Email allunderAUTH TOKENSto get all the Auth tokens on your email provided for each project in your Blynk account. You can also tapCopy allto copy all the Auth tokens to your mobile device's clipboard:
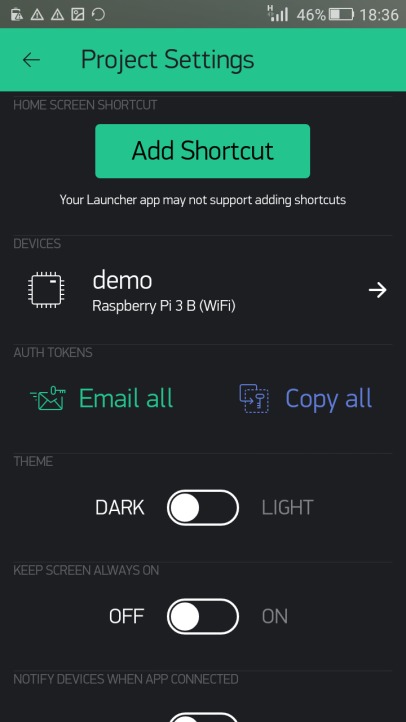
Finding Auth token—step 10
- On the
My Devicespage, tapdemo Raspberry Pi 3 B(WiFi)underMy Devices:
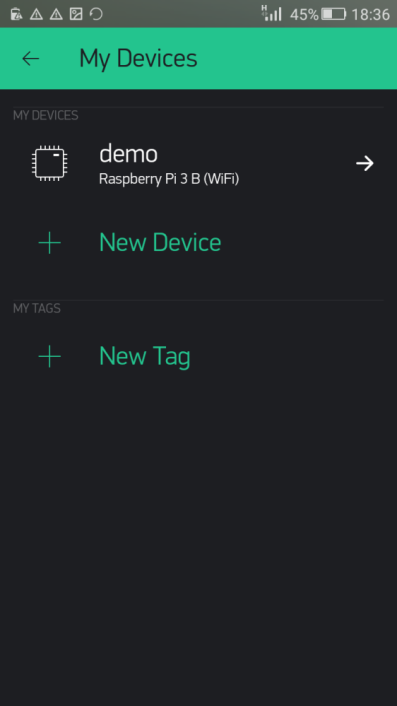
My Devices page
- You can find the Auth token under the
AUTH TOKENsection, but it only shows the last four alphanumeric characters. You can tap theE-mailbutton to send it to the email account again:
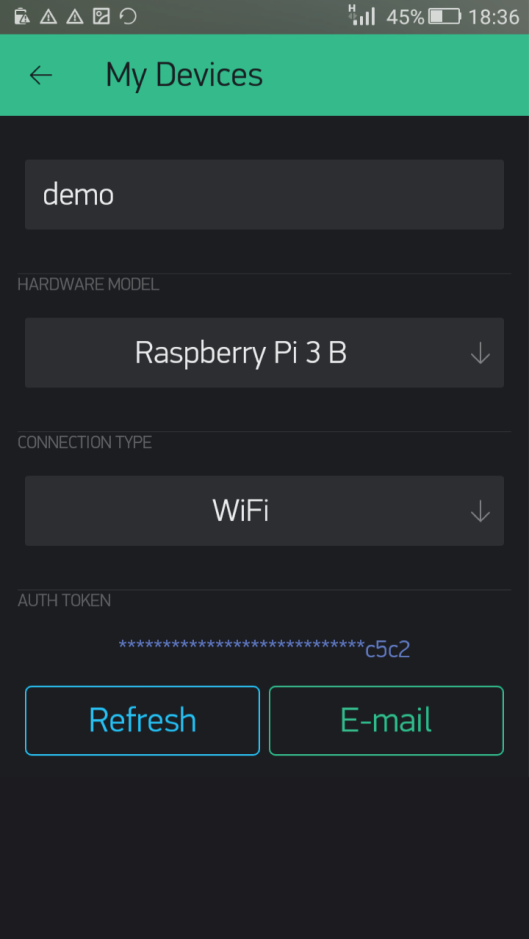
Finding Auth token—step 12
You will learn how to use the Auth token with your C++ code later in this chapter.