
Loading the sample data for this book
While most of the data you will index with Splunk will be collected in real time, there might be instances where you have a set of data that you would like to put into Splunk, either to backfill some missing or incomplete data, or just to take advantage of its searching and reporting tools.
This recipe will show you how to perform one-time bulk loads of data from files located on the Splunk server. We will also use this recipe to load the data samples that will be used throughout the subsequent chapters as we build our operational intelligence app in Splunk.
There are three files that make up our sample data. The first is access_log, which represents the data from our web layer and is modeled on an Apache web server. The second file is app_log, which represents the data from our application layer and is modeled on log4j log data from our custom middleware application. The third file is metric_csv data that represents sensor readings from HVAC units.
Getting ready
To step through this recipe, you will need a running Splunk server and you should have a copy of the sample data generation app (OpsDataGen.spl) for this book.
How to do it...
Follow these steps to load the sample data generator on your system:
- Log in to your Splunk server using your credentials.
- From the
Appsmenu in the upper left-hand corner of the home screen, click on the gear icon.
- The
Apps settingspage will load. Then, click on theInstall app from filebutton:
- Select the location of the
OpsDataGen.splfile on your computer and then click on theUploadbutton to install the application: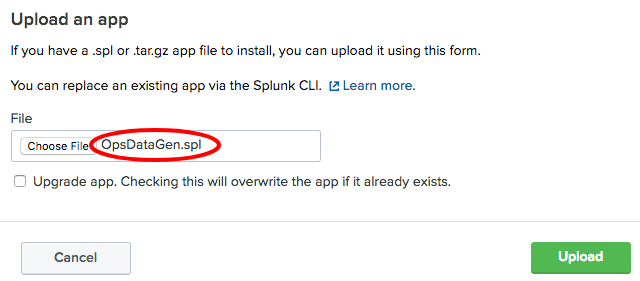
- After installation, a message should appear in a blue bar at the top of the screen, letting you know that the app has installed successfully. You should also now see the
OpsDataGenapp in the list of apps: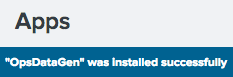
- By default, the app installs with the data-generation scripts disabled. In order to generate data, you will need to enable either a Windows or Linux script, depending on your Splunk operating system. To enable the script, select the
Settingsmenu from the top right-hand side of the screen and then selectData inputs: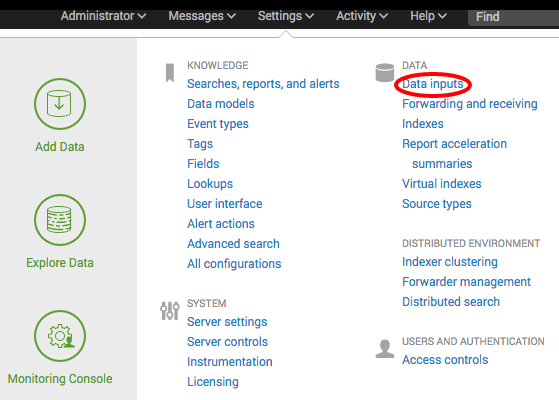
- From the
Data inputsscreen that follows, selectScripts. - On the
Scriptsscreen, locate theOpsDataGenscript for your operating system and click onEnable:- For Linux, it will be
$SPLUNK_HOME/etc/apps/OpsDataGen/bin/AppGen.path - For Windows, it will be
$SPLUNK_HOME/etc/appsOpsDataGen/bin/AppGen-win.path
- For Linux, it will be
The following screenshot displays both the Windows and Linux inputs that are available after installing the OpsDataGen app. It also displays where to click to enable the correct one based on the operating system Splunk is installed on:

- Select the
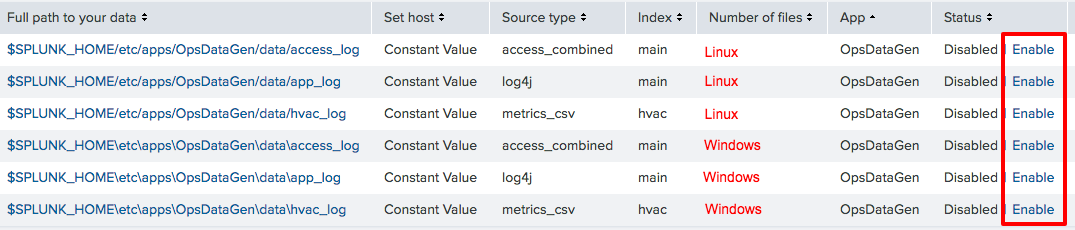
Settingsmenu from the top right-hand side of the screen, selectData inputs, and then selectFiles & directories. - On the
Files & directoriesscreen, locate the threeOpsDataGeninputs for your operating system and for each click onEnable:- For Linux, it will be
$SPLUNK_HOME/etc/apps/OpsDataGen/data/access_log,$SPLUNK_HOME/etc/apps/OpsDataGen/data/app_log, and$SPLUNK_HOME/etc/apps/OpsDataGen/data/hvac_log - For Windows, it will be
$SPLUNK_HOME\etc\apps\OpsDataGendata\access_log,$SPLUNK_HOME\etc\apps\OpsDataGendata\app_log, and$SPLUNK_HOME\etc\apps\OpsDataGendata\hvac_log
- For Linux, it will be
The following screenshot displays both the Windows and Linux inputs that are available after installing the OpsDataGen app. It also displays where to click to enable the correct one based on the operating system Splunk is installed on:
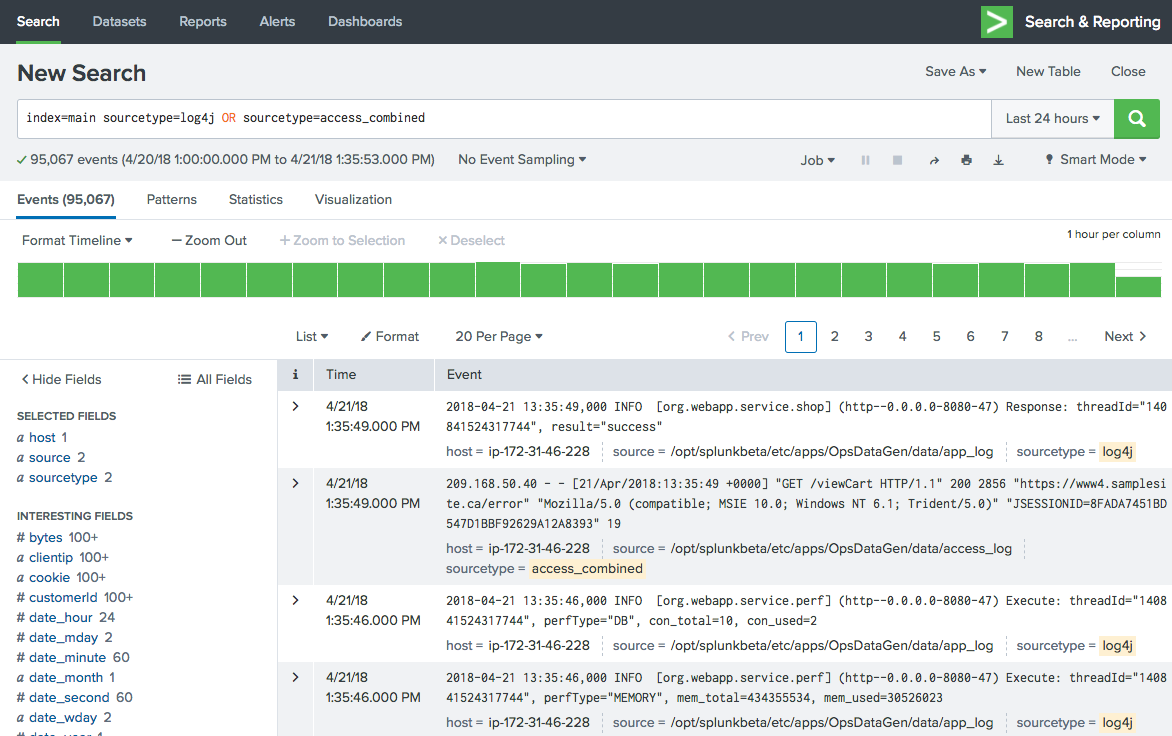
- The data will now be generated in real time. You can test this by navigating to the Splunk search screen and running the following search over an
All time (real-time)time range:
index=main sourcetype=log4j OR sourcetype=access_combined
- After a short while, you should see data from both the source types flowing into Splunk. The data generation is now working, as displayed in the following screenshot:
- You can also test that the metric data is being generated by navigating to the Splunk search screen and running the following search over an
All Timerange:
| mcatalog values(_dims) WHERE index=hvac
How it works...
In this case, you installed a Splunk application that leverage a scripted input. The script we wrote generates data for three source types. The access_combined source type contains sample web access logs, the metrics_csv source type contains sensor metrics, and the log4j source type contains application logs. These data sources will be used throughout the recipes in the book. Applications will also be discussed in more detail later on.
See also
- The Indexing files and directories recipe
- The Getting data through network ports recipe
- The Using scripted inputs recipe