Jupyter Notebook
Jupyter Notebook is a web application that allows you to create and share documents that contain live code, equations, visualizations, and explanatory text. Itis the application we will be working with in this book. Its uses include data cleaning and transformation, numerical simulation, statistical modeling, machine learning, and much more. Jupyter Notebook is similar to a canvas, or an environment, that allows you to use a programming language, in our case Python, to perform computations and to show the results in a very convenient way.
It is very convenient if you're doing some kind of analytical work, because often you want to include explanatory text, the code that produced the results, and the visualizations, which are shown in Jupyter Notebook. So it is a very convenient way of doing analytical work with any programming language, especially with Python. The Jupyter project was born out of the IPython project in 2014. Now, it has evolved to support interactive data science and scientific computing across many other programming languages, so you can use the Jupyter Notebook with many other programming languages (up to almost 20 languages). The name Jupyter comes from Julia, Python, and R, which were the three programming languages that were first supported.
Creating your own Jupyter Notebook
To start Anaconda and open a Jupyter Notebook, we clickAnaconda Prompt from our list of installed programs. Anaconda Prompt is a Terminal where you can type commands. But first, let's create a folder called PythonDataScience on our desktop. This will be the directory where all the Python code that we code and run for this book in Jupyter Notebook will be stored.
Once the Terminal is open, navigate to PythonDataScience by typing the command cd Desktop/PythonDataScience and pressing Enter. To start the Jupyter Notebook application inside this directory, type the command jupyter notebook and hit Enter. This will start the application and you will see the main screen of the application opened in a tab on your browser:
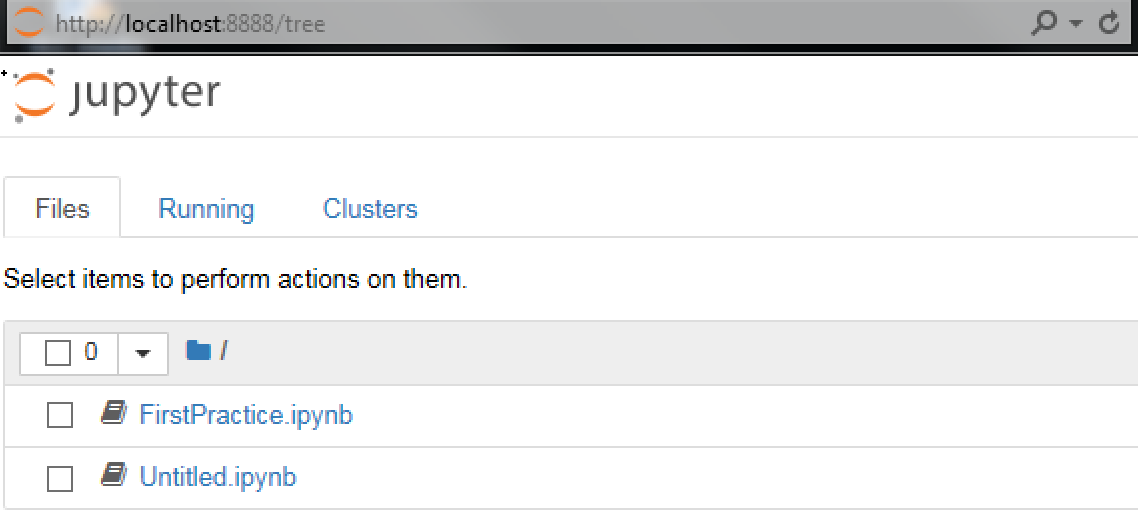
You have three tabs here. One is the Files tab, where you will see all the files that you have inside the folder where you started the application. On the Running tab, you will see the things that you have running, either Terminals or Notebooks. The Clusters tab displays details about parallel computing, but we will not be using this feature in this book.
The main tab that we will be using in this book is the Files tab. To create a new Jupyter Notebook, go to New|Python 3 Notebook
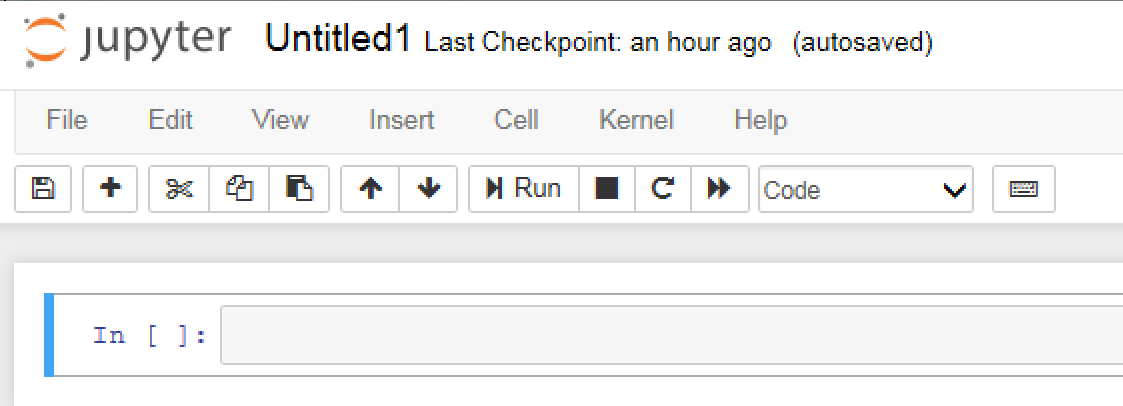
This will start a new file, which is the Jupyter Notebook where you can start coding and running your Python code.
Notebook user interfaces
Jupyter Notebook has some very useful user interfaces that display important information and notifications while you work on the Notebook. Let's go to Help and click on the first option, User Interface Tour, to take a quick look and get familiar with the interfaces of Jupyter Notebook:
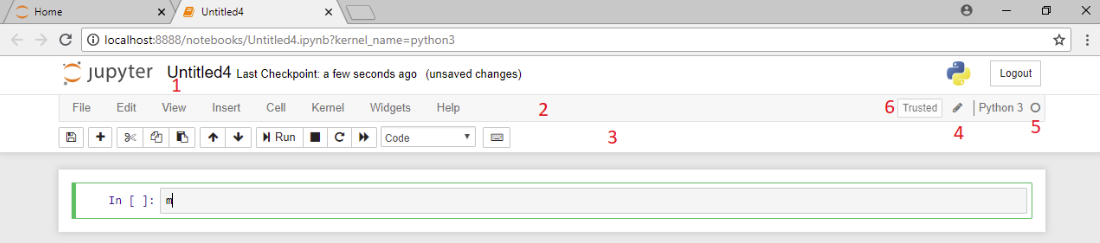
The following are the main interfaces you will find on the main page of the Notebook:
- Title (1): This is your filename and you can also change the filename of your Notebook.
- Menu bar (2): Similar to any other desktop application, you have a menu bar where you can find different actions to do with the Notebook.
- Toolbar (3): This is located below the menu bar and contains little icons to perform some commonly performed actions, such as saving a file, cutting cells, pasting cells, moving cells, and so on.
- Mode indicator (4): This is located on the right-hand side of the menu bar. The Notebook has two modes, Edit mode and Command mode. Command mode has many keyboard shortcuts that you can use. In this mode, no icon is displayed in the indicator area, and the actions you can perform in this mode are actions that have to do with the file itself, such as saving the file, copying and pasting cells, and so on. Edit mode allows you to write code or text in a cell, if you are in a cell. When you are in Edit mode, you will see a little pencil in the indicator area.
Note
A Jupyter Notebook is composed of two types of cells, code cells and text cells. The border of a selected cell will be green when you are in Edit mode. To go back to Command mode from Edit mode, you can press the Esc key or Ctrl + M. There are many keyboard shortcuts that you can use and there is a list in the Help menu.
- Kernel indicator (5): This displays the status of the system's computation progress. To interrupt the computations that are in progress, you can use the stop button located on the toolbar.
- Notification area (6): This area will display messages such as
saving the file, orinterrupting the kernel, and so on, and you will see the actions that you're performing in the notification area.