
Setting up the project
Now that we have our goals in mind, let's start building our project:
- To get started, open Unity on your computer. For the purpose of this book, we will use Unity 2017.2.0f3, but the steps should work with minimal changes in future versions.
Note
If you would like to download the exact version used in this book, and there is a new version out, you can visit Unity's download archive at https://unity3d.com/get-unity/download/archive.
- From startup, we'll opt to create a new project by clicking on the
Newbutton. - Next, under
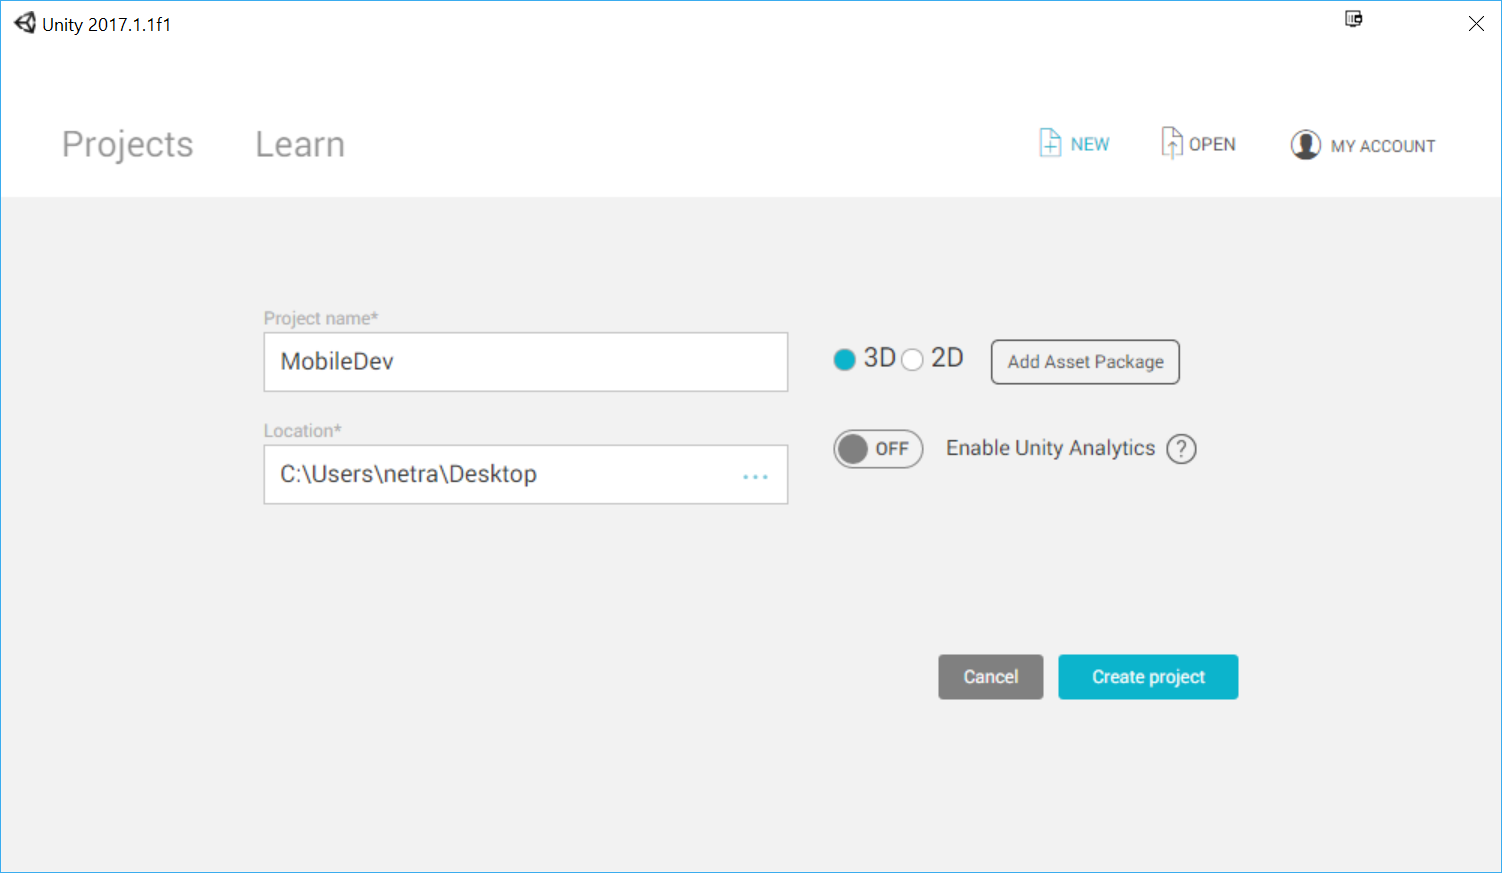
Project name*put in a name (I have chosenMobileDev) and make sure that3Dis selected. IfEnable Unity Analyticsis enabled (the check to the left of it saysOn), click on theEnable Unity Analyticsbutton again in order to disable it for the time being; we will add it ourselves later on when we go through Chapter 5, Advertising with Unity Ads. Afterwards, click onCreate projectand wait for Unity to load up:
- After it's finished, you'll see the Unity Editor pop up for the first time:
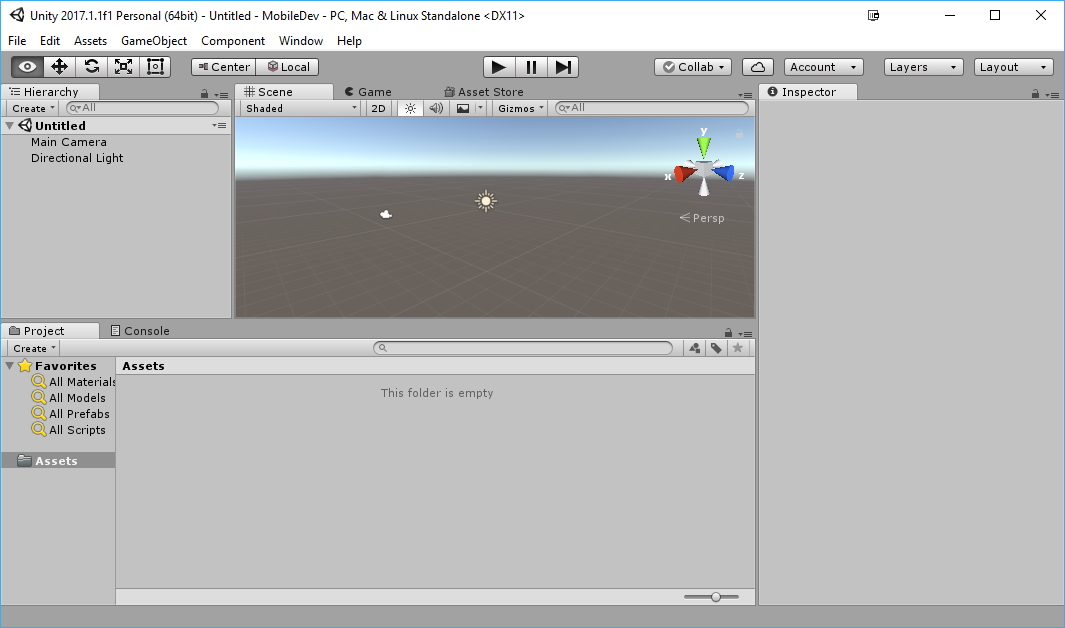
- If your layout doesn't look the same as in the preceding screenshot, you may go to the top-right section of the toolbar and select the drop-down menu there that reads
Layers. From there, selectDefaultfrom the options presented.
Note
If this is your first time working with Unity, then I highly suggest that you read the Learning the Interface section of the Unity Manual, which you can access at https://docs.unity3d.com/Manual/LearningtheInterface.html.