


Setting up our static Table View
Currently, our restaurant detail is going to a dynamic Table View; we want it to go to a static Table View:
In
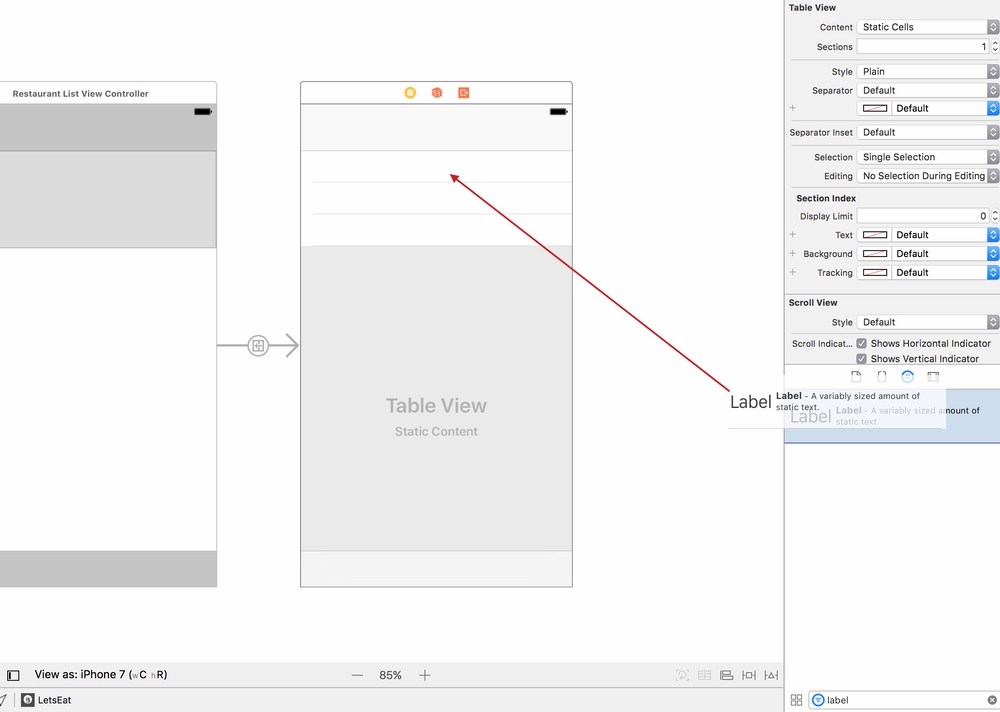
Explore.storyboardOutline view, select the Table View in theUITableViewControllerwe just dragged out.In the Utilities panel, select the Attributes Inspector and change Content from Dynamic Prototypes to Static Cells. Our Table View has now changed to static cells, which means we can drag out items right into the cell.
Now that our Table View is using static cells, we can see how it works before we actually start working with it.
In the Utilities panel, select the Object library, and in the filter field, type
label.Drag and drop the Label directly into any of the three Table View cells:
Double click on the Label and put your name inside it:
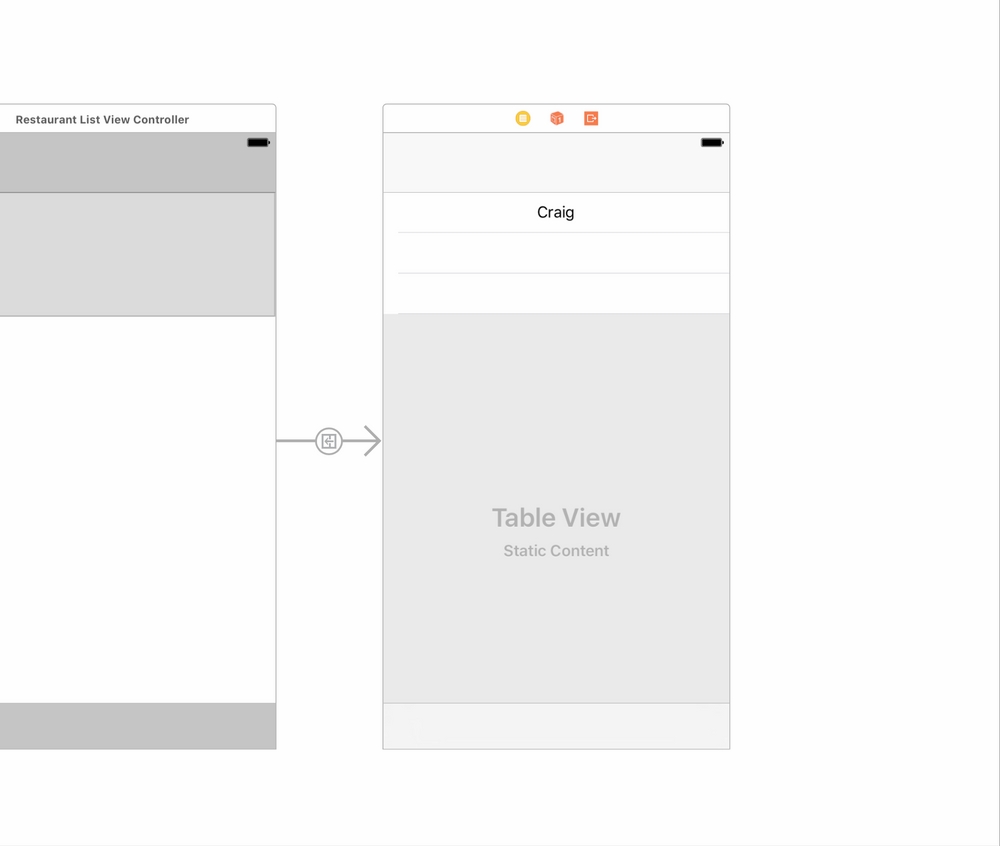
Build and run the project by hitting the play button (or use CMD + R). When you go to restaurant detail, you will see your name in the Table View, and you did not even have to add one line of code. This is a static...

