Search icon CANCEL
Subscription
0
Cart icon
Your Cart (0 item)
Close icon
You have no products in your basket yet
Save more on your purchases! discount-offer-chevron-icon
Savings automatically calculated. No voucher code required.
Arrow left icon
All Products
Best Sellers
New Releases
Books
Videos
Audiobooks
Learning Hub
Newsletter Hub
Free Learning
Arrow right icon
timer SALE ENDS IN
0 Days
:
00 Hours
:
00 Minutes
:
00 Seconds
Arrow up icon
GO TO TOP
iOS 10 Programming for Beginners

You're reading from   iOS 10 Programming for Beginners Explore the latest iOS 10 and Swift 3 features

Arrow left icon
Product type Paperback
Published in Dec 2016
Publisher Packt
ISBN-13 9781786464507
Length 678 pages
Edition 1st Edition
Languages
Tools
Arrow right icon
Author (1):
Arrow left icon
Craig Clayton Craig Clayton
Author Profile Icon Craig Clayton
Craig Clayton
Arrow right icon
View More author details
Toc

Table of Contents (26) Chapters Close

iOS 10 Programming for Beginners
Credits
About the Author
About the Reviewer
www.PacktPub.com
Customer Feedback
Preface
1. Getting Familiar with Xcode FREE CHAPTER 2. Building a Foundation with Swift 3. Digging Deeper 4. Digging into Collections 5. Starting the UI Setup 6. Setting Up UI 7. Getting Started with the Grid 8. Getting Started with the List 9. Working More with Lists 10. Where Are We? 11. Where's My Data? 12. Foodie Reviews 13. Saving Reviews 14. Universal 15. iMessages 16. Notifications 17. Just a Peek 18. Beta and Store Submission Index

Creating a custom title view


In order to add anything into our title view, we must first add a UIView. They are containers into which you can put other UI elements.

Adding a container

Perform the following steps for adding a container:

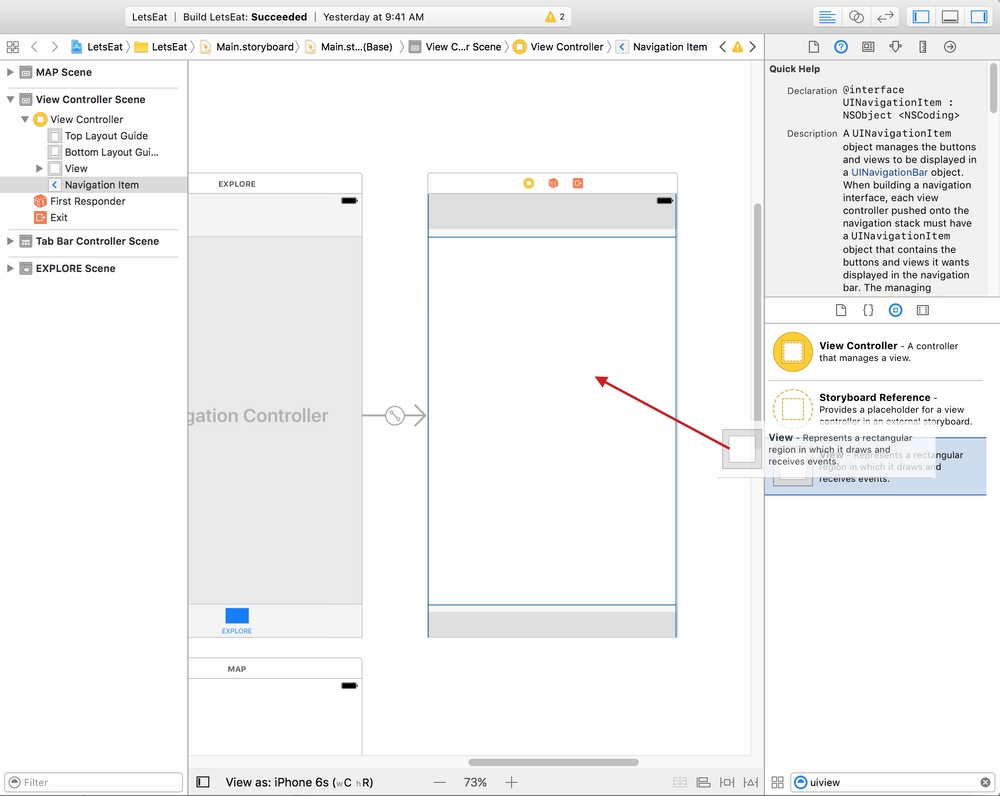
  1. In the filter field of your Utilities panel, type—uiview.

  2. You will see View at the bottom. Drag and drop this into your Explore navigation bar:

    Tip

    A way to confirm that you have dragged and dropped items into the proper place is to go to Outline view and see that the new item has been added under the correct label.

  3. You will see it highlighted when you are inside of it:

  4. With the View selected, go to the Utilities panel and select the Size Inspector.

  5. Now, drag the View box until its width is 118 and height is 33 in the Size Inspector:

  6. We have now created our container. Let's add our Stack View into this container.

Using Stack Views

Stack Views are really helpful to ensure that things are stacked either horizontally or vertically. We will use a Stack View inside of our...

lock icon The rest of the chapter is locked
Register for a free Packt account to unlock a world of extra content!
A free Packt account unlocks extra newsletters, articles, discounted offers, and much more. Start advancing your knowledge today.
Unlock this book and the full library FREE for 7 days
Get unlimited access to 7000+ expert-authored eBooks and videos courses covering every tech area you can think of
Renews at £13.99/month. Cancel anytime
Visually different images