Installing via the Alternate Installer
Now, we'll get on with an actual installation utilizing the alternate installer. At this point, you'll boot your server with the bootable media (flash drive, CD/DVD, and so on) and we'll be off to the races. Go through the following steps to complete the process:
- First, you'll be asked to select your language, which defaults to
English. Choose your language here and press Enter:
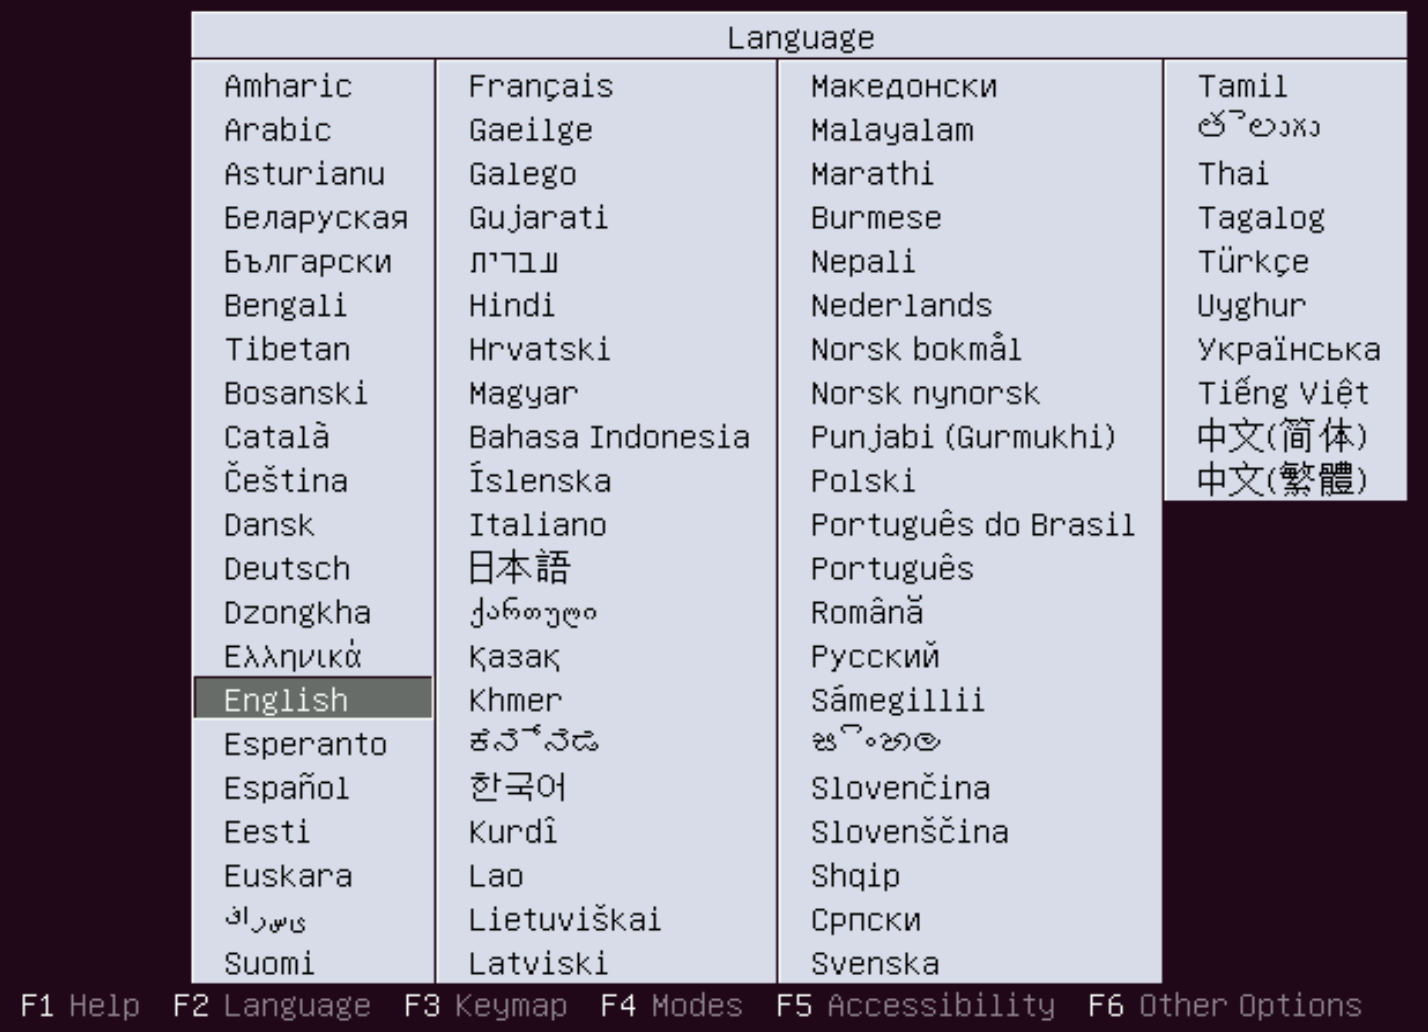
Selecting your language
- Next, the main menu for the installer will appear. You can simply press Enter as the default selection is what we want,
Install Ubuntu Server.
There are other options that are useful here, especially the memory test. If your server is a physical server, it's a good idea to check the RAM every once in a while for defects. The Rescue a broken system option is useful for troubleshooting.
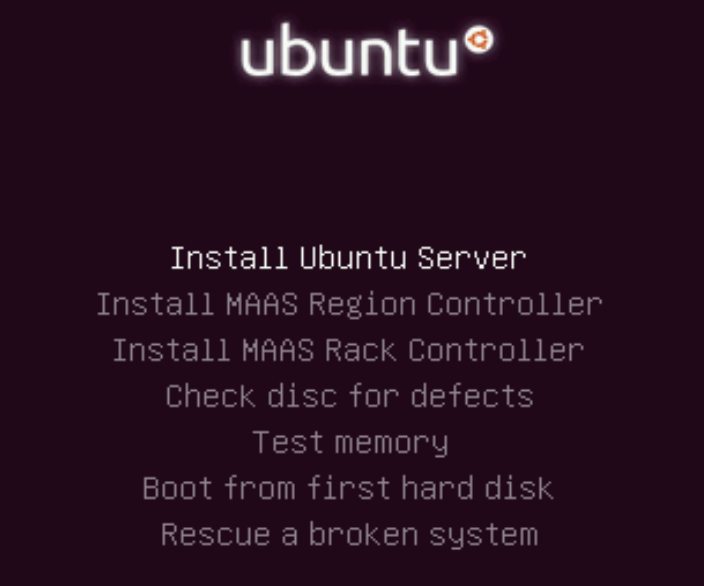
The main installation menu for the alternate installer
- Next, you'll select the language that will be used for the remainder of the installer, defaulting to English. If your language is something different, choose that here.
Note
For this screen (and all the remaining sections), you can use your arrow keys to make a selection, Enter to confirm the selection, Tab to change fields, and spacebar to select check boxes.
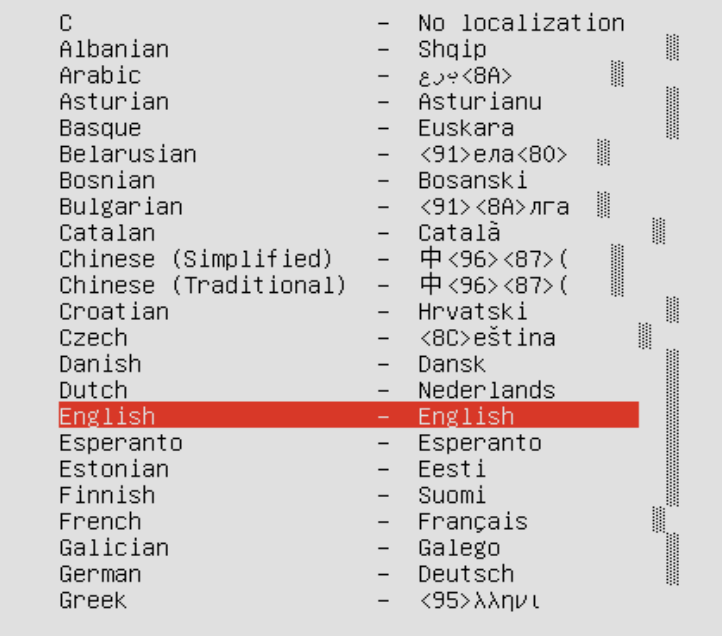
Setting the language for the installer
- Next, you'll select your location. When you've highlighted the appropriate selection, press Enter:
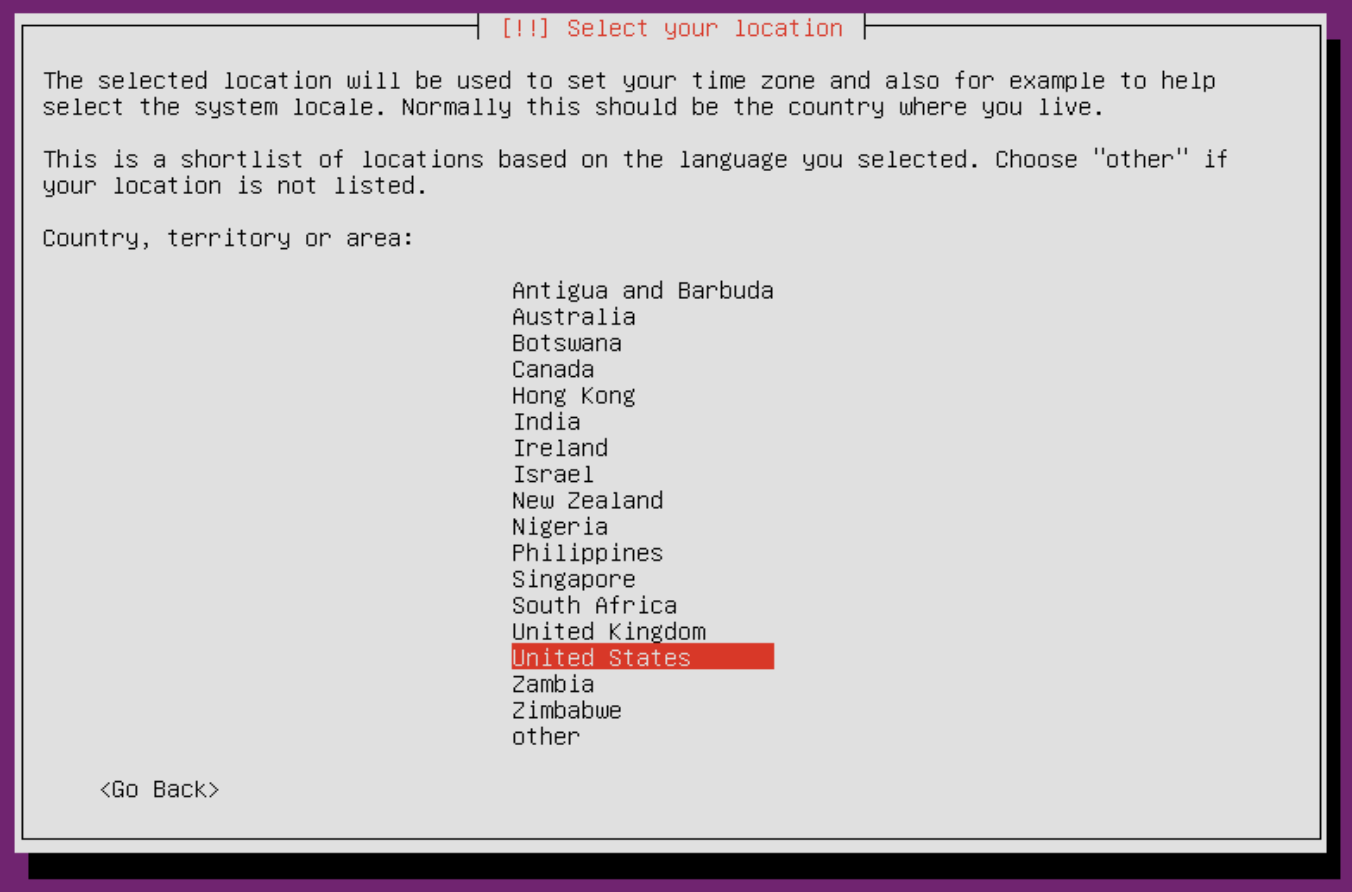
Setting your location
- Next, you'll be given an option to have the system detect your keyboard layout. I think it's faster to decline this and say
No. At the screen following this, we can select this ourselves:
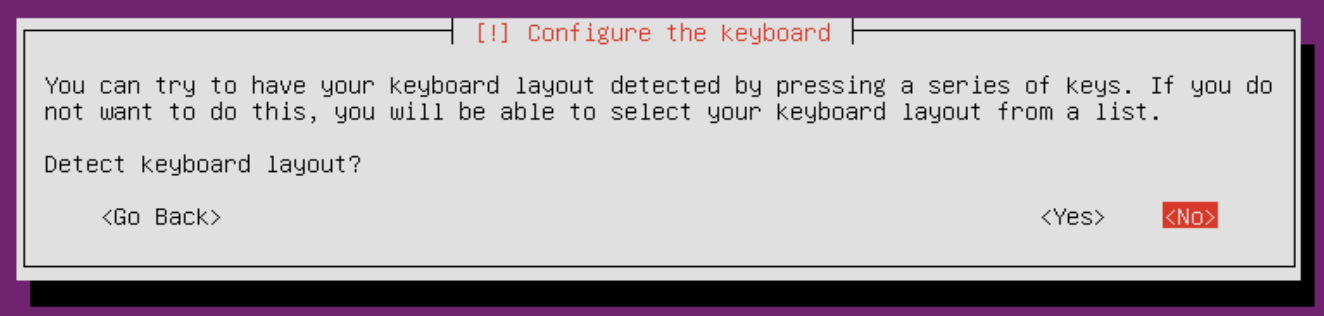
Choosing whether to detect the keyboard layout
- On the next screen, select the country of origin for your keyboard:
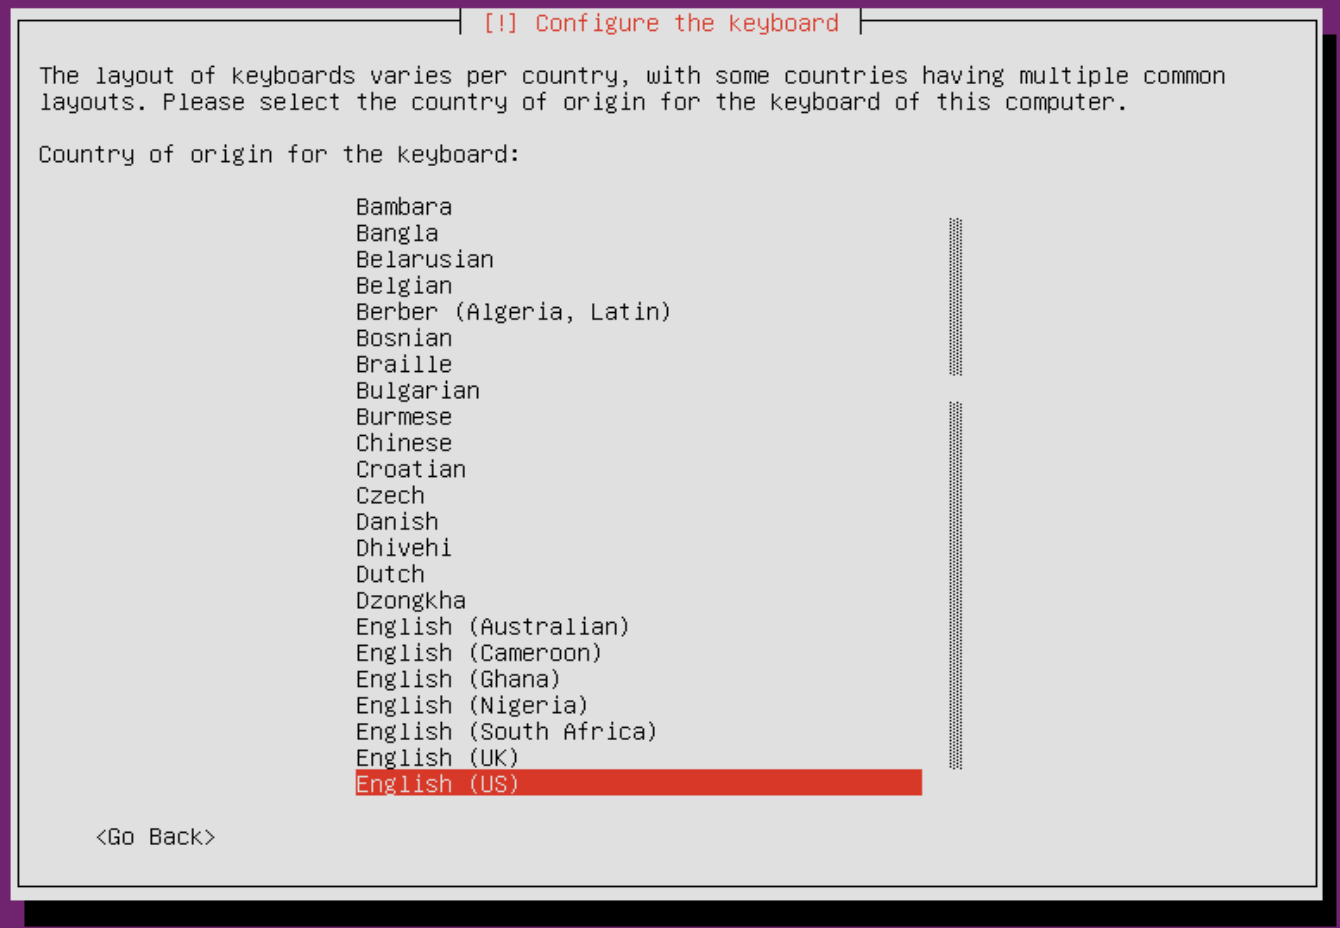
Setting the country of origin for your keyboard
- Next, select your actual keyboard layout:

Selecting your keyboard layout
- After a few progress bars scroll by, the installer will ask you to name your server. This name will appear on your network if you share files from the server, as well as your command prompt. After you type a name, press Enter:
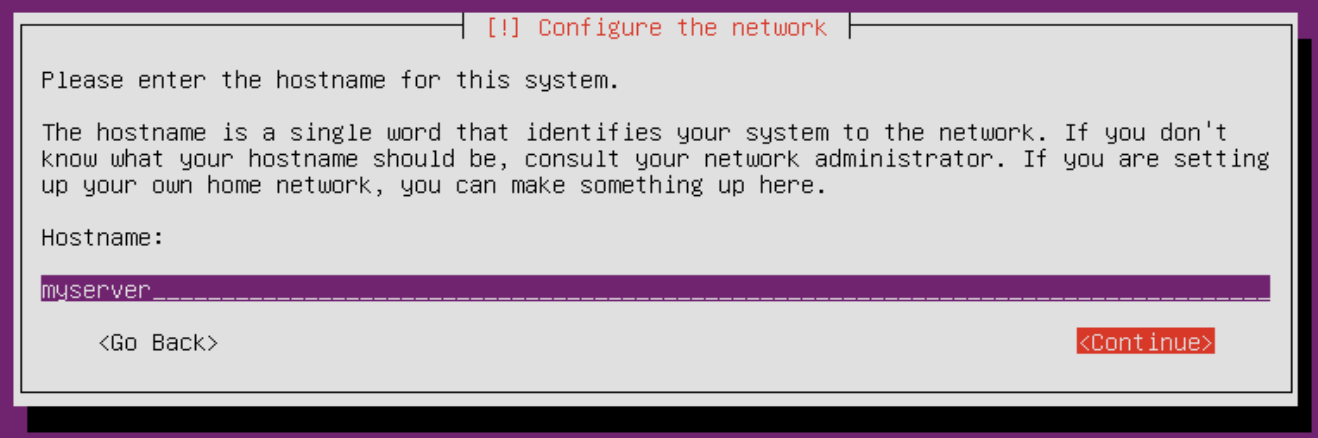
Setting the host name of your system
- Now, you'll enter a name for your user account. This is the display name, not the name that will be used at login. When you've finished typing your name, press Enter:
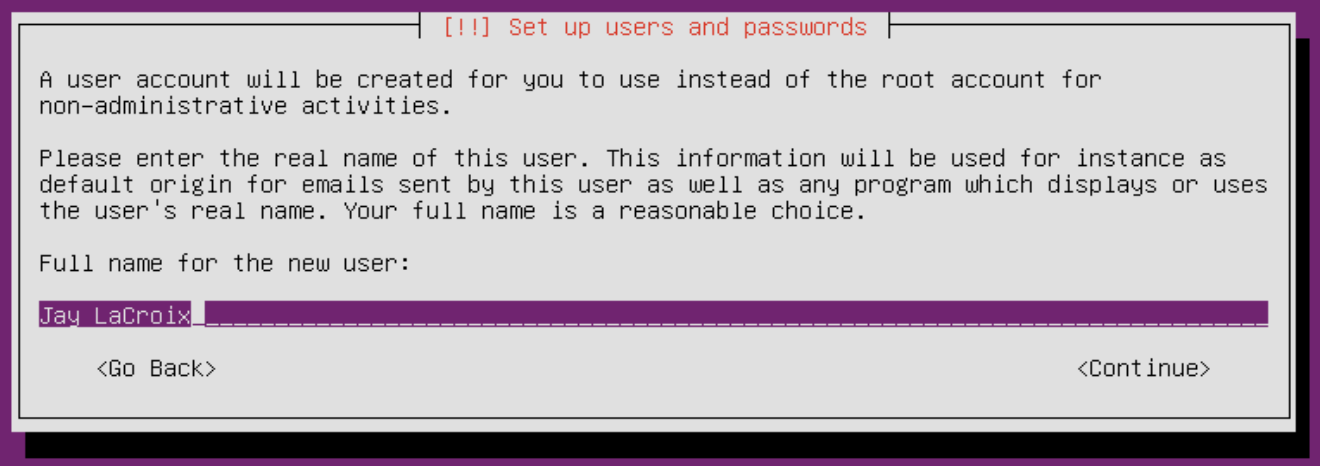
Setting the user's full name
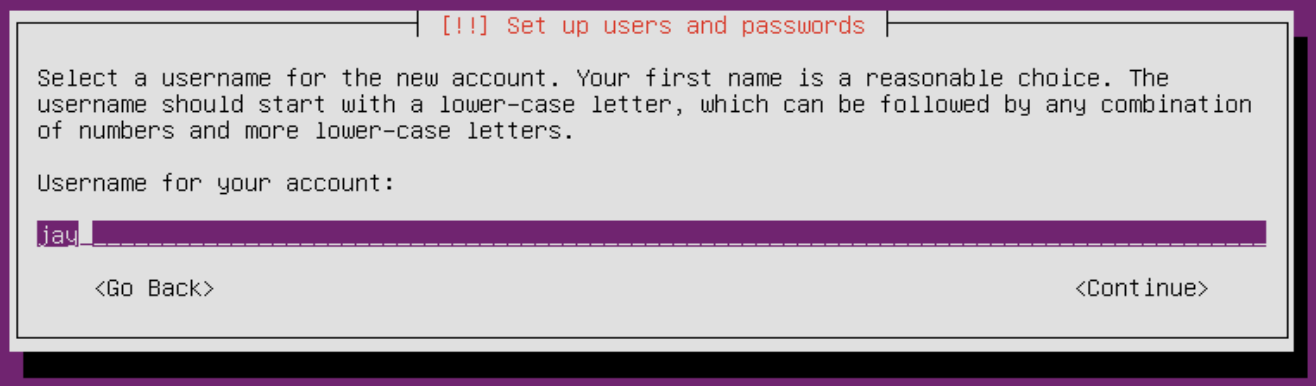
- Create a login name for your user. This is the user that will be given access to
sudoby default. After you've typed your desired username, press Enter:
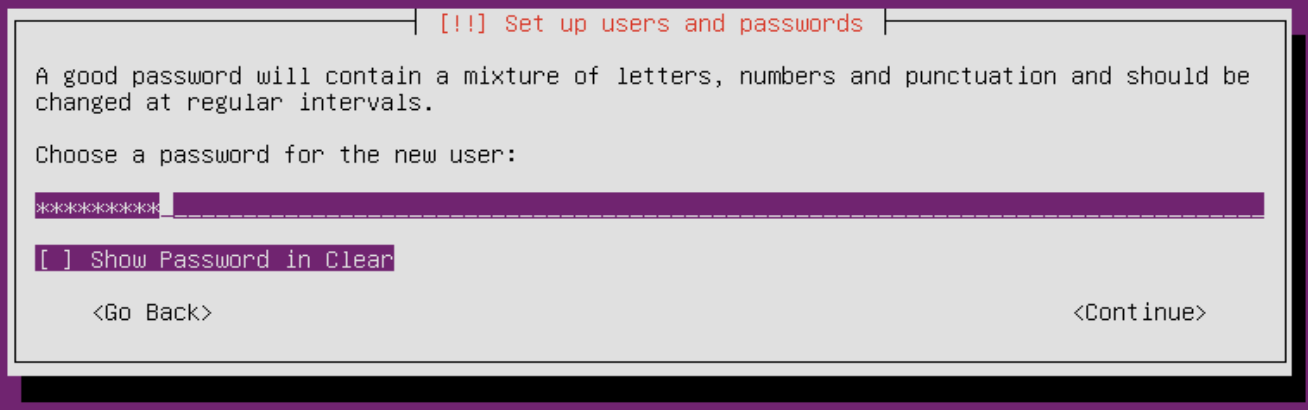
Adding a password for the user
- Next, create a super-secure password for your user and press Enter:
Setting the username
- Verify the password by entering it again, then press Enter:
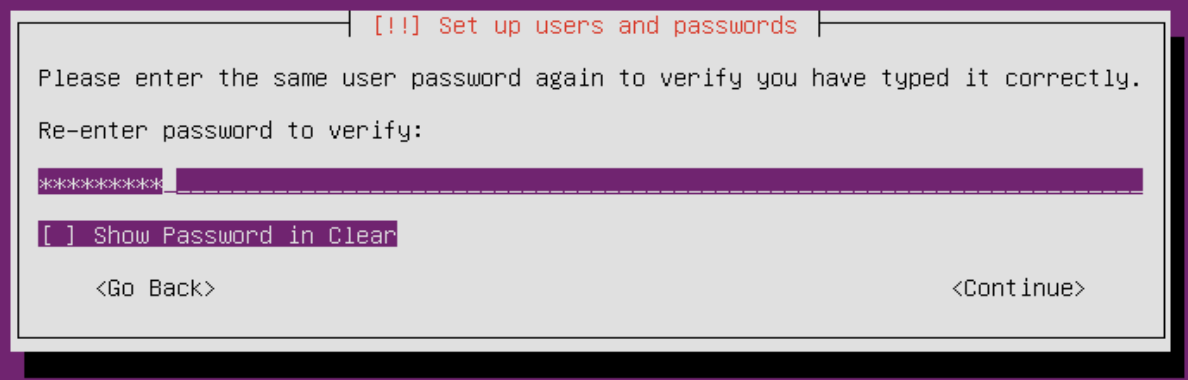
Confirming the new user's password
- Next, we'll set the time zone. The default time should work be correct, but we can always change this later. Press Tab key to select
Yes, and then press Enter:
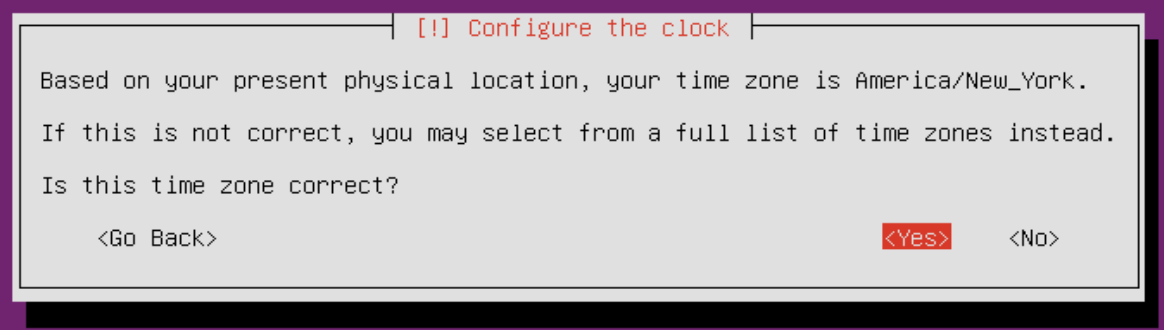
Confirming time zone selection
- At this point, we have a choice. We can select
Guided - use entire disk, which is the desired choice for most as it gives you a basic install. If you would like to set up RAID, chooseManual. If you do chooseManualto set up RAID, take a detour to the next section where I will walk you through the process. Once done, come back here and follow along with the remaining steps.
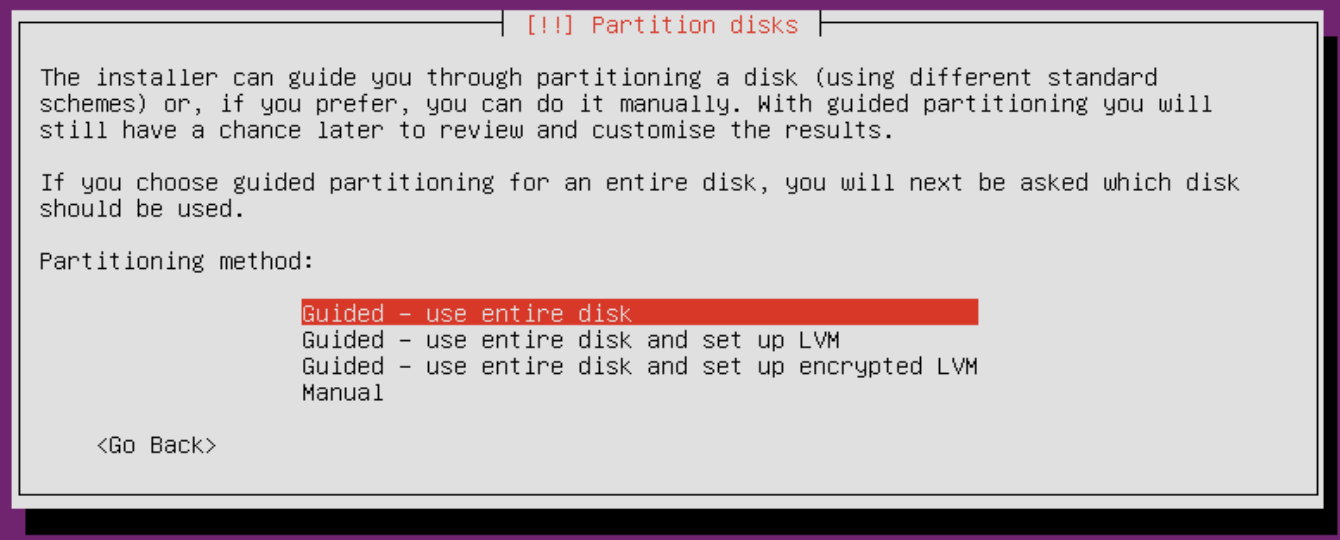
Choosing a mode for partitioning
- Next, we'll select the disk that we want to install Ubuntu onto. If you have only one disk, you'll see only one entry here. Otherwise, select the entry that corresponds to the disk you'll be installing Ubuntu onto. Then, press Enter:
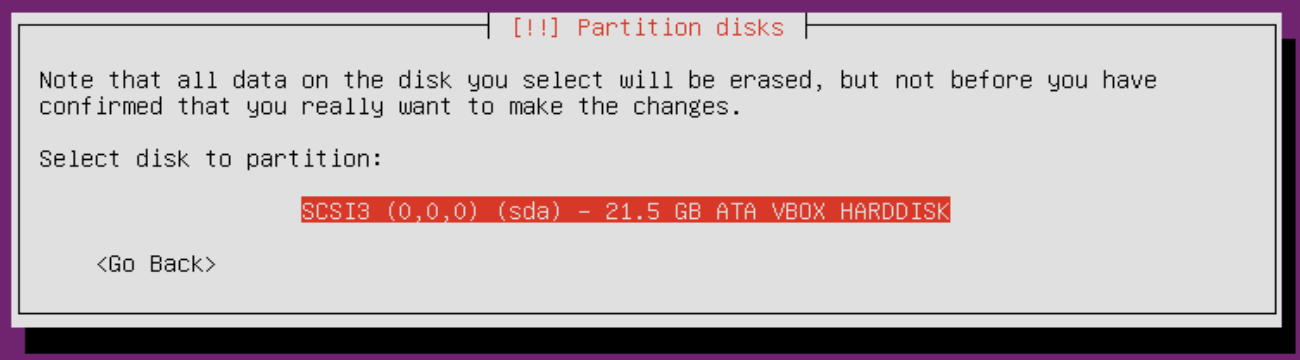
Selecting the desired disk for installation
- Next, we'll confirm our changes. Press Tab to highlight
Yes, and press Enter:
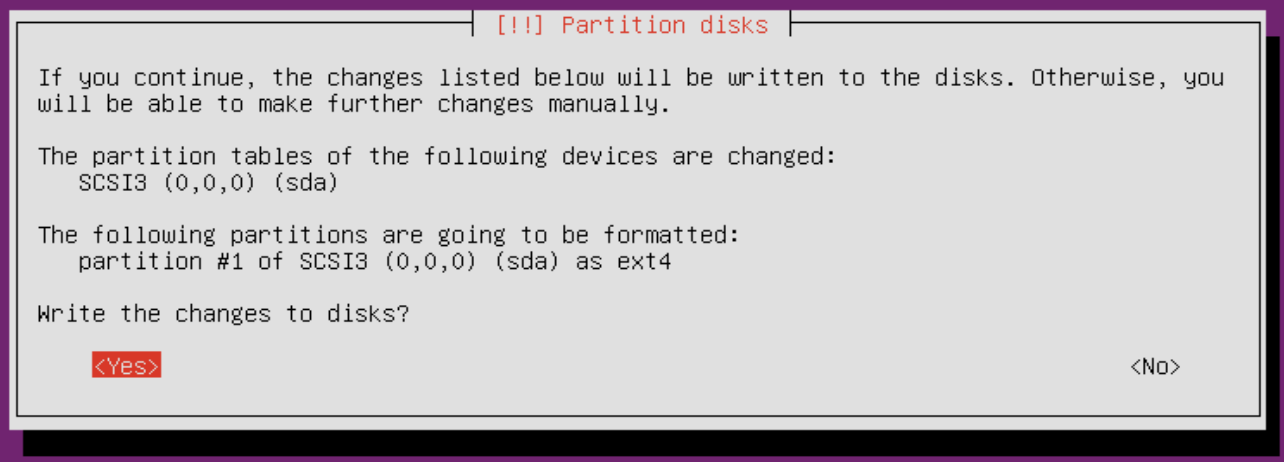
Confirming our changes to the disk
- Now, we'll be asked if we have a proxy on our network. If you do, enter the information here. Either way, press Enter to go on:
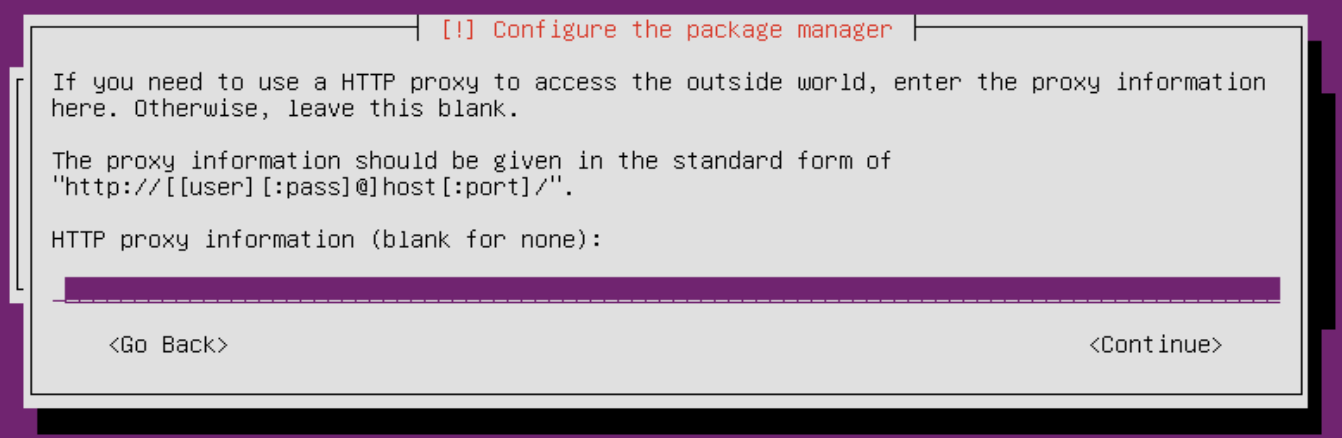
Setting the HTTP proxy if we have one
- Next, we'll be asked if we want to enable automatic updates. This is optional, and you may want to select
No automatic updatesfor now. If you desire a more secure system, it's probably a good idea to enable automatic updates, but the choice is yours:
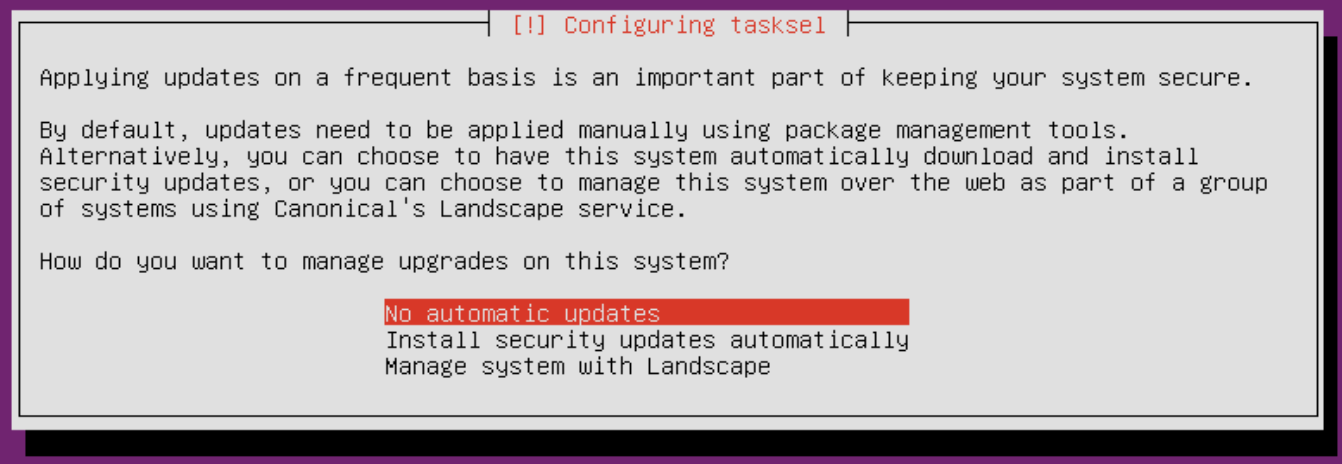
Choosing whether to enable automatic updates
- On the next screen, we'll have a selection for some useful package sets. Here, we can install the required packages for setting up a DNS server, LAMP server, and so on. The one option I definitely recommend you enable is OpenSSH server. This is, of course, optional. However, most administrators use SSH to configure their servers. Choose Continue to move on:
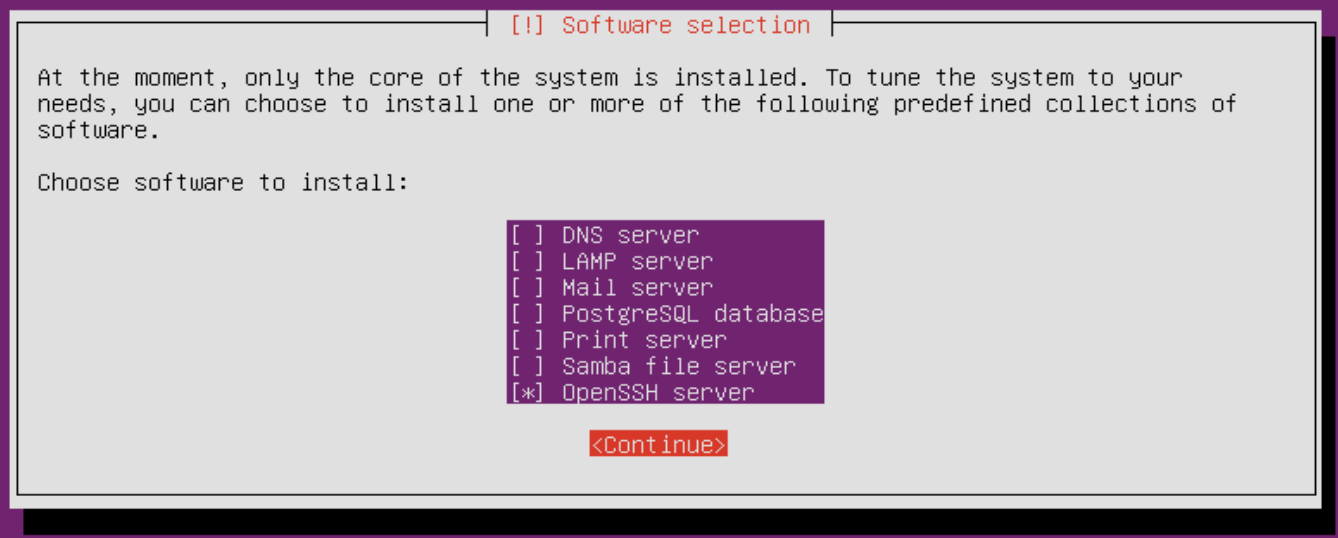
Choosing between optional package sets during installation
- Next, we'll choose whether or not to install GRUB on the master boot record. You should definitely say yes to this. Press Tab key to highlight
Yes, and then press Enter to move on:
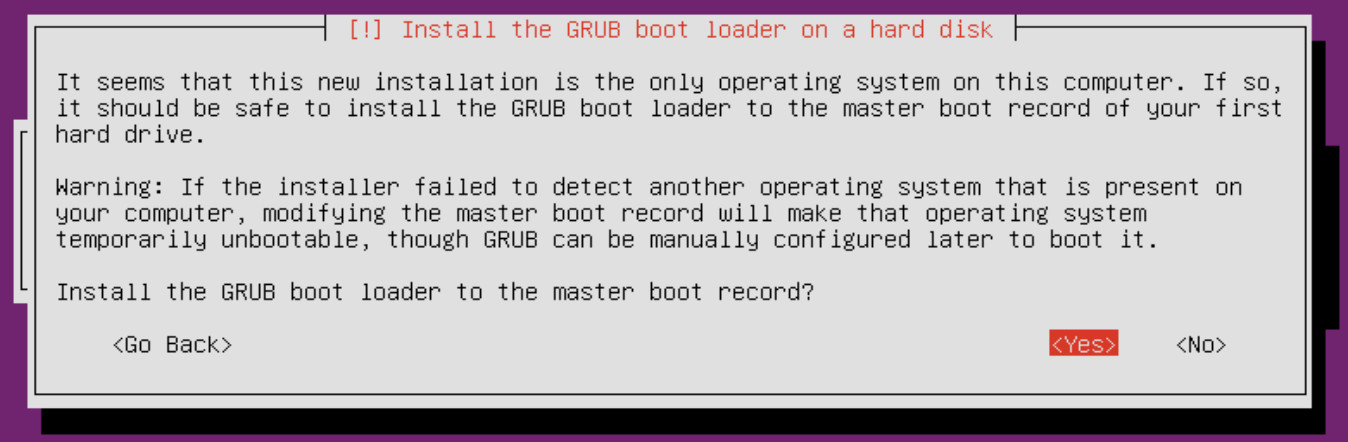
Confirming the installation of the GRUB boot loader
- We did it! That concludes all of the steps. On the final screen, we'll press Enter to end the installation process and reboot the server:
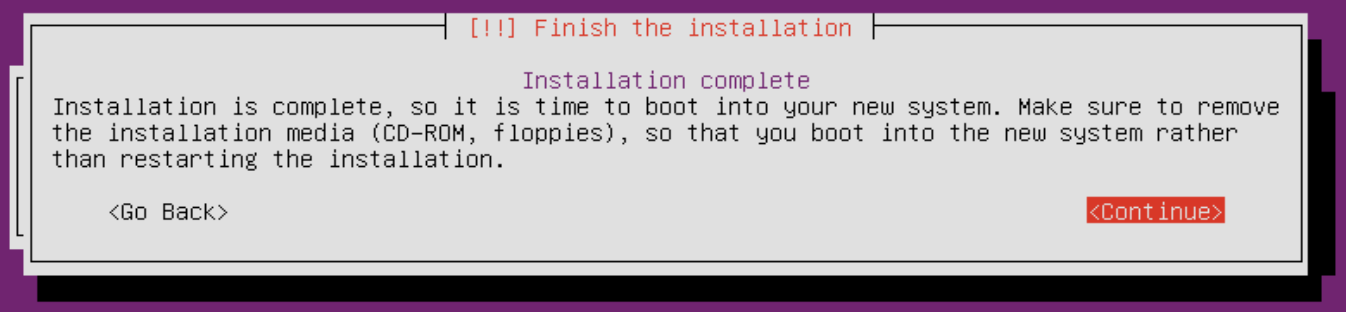
Finishing the installation