Event Graph
The Event Graph window is where you'll be writing all of your Blueprint visual scripting code, creating your variables and functions, and accessing other variables and functions declared in this class's parent class.
If you select the Event Graph tab, which you should be able to see to the right of the Viewport tab, you will be shown the Event Graph window instead of the Viewport window. On clicking the Event Graph tab, you will have the following window:
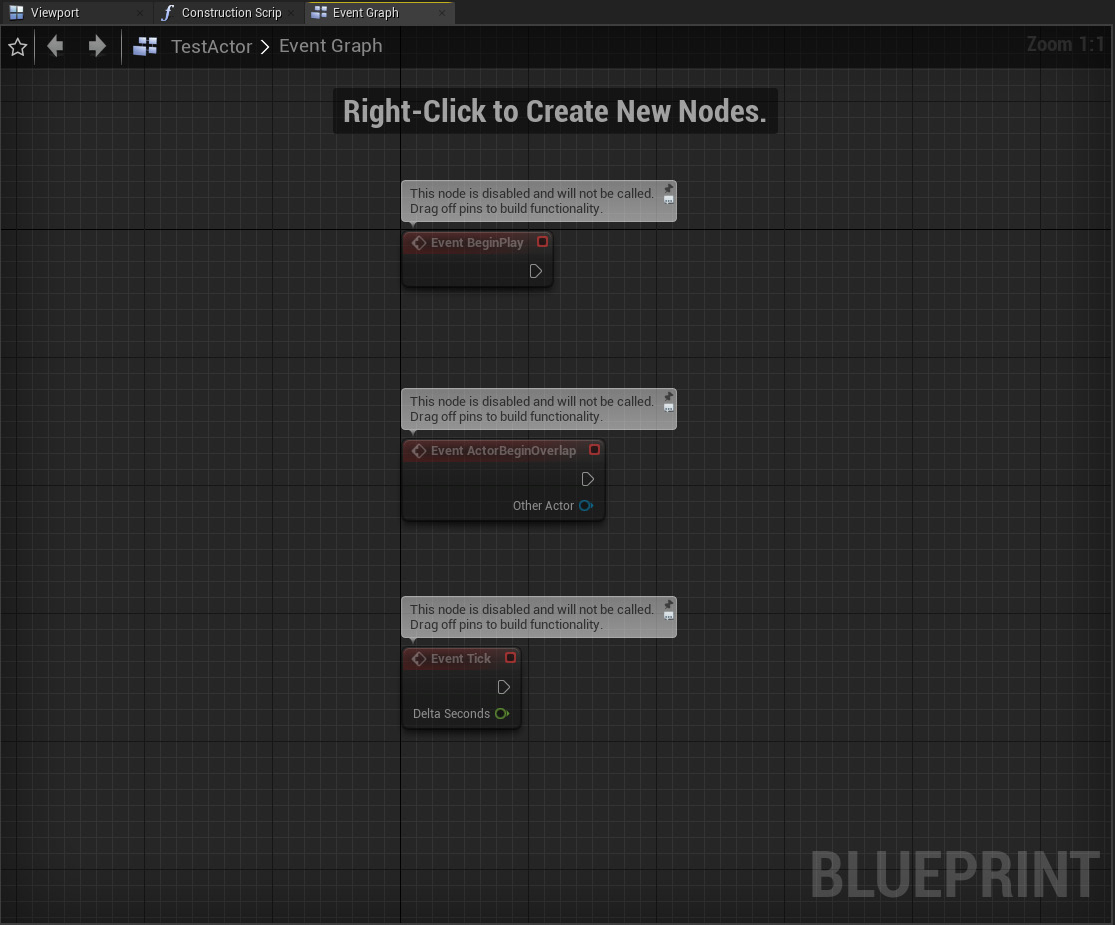
Figure 1.21: The Event Graph window, showing three disabled events
You can navigate the Event Graph by holding the right mouse button and dragging inside the graph, you can zoom in and out by scrolling the mouse wheel, and you can select nodes from the graph by either clicking with the left mouse button or by pressing and holding to select an area of nodes.
You can also right-click inside the Event Graph window to access the Blueprint's Actions menu, which allows you to access the actions you can do in the Event Graph, including getting and setting variables, calling functions or events, and many others.
The way scripting works in Blueprint is by connecting nodes using pins. There are several types of nodes, such as variables, functions, and events. You can connect these nodes through pins, of which there are two types:
- Execution pins: These will dictate the order in which the nodes will be executed. If you want node 1 to be executed and then node 2 to be executed, you link the output execution pin of node 1 to the input execution pin of node 2, as shown in the following screenshot:
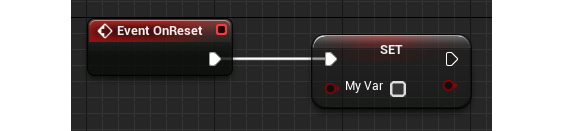
Figure 1.22: The output execution pin of the Event OnReset node being connected to the input execution pin of the setter node for MyVar
- Variable pins: These work as parameters (also known as input pins), at the left of the node, and return values (also known as output pins), at the right side of the node, representing a value of a certain type (integer, float, Boolean, and others):
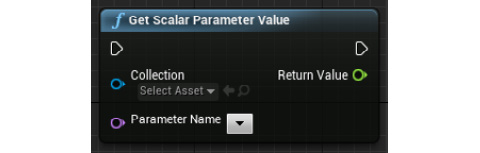
Figure 1.23: The Get Scalar Parameter Value function call node, which has two input variable pins and one output variable pin
Let's understand this better through the next exercise.
Exercise 1.04: Creating Blueprint Variables
In this exercise, we will see how to create Blueprint variables by creating a new variable of the Boolean type.
In Blueprint, variables work similarly to the ones you would use in C++. You can create them, get their value, and set them.
The following steps will help you complete this exercise:
- To create a new Blueprint variable, head to the
My Blueprintwindow and click the+ Variablebutton:
Figure 1.24: The + Variable button being highlighted in the My Blueprint window, which allows you to create a new Blueprint variable
- After that, you'll automatically be allowed to name your new variable. Name this new variable
MyVar:
Figure 1.25: Naming the new variable MyVar
- Compile your Blueprint by clicking the
Compilebutton on the left side of theToolbarwindow. If you now take a look at theDetailswindow, you should see the following: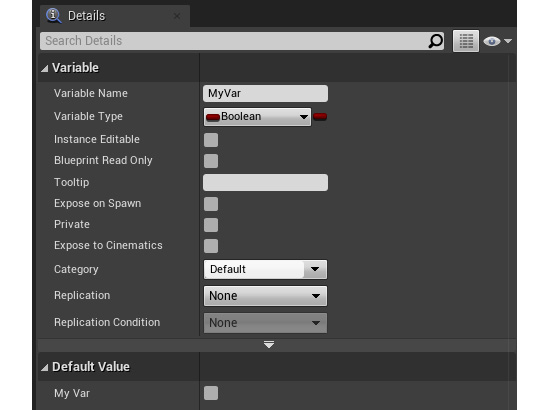
Figure 1.26: The MyVar variable settings in the Details window
- Here, you'll be able to edit all the settings related to this variable, the most important ones being
Variable Name,Variable Type, and itsDefault Valueat the end of the settings. Boolean variables can have their value changed by clicking the gray box to their right: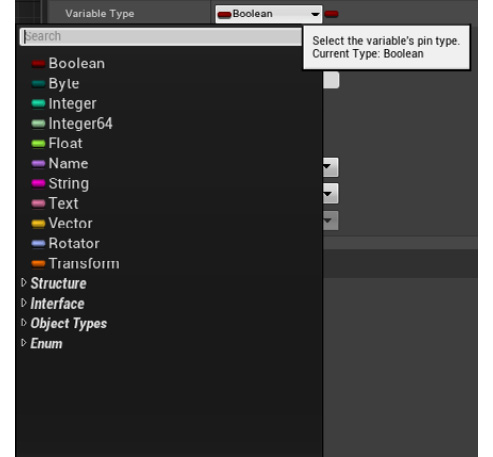
Figure 1.27: The variable types available from the Variable Type drop-down menu
- You can also drag a getter or setter for a variable inside the
My Blueprinttab into theEvent Graphwindow:
Figure 1.28: Dragging the MyVar into the Event Graph window and choosing whether to add a getter or setter
Getters are nodes that contain the current value of a variable while setters are nodes that allow you to change the value of a variable.
- To allow a variable to be editable in each of the instances of this Blueprint class, you can click the eye icon to the right of that variable inside the
My Blueprintwindow:
Figure 1.29: Clicking the eye icon to expose a variable and allow it to be instance-editable
- You can then drag an instance of this class to your level, select that instance, and see the option to change that variable's value in the
Detailswindow of the editor: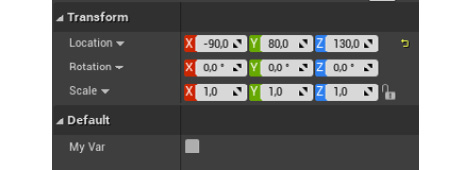
Figure 1.30: The exposed MyVar variable that can be edited through the Details panel of that object
And with that, we conclude this exercise and now know how to create our own Blueprint variables. Let's now take a look at how to create Blueprint Functions in the next exercise.
Exercise 1.05: Creating Blueprint Functions
In this exercise, we will create our first Blueprint Function. In Blueprint, functions and events are relatively similar, the only difference being that an event will only have an output pin, usually because it gets called from outside of the Blueprint class:
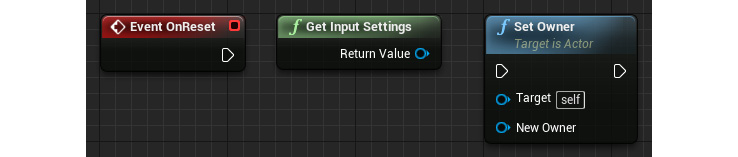
Figure 1.31: An event (left), a pure function call that doesn't need execution pins (middle), and a normal function call (right)
The following steps will help you complete this exercise:
- Click the
+ Functionbutton inside theMy Blueprintwindow:
Figure 1.32: The + Function button being hovered over, which will create a new function
- Name the new function
MyFunc. - Compile your Blueprint by clicking the
Compilebutton in theToolbarwindow:
Figure 1.33: The Compile button
- If you now take a look at the
Detailswindow, you should see the following: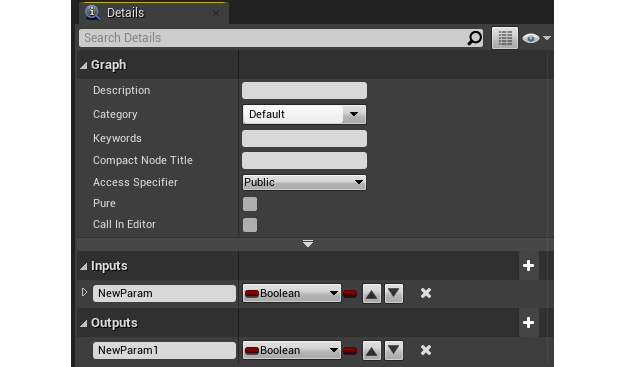
Figure 1.34: The Details panel after selecting the MyFunc function and adding an input and output pin
Here, you'll be able to edit all the settings related to this function, the most important ones being
InputsandOutputsat the end of the settings. These will allow you to specify the variables that this function must receive and will return.Lastly, you can edit what this function does by clicking it from the
My Blueprintwindow. This will open a new tab in the center window that will allow you to specify what this function will do. In this case, this function will simply returnfalseevery time it is called: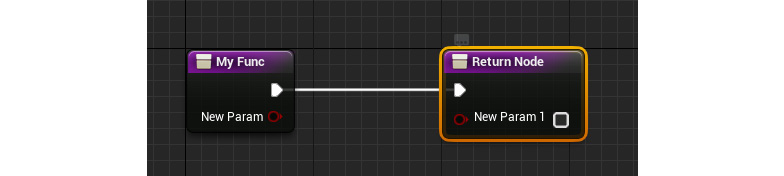
Figure 1.35: The contents of the MyFunc function, receiving a Boolean parameter, and returning a Boolean type
- To save the modifications we made to this Blueprint class, click the
Savebutton next to theCompilebutton on the toolbar. Alternatively, you can have it so that the Blueprint automatically saves every time you compile it successfully by selecting that option.
After following these steps, you now know how to create your own Blueprint Functions. Let's now take a look at a Blueprint node we'll be making use of later in this chapter.