Installing Packet Tracer
After you download Packet Tracer to your computer, all you have to do is begin the installation. To do so, follow the following steps:
- Locate the downloaded file
Packet Tracer 7.1.1 for Windows 64Bitand double-click on it. - In Windows 10, click on
Yesto let the app make changes to your device. - Check I accept the agreement and then click on
Next, as shown in Figure F.1:
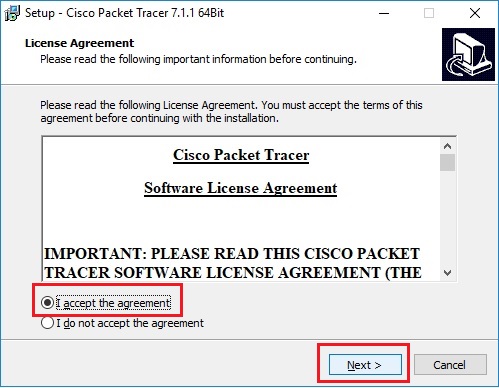
Figure F.1. Accept agreement and click Next
- Either check or don't check the
Additional shortcutsand then click onNext. - Click on
Installto begin the installation of Packet Tracer on your computer. - Shortly, the Packet Tracer installation will be complete, as shown in Figure F.2:
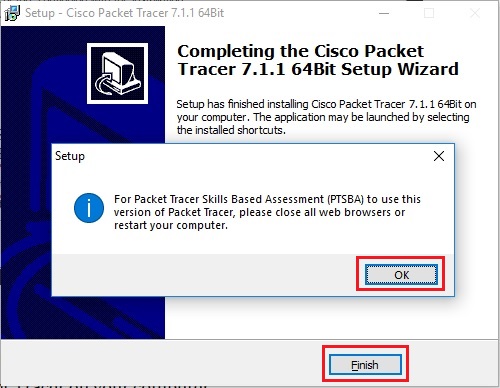
Figure F.2. Packet Tracer installation is complete
- Click on
OKto confirm closing all web browsers or restarting your computer, and then click onFinish. - The first time you launch the Packet Tracer, it will ask you to log in by providing your Netacad credentials.
- After successful login,
Cisco Packet Traceris at your disposal (see Figure F.3):
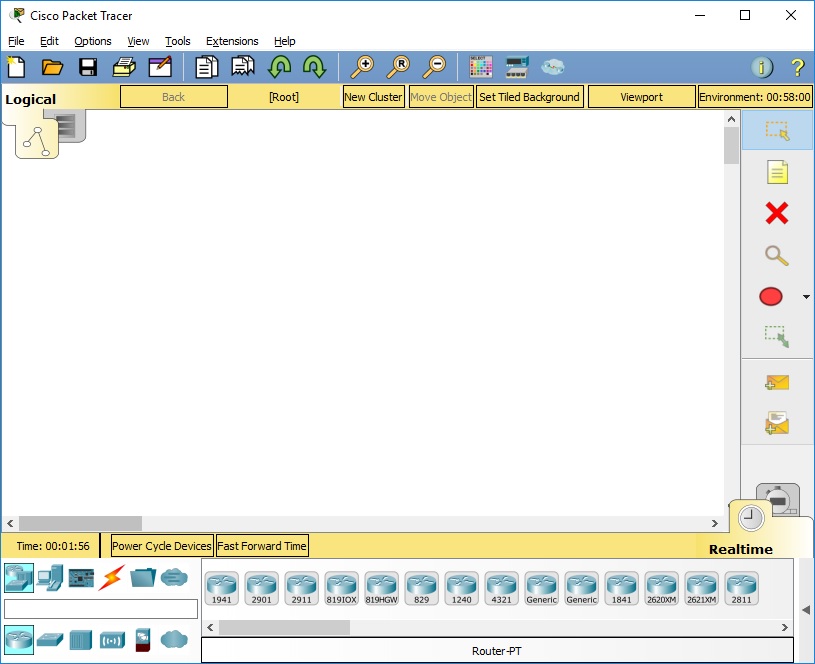
Figure F.3. Cisco Packet Tracer user interface
Note
You can download and learn more about Cisco Packet Tracer at https://www.netacad.com/courses/packet-tracer.