Setting up your AWS account
You will need to create an account on Amazon before you can use the Amazon Web Services (AWS). Amazon provides a 12-month limited fully functional free account which can be used to learn the different components of AWS. With this account, you get access to many services provided by AWS but there are some limitations based on resources consumed. The list of AWS services is available at http://aws.amazon.com/free.
Creating a new AWS account
We are assuming that you do not have a pre-existing AWS account with Amazon (in case you do then please feel free to skip this section).
- Point your browser to http://aws.amazon.com/free and click on
Create a Free Account.
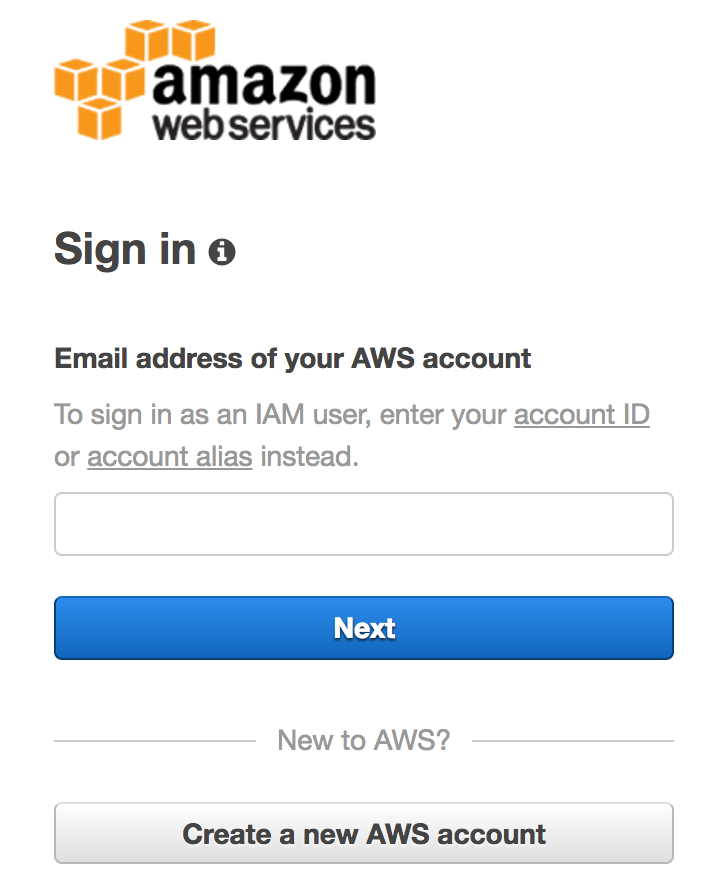
- Click on
Create a new AWS account, as shown:
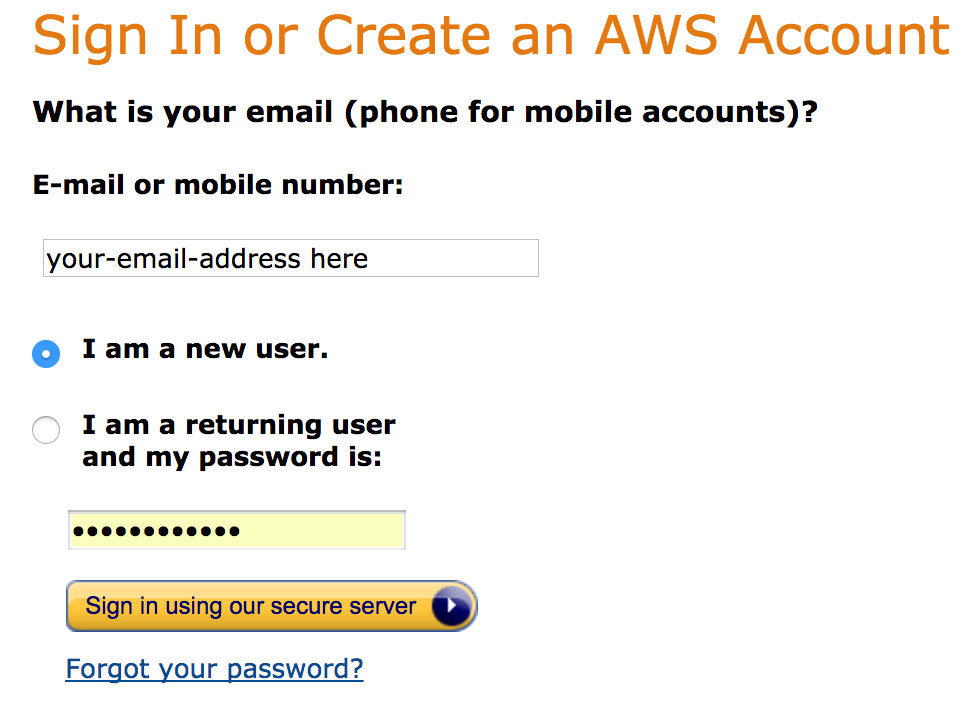
- Enter your email address, select
I am a new useroption, and then click onSign-in using our secure serverbutton:
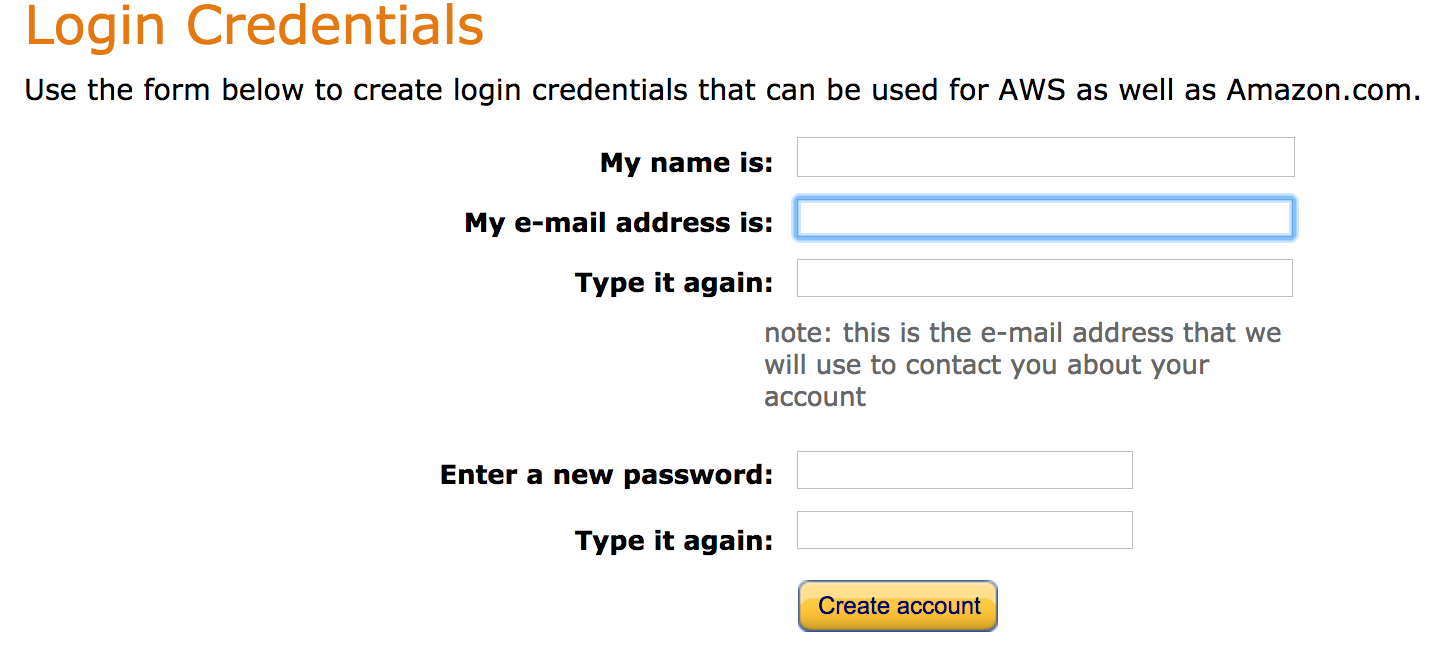
- A series of intuitive screens shown, as follows, will guide you easily through the process of creating an AWS account. Provide your name, email address, and a password in the form. Click on the
Create accountbutton to proceed to the next step:
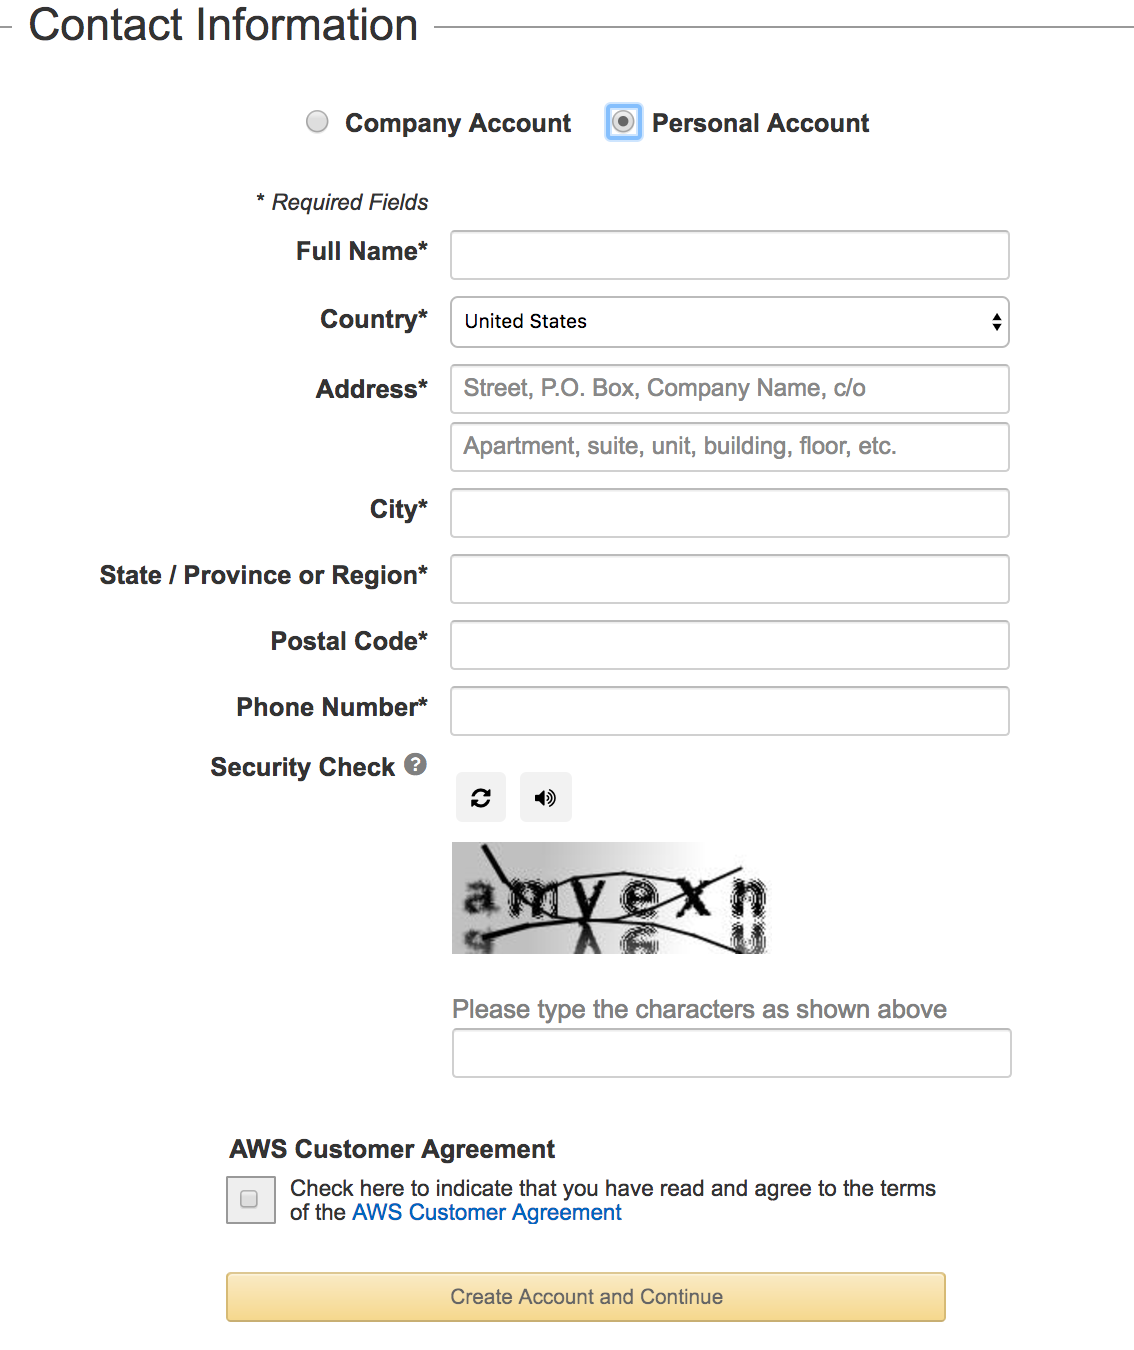
- Provide the
Contact Informationdetails as requested in the form shown here. SelectPersonal Accountfor your initial learning purposes. Amazon uses this information for billing and invoicing:
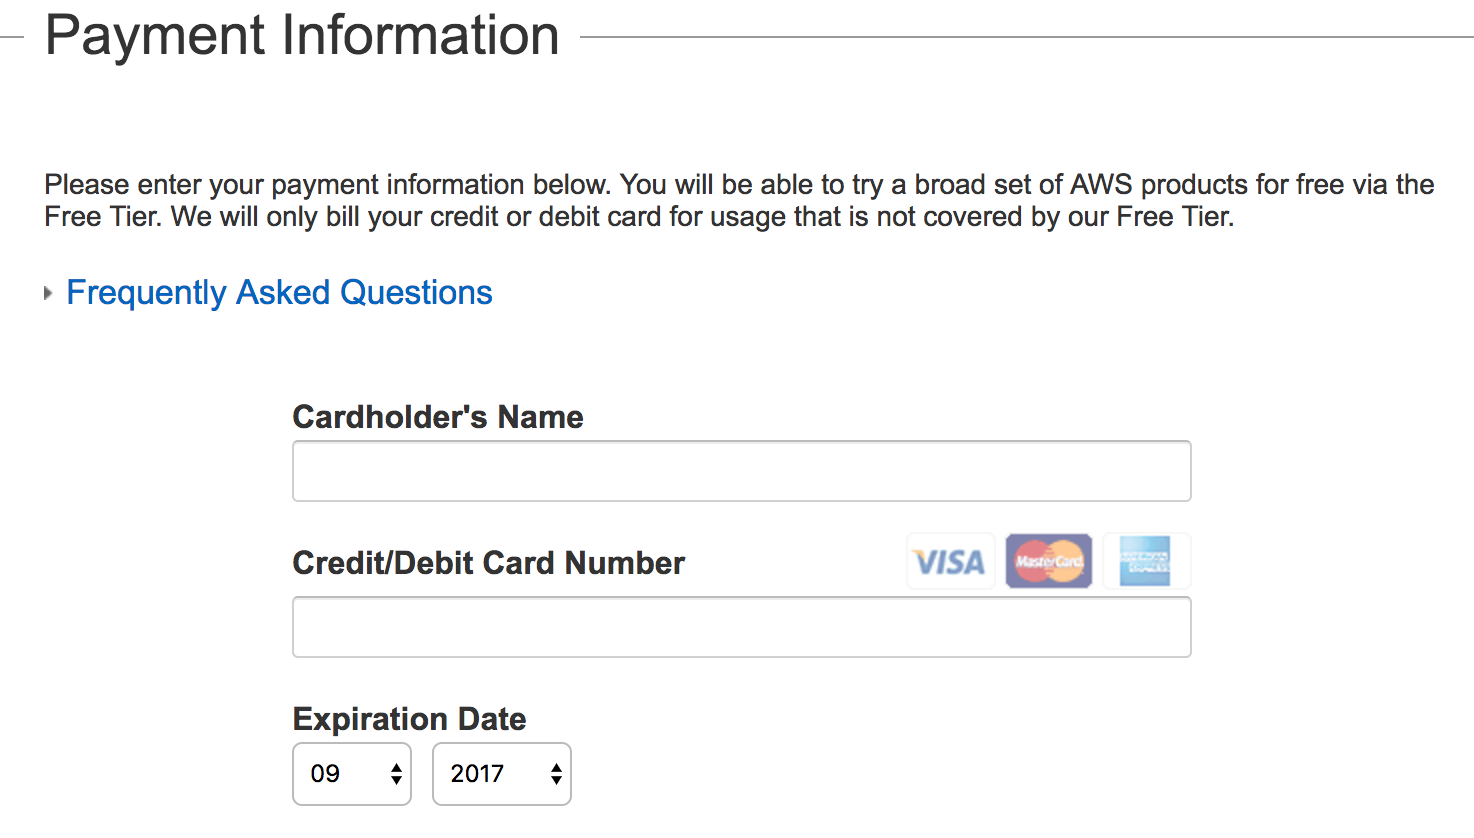
- Provide
Payment Informationin the form as shown in the following screenshot. When you create an AWS account and sign up for services, you are required to enter the payment information. Amazon will execute a $1 transaction against the card to confirm its validity:
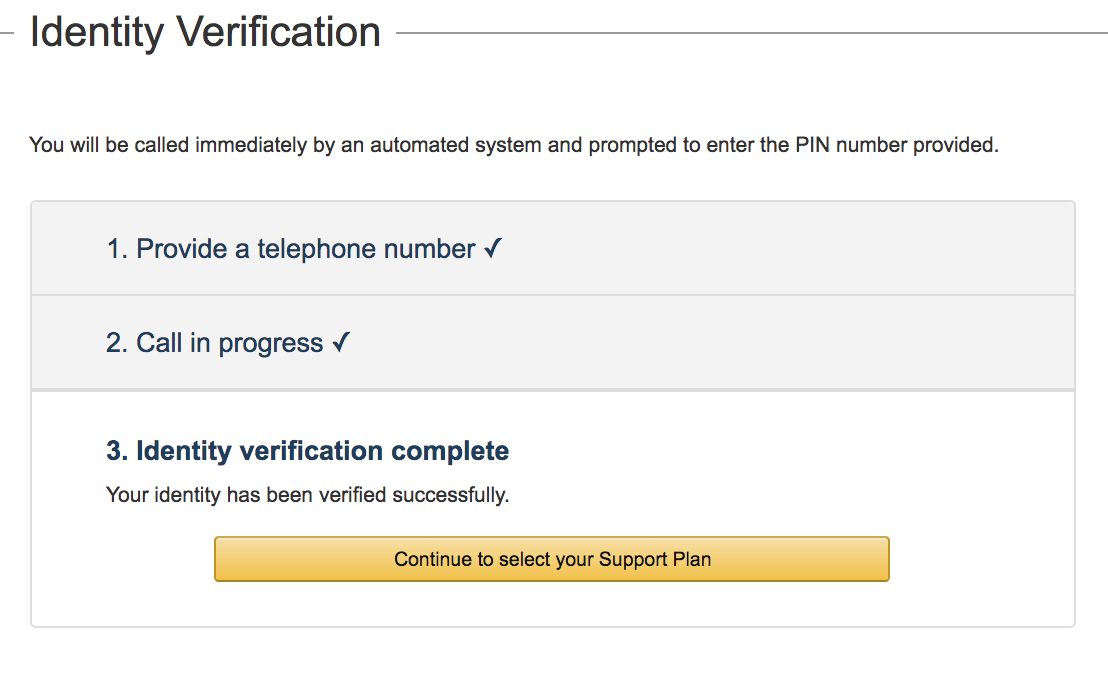
- Next, Amazon executes an identity verification step. It includes a call back via an automated system to verify your telephone number. You will also need to enter a four digit PIN (displayed on your screen) when prompted. After the verification process is completed, click on
Continueto select your Support Plan
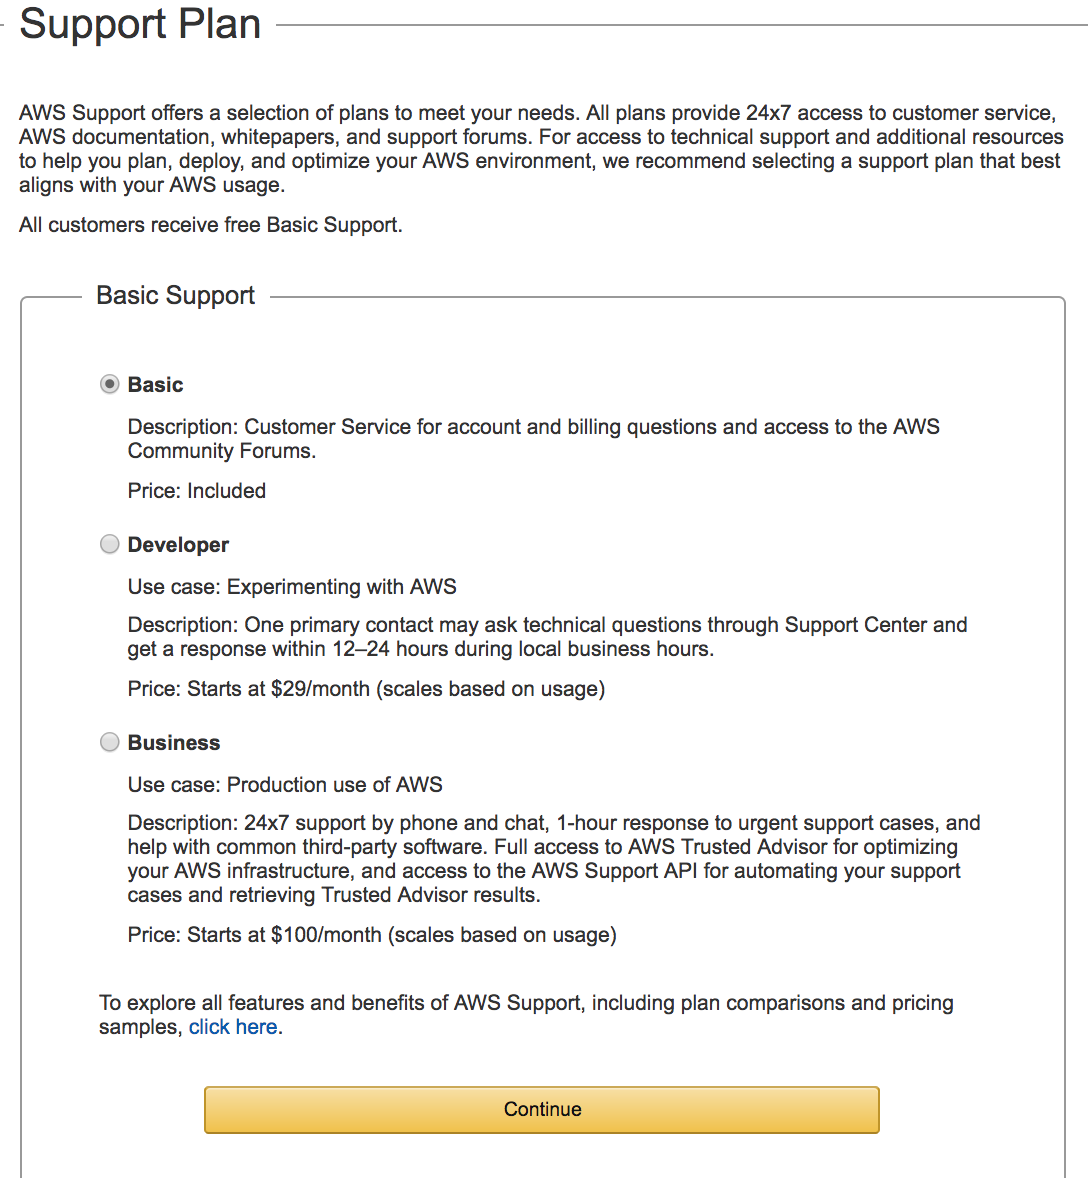
- Select your
Support Plan: You can subscribe to one of:Basic,Developer,Business, orEnterpriseplans. We recommend subscribing to theBasicplan at this stage. TheBasicplan costs nothing but is also limited. You should one of the other plans for production accounts. However, theBasicplan is an acceptable option for learning purposes. Click onContinueto proceed to the next step:
- At
Confirmationstage, you have completed all the steps requiring your input for setting up an AWS account (see all the steps checked at the top of your screen as shown). Click onLaunchManagement Console:
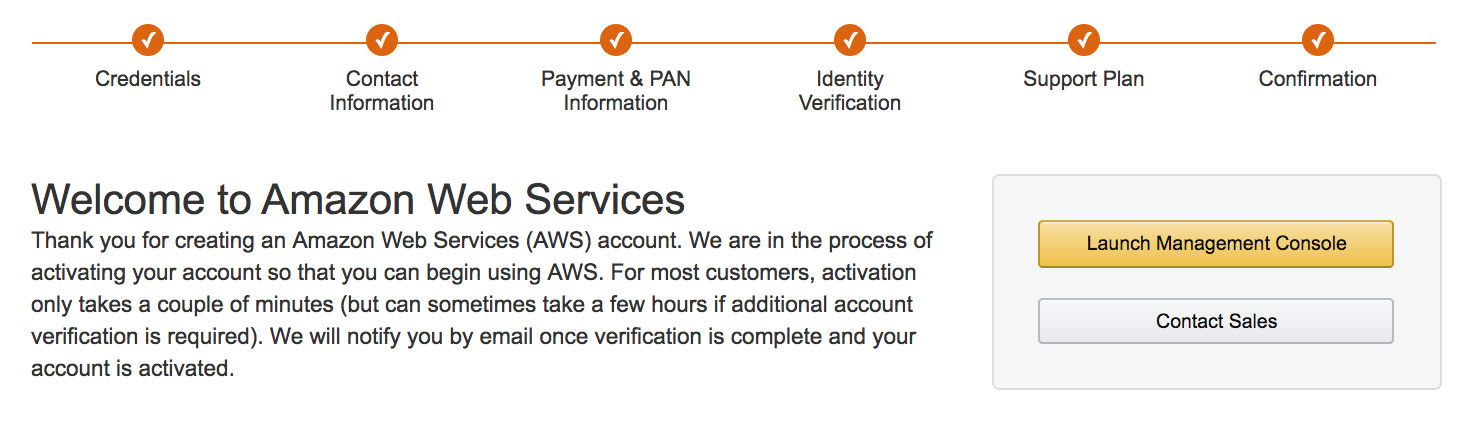
- At this stage, you have successfully created an AWS account, and you are ready to start using the services offered by Amazon Web Services. On clicking
Sign-in to the Consolebutton, you will be requested to log in:

Exploring the AWS management console
The AWS management console is the central location from where you can access all Amazon services. The management console has links to the following:
- The home screen of the console is shown as follows:
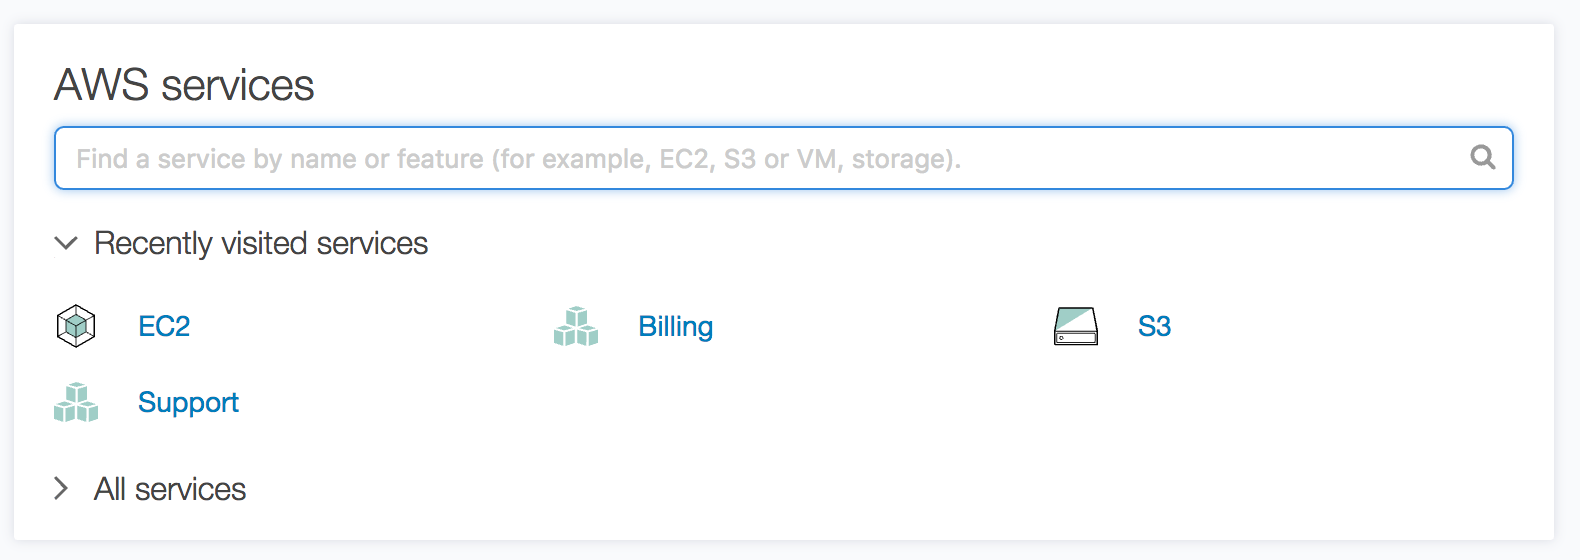
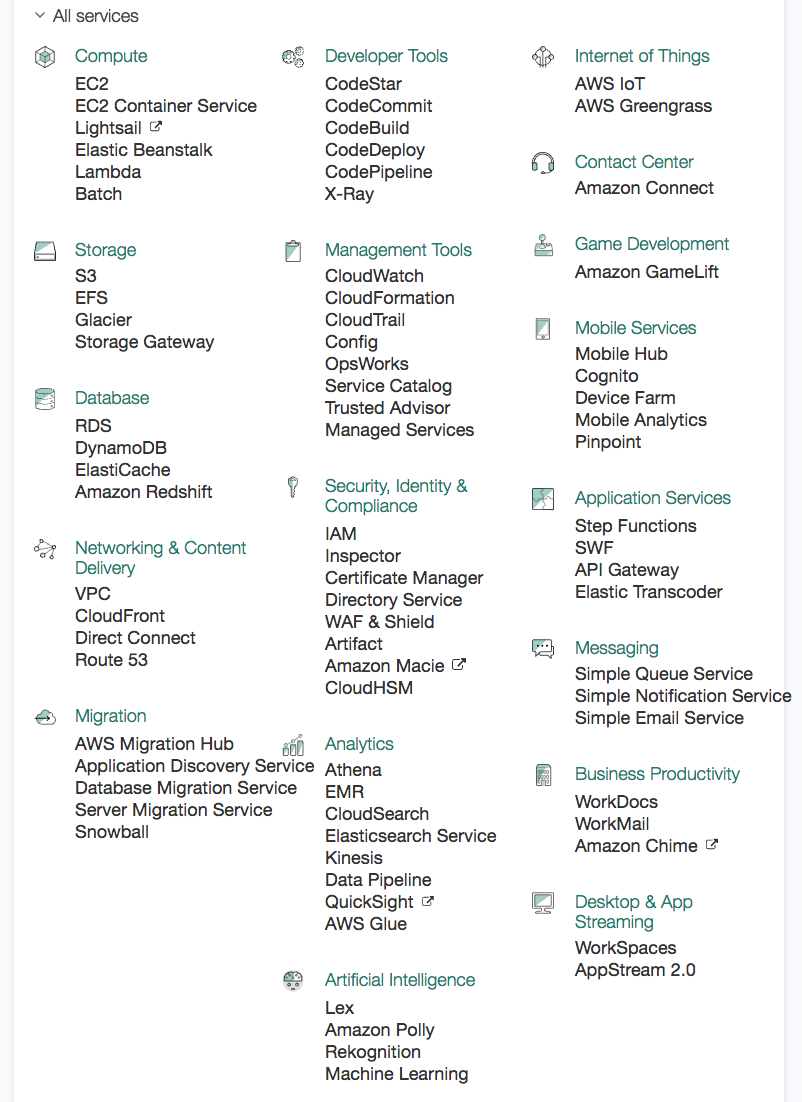
- Click on
All servicesto expand the display. This view lists all the AWS services available in a specific Amazon region. Clicking on any one of these launches the dashboard for the selected service:
Shortcuts for Amazon Web Services: On the console management screen you can create shortcuts of frequently accessed services by clicking on the pin (located after theServicesand theResource Groupslinks) in the title bar. We can drag and drop the services from the list to the title bar to add it:
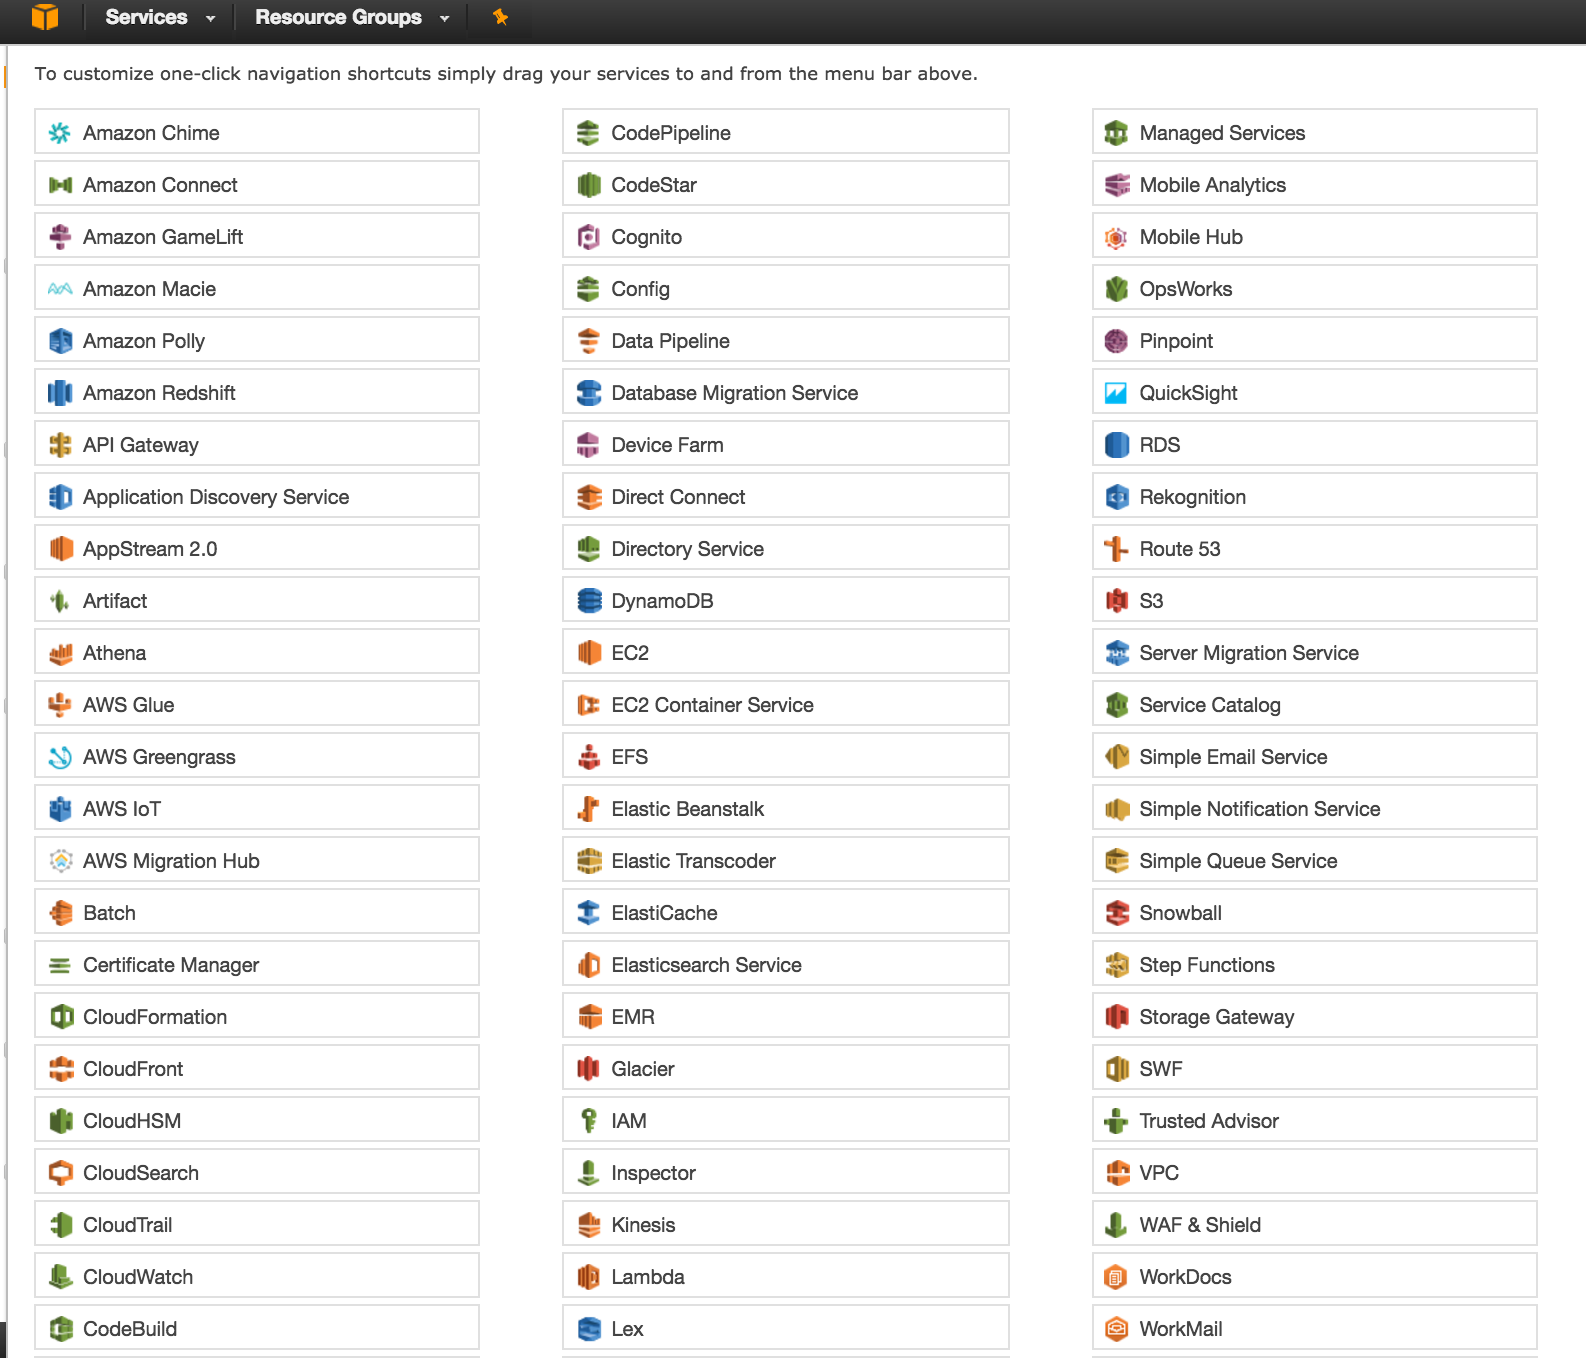
- The modified title bar after adding
EC2,S3,RDSandVPCcomponents to it is as shown:

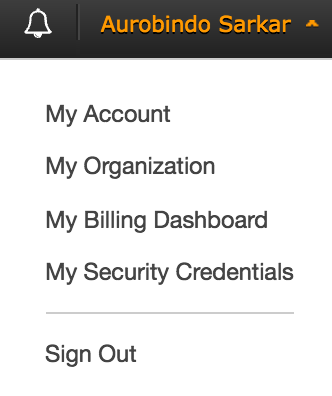
- Account-related information: This allows you to access your account-related data. It includes security credentials needed to access the AWS resources, and the
My Billing Dashboardoption gives you real-time information on your current month’s billing:
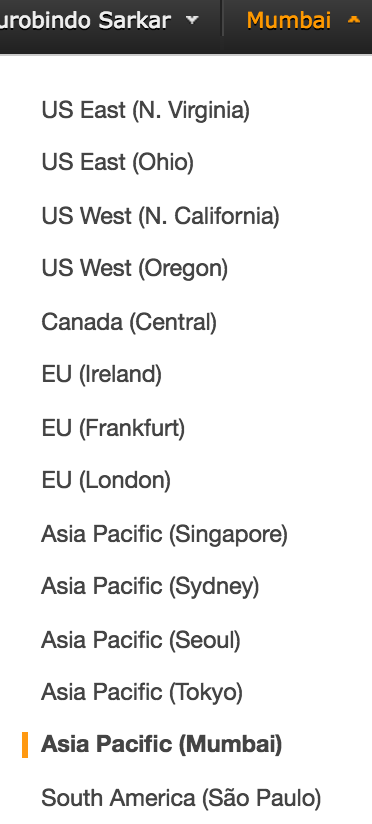
- Amazon regions: This option allows you to access the Amazon Web Services in a specific region. For example, the list of Amazon Web Services, shown earlier, were for the
Asia Pacific (Mumbai)region:
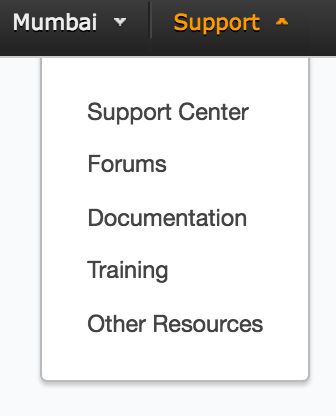
- Help: Click on the
Supportmenu (located on the title bar) to access help-related items. You can navigate to help, forums and support pages:
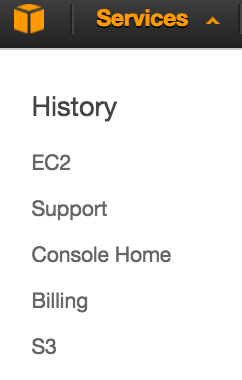
- Services: Click on the
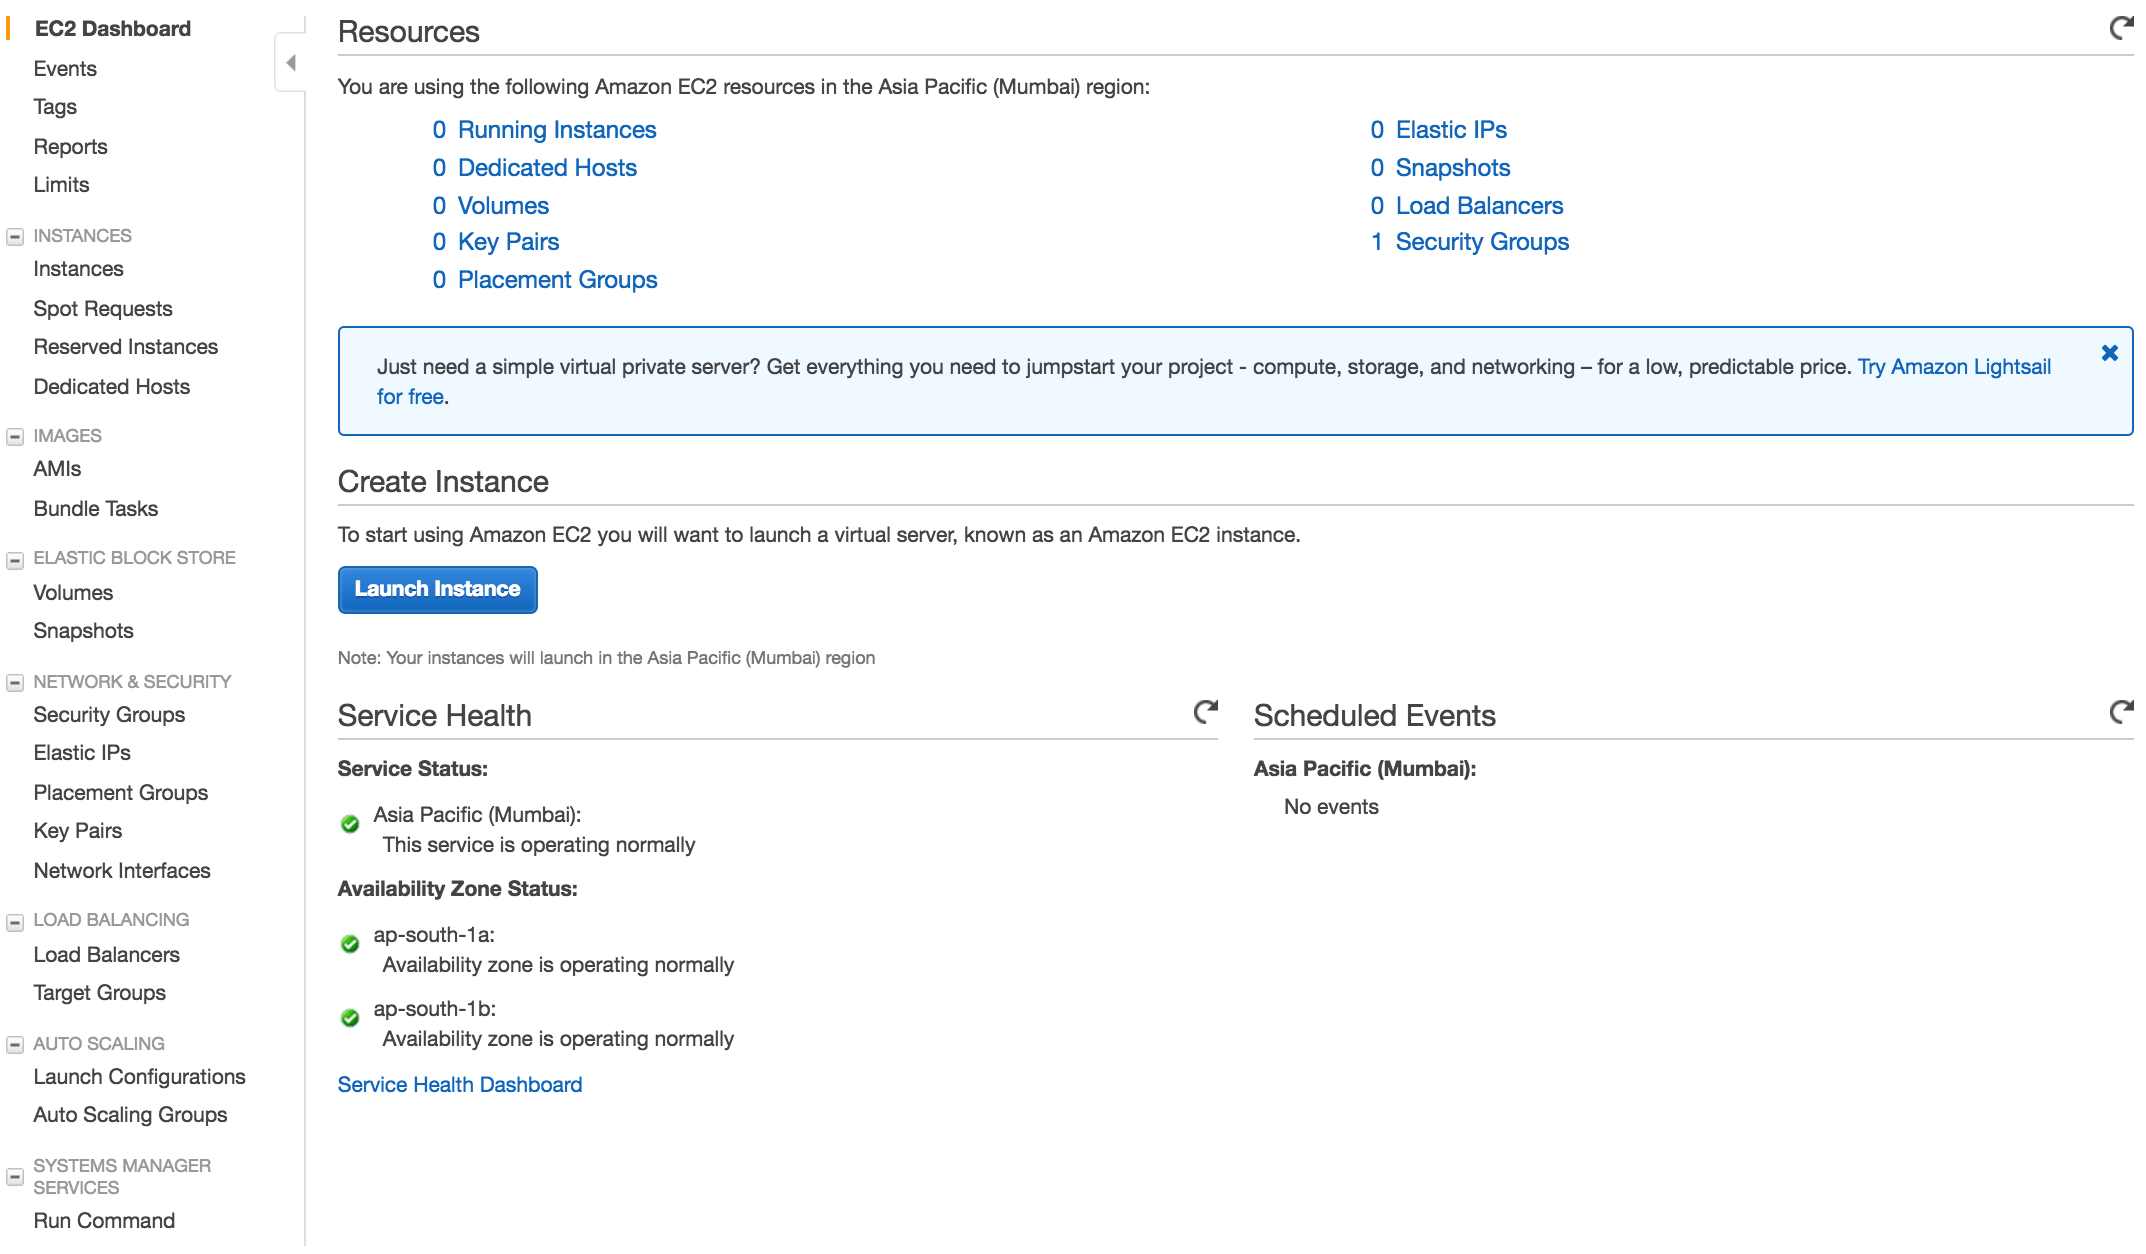
Servicesmenu (located on the title bar) to access specific dashboards. For example, click theEC2menu item to open theEC2 Dashboard:
- EC2 Dashboard: Shows the summary of EC2 resources and service health information for the region and associated Availability Zones. You can also launch a new EC2 instance from here: