


Sending text message notifications
In this recipe, we'll continue using IFTTT, but this time we are going to see how to send data along with the trigger coming from the board. This will allow us to actually send data via IFTTT. To illustrate this, we'll send data right on your phone via text messages.
Getting ready
For this recipe, you will need to have your board connected to sensors just like in the previous recipe. You will also need to connect the SMS channel to your IFTTT account:
Create a new recipe, and name the event
text_data: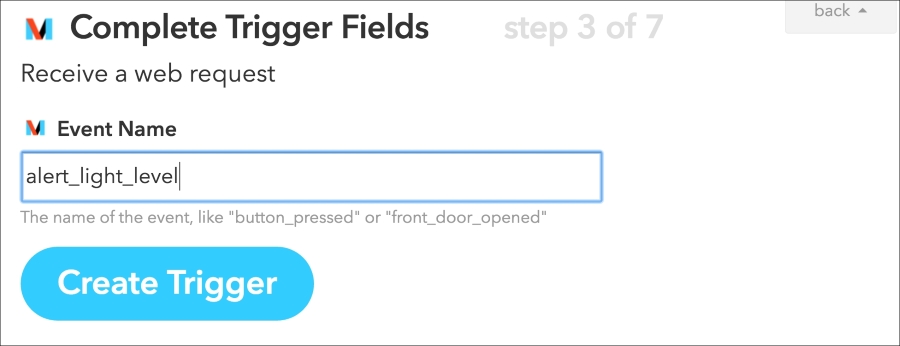
After that, select
SMSas the action channel: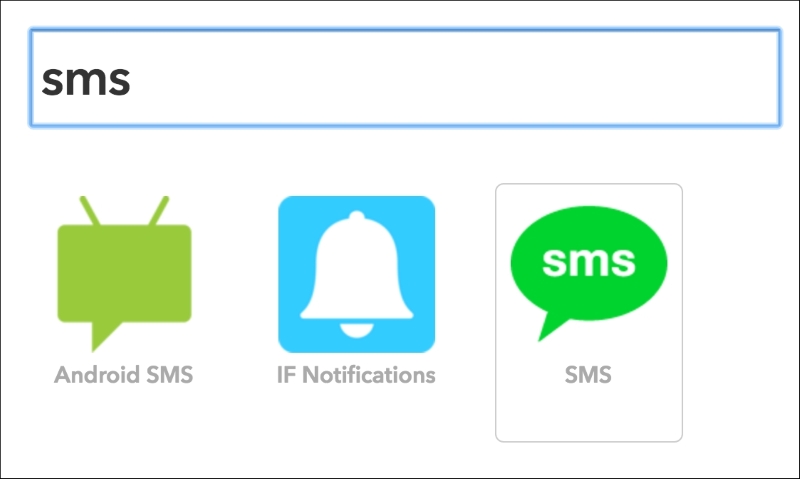
This time, we are actually going to send data with the request, and this data is available as
Value1,Value2, and so on. Therefore, this is the message we are going to use: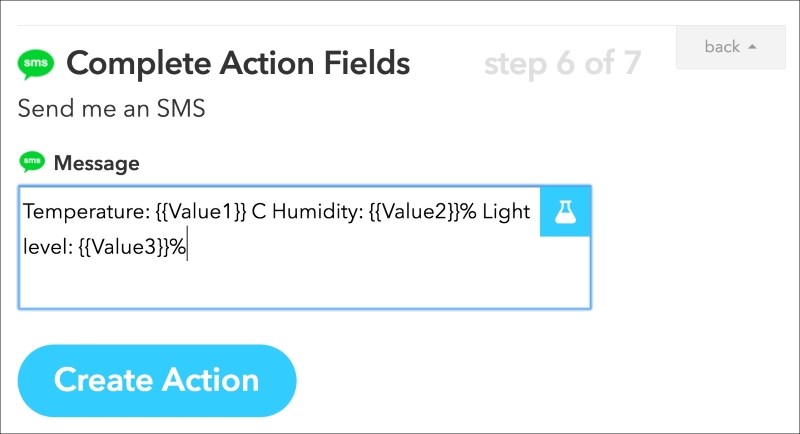
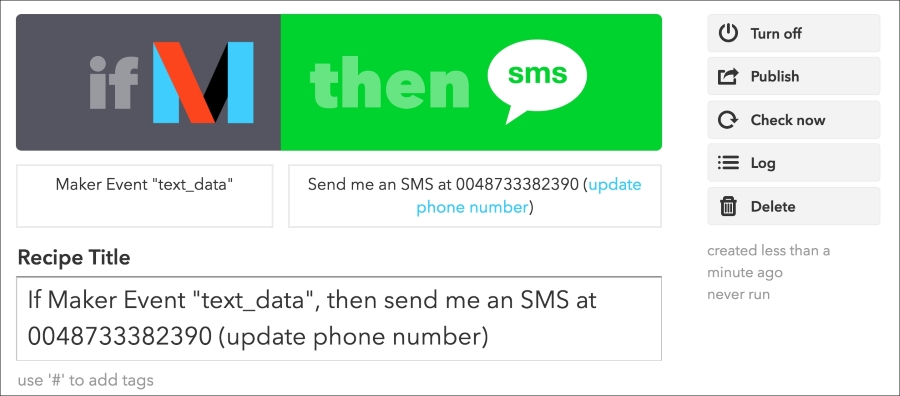
This is how the final recipe should look like:
How to do it...
Now, let's see how to configure the Arduino board. As the code is very similar to the one from the last recipe, I will only highlight the changes here.
Same as before, you need to enter your...


