


Reconnaissance tool
One of the tools that can be used to help us with reconnaissance is recon-ng. It is a framework to automate reconnaissance and discovery processes. If you are familiar with the Metasploit interface, you should feel at home when using recon-ng—the interface is modeled after the Metasploit interface.
Kali Linux has already included recon-ng version 4.7.2. If you want a newer version, you can download it from https://bitbucket.org/LaNMaSteR53/recon-ng/overview.
The recon-ng tool comes with modules for the reconnaissance and discovery processes. The following are the module categories are included in recon-ng version 4.7.2:
Reconnaissance modules
Seven Reporting modules
Two Import modules
Two Exploitation modules
Two Discovery modules
To use the recon-ng tool, you can type the following command:
# recon-ng
After running this command, you will see the recon-ng prompt. It is very similar to the Metasploit prompt:

To find out the commands supported by recon-ng, you can type help at the prompt; the following screenshot will be displayed:
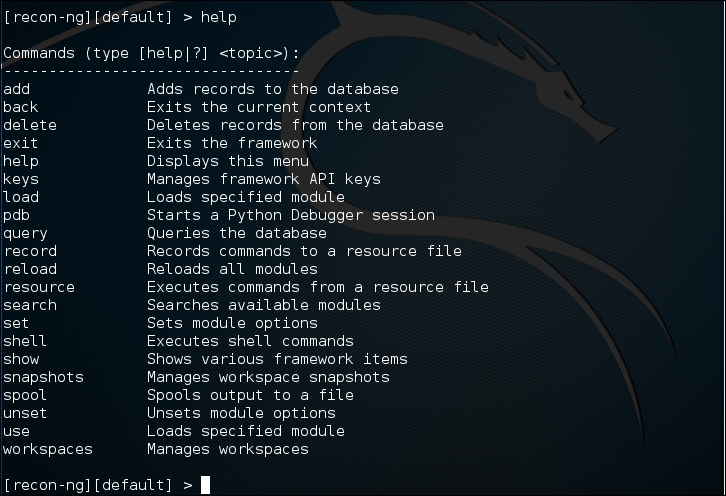
The following are several commands that you will use often:
use or load: This loads the selected modulesreload: This reloads all the modulesinfo: This displays module informationrun: This runs the selected moduleshow: This shows the various framework itemsback: This exits the current prompt level
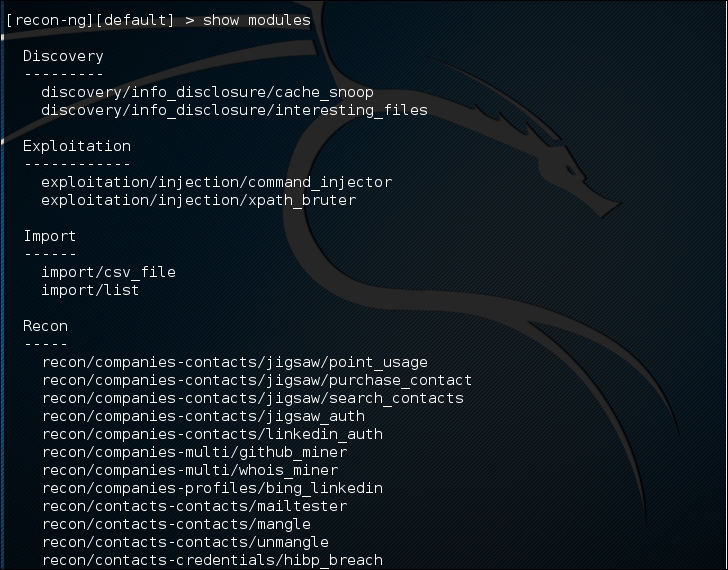
To list the available modules, you can type show modules, as shown in the following screenshot:
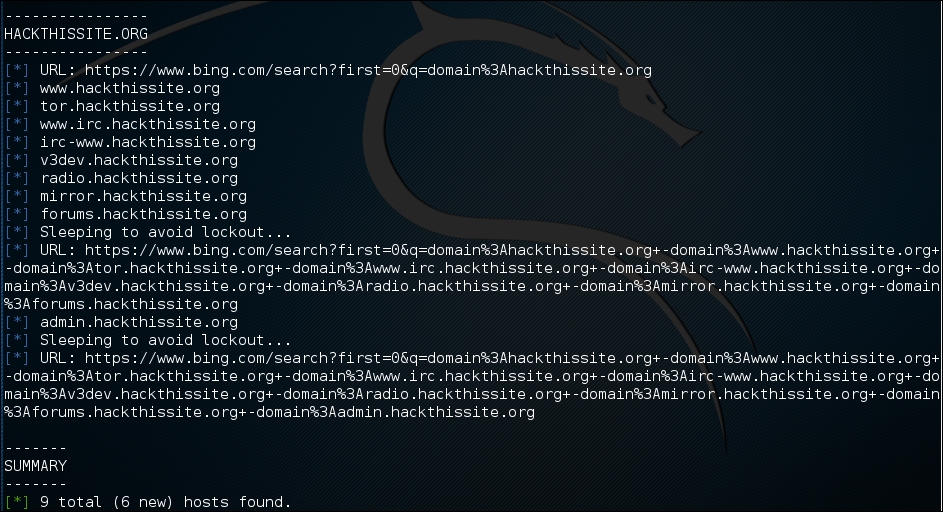
To gather information about the available hosts in a target domain, you can use the Bing search engine. First, we need to load the specific module. In this case, we are going to utilize the bing_domain_web module. Type the following:
> load recon/domains-hosts/bing_domain_web
Next we set the domain. In this case, we are going to use the domain www.hackthissite.org as our target. Type the following:
> set SOURCE hackthissite.org
Then, type this:
>run
The output shows a number of different hosts associated with the domain www.hackthissite.org:
This is just one example of recon-ng's capabilities; you can consult the recon-ng website (https://bitbucket.org/LaNMaSteR53/recon-ng/wiki/Home) to get more information about other features.
Vulnerability scanner
Kali Linux does not come with a vulnerability scanner by default. In the previous chapter, we discussed the installation and usage of the vulnerability scanner Nessus. Although it is a very powerful tool, as a penetration tester we can't rely only on one tool; we have to use several tools to give us a more thorough and complete picture of the target environment.
As an additional vulnerability scanner, we will briefly describe the NeXpose Vulnerability Scanner Community Edition from Rapid7.
NeXpose Community Edition
NeXpose Vulnerability Scanner Community Edition (NeXpose CE) is a free vulnerability scanner from Rapid7 that scans devices for vulnerabilities. It can also be integrated with the Metasploit exploit framework.
Following are several NeXpose Community Edition features:
Vulnerability scanning for up to 32 IP addresses
Regular vulnerability database updates
Ability to prioritize risk assessment
Guide to the remediation process
Integration with Metasploit
Community support at http://community.rapid7.com
Simple deployment
No-cost start-up security solution
The commercial edition of NeXpose includes additional features, such as no limitation of the IP addresses that can be scanned, distributed scanning, more flexible reporting, web and database server scanning, and technical support.
NeXpose consists of the following two main parts:
NeXpose scan engine: This performs asset discovery and vulnerability detection operations. In the community edition, there is only one local scan engine.
NeXpose security console: This console will communicate with NeXpose scan engines to start scans and retrieve scan information. The console also includes a web-based interface to configure and operate the NeXpose scan engine.
Now that we have looked at the features of NeXpose Community Edition, let's install it.
Installing NeXpose
Following are the steps that can be used to install NeXpose Community Edition in Kali Linux:
Complete the download form at http://www.rapid7.com/products/nexpose/nexpose-community.jsp. You need to provide your official e-mail address to register. After that, you will be sent an e-mail containing the license key and download instructions to get NeXpose CE.
Download the NeXpose CE installer from the location mentioned in the e-mail. As an example, I am downloading the
NeXposeSetup-Linux64.binfile for the 64-bit Linux operating system.Open a terminal, then go to the directory that contains the downloaded NeXpose installer.
Once in the folder, set permissions for the installer by typing the following:
# chmod u+x ./NexposeSetup-Linux64.binThe current version of Kali Linux 2016.1 has issues with the NeXpose Installer. As a workaround, type the following:
./NeXposeSetup-Linux64.bin -q -overwrite -Vfirstname='Nexpose' -Vlastname='VA' -Vcompany='Rapid7' -Vusername='nxadmin' -Vpassword1='nxpassword' -Vpassword2='nxpassword' -Vsys.component.typical\$Boolean=true -Vsys.component.engine\$Boolean=false -VinitService\$Boolean=false
In the command, make sure you change the first name, last name, and company, and set a proper username and password. Then hit the Enter key. The installer will take some time to run through a number of tasks.
Starting the NeXpose community
After the installation process is complete, you can start NeXpose by going to the directory containing the script that starts NeXpose. The default installation directory is /opt/rapid7/nexpose. The command for starting the NeXpose community is as follows:
# cd /opt/rapid7/nexpose/nsc
Run the following script to start NeXpose:
# ./nsc.sh
The startup process will take several minutes because NeXpose is initializing its vulnerabilities database. After this process is finished, you can log on to the NeXpose security console web interface.
If you want to install NeXpose as a daemon, you can start it automatically when the machine starts; it will continue running even if the current process user logs off. You can do this with the following steps:
Go to the directory containing the
nexposeconsole.rcfile using the following command:# cd [installation_directory]/nscOpen that file and make sure that the line containing
NXP_ROOTis set to the NeXpose installation directory.Copy that file to the
/etc/init.ddirectory and give it the desired script name, such asnexpose, using the following command:# cp [installation_directory]/nsc/nexposeconsole.rc /etc/init.d/nexposeSet the executable permission for the startup script file using the following command:
# chmod +x /etc/init.d/nexposeMake NeXpose start when the operating system starts by using the following command:
# update-rc.d nexpose defaults
# /etc/init.d/nexpose <start|stop|restart>
You can manage NeXpose to start, stop, or restart the daemon using the following command:
Logging in to the NeXpose community
Following are the steps must be performed to log in to the NeXpose community console's web interface:
Open your web browser. Then, go to this URL:
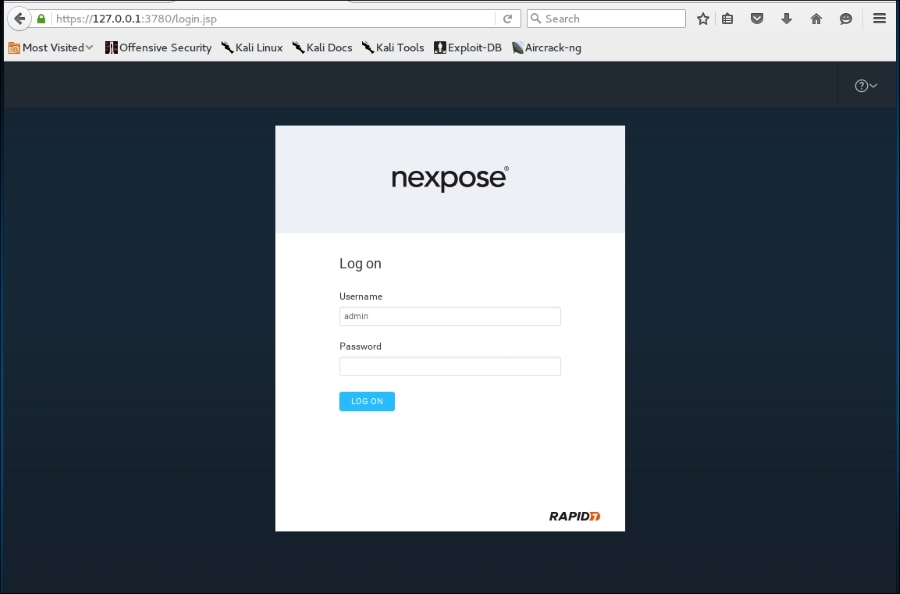
https://127.0.0.1:3780. If there are no errors, you will be greeted with the login screen. You will see the Untrusted Connection message. After verifying the certificate, you can confirm whether or not to store the exception permanently, so you will not see the error message in future.After the first login, the security console will initialize; it will also download updates from the Rapid7 server. This process will take some time.
After the initialization has finished, you can log in, using the username and password that you specified during the installation process, then click on the LOG ON button, as shown in the following screenshot:
The console will display the Activate License dialog box.
Enter the product keyin the textbox and then click on ACTIVATE WITH KEY to complete this step, as shown in the following screenshot: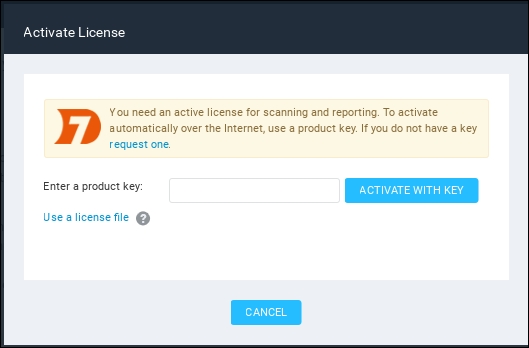
The first time you log in to the console, you will see the NeXpose news page, which lists all of the updates and improvements in the installed NeXpose system. If you can see this page, it means that you have successfully installed NeXpose Community Edition to your Kali Linux system.
Note
I found out that you may need to use the Firefox web browser instead of the Iceweasel web browser to successfully log in to the NeXpose security console. You can find references on how to install Firefox in Kali at:
http://kali4hackers.blogspot.com/2013/05/install-firefox-on-kali-linux.html
Using the NeXpose community
In our exercise, we will do a simple scan against our local network:
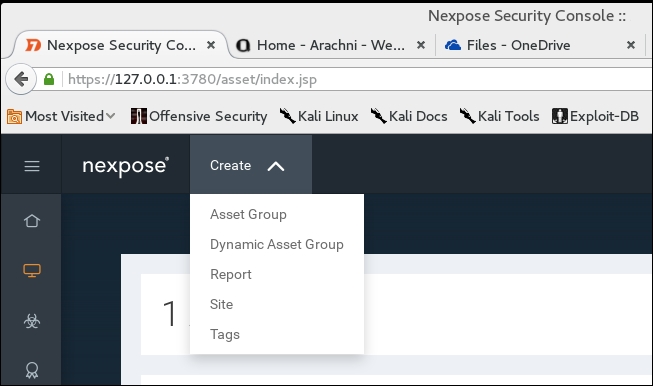
On the NeXpose dashboard, click on Home; to scan a site, click on Create Site:
We will then be brought to the General information screen where we put the particulars for our site. First, we will give our site name. In this case, our target is the
Metasploitable2system we have used in the past. We enter the name and a description, if needed:
Click the Assets tab and under the Assets area type in the IP address of the Metasploitable2 installation. Bear in mind that, in the NeXpose Community Edition, you are limited to scanning only 32 IP addresses. In this case, we use the IP address of
172.16.122.193: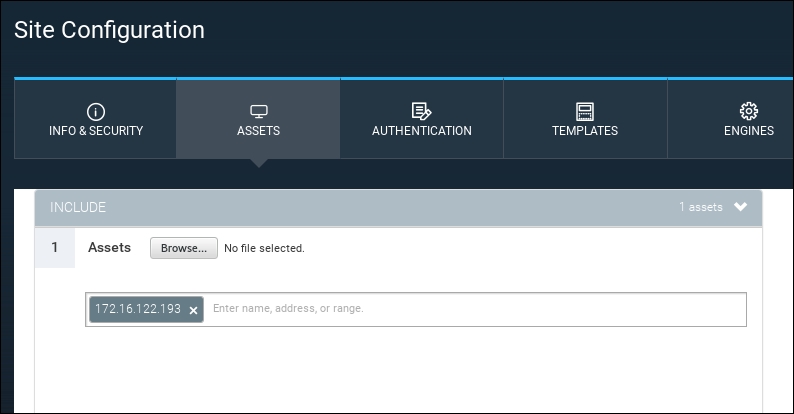
There are a number of options to tune the scan, including using credentials (which is usually reserved for vulnerability scanning as part of normal operations,) as well as the different templates for scanning. In this case, we will stick with a simple scan and simply save our configuration by hitting the Save button.
Now we can see the
Metasploitable2target under the sites section of the home page. To the right, we start our scan by clicking on the Scan icon:The scan will run and you can monitor the progress on the same screen:
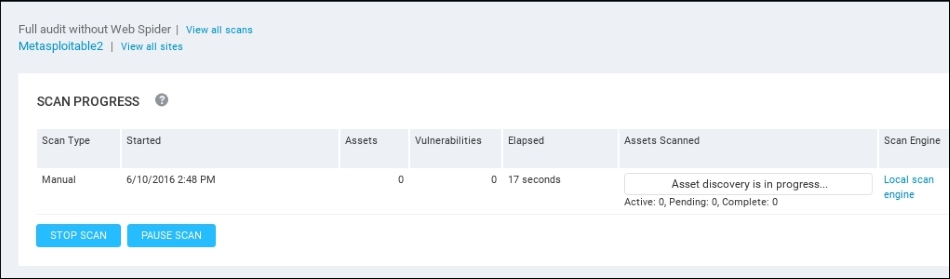
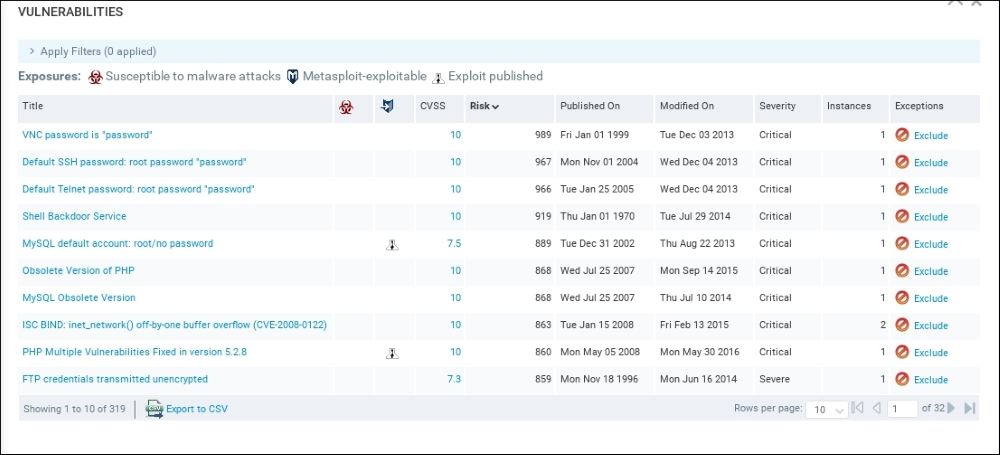
Depending on the number of hosts that are being scanned, as well as their location on the network, the scan may take several minutes. On completion of the scan, NeXpose provides some scan information. The following screenshot shows the vulnerabilities report for the target machine:
To see a detailed audit report, you need to run the Report Generator option, made accessible by clicking on Reports, on the top menu. In that screen, you are able to access the reports. The output will be a PDF, which can be included as part of the overall penetration testing report:

That's all for a very brief overview of NeXpose Community Edition. Having an additional vulnerability scanner is a good way to validate whether a finding is possibly a false positive. In the next section, we will describe two web application tools.


