How to edit animations in Blender 2.8
Making an animation in Blender with keyframes is just the first step in the production of a video. After adding and setting all keyframes, you will probably want to change the timing. Something may be moving too quickly or slowly, and you will need to change such a behavior.
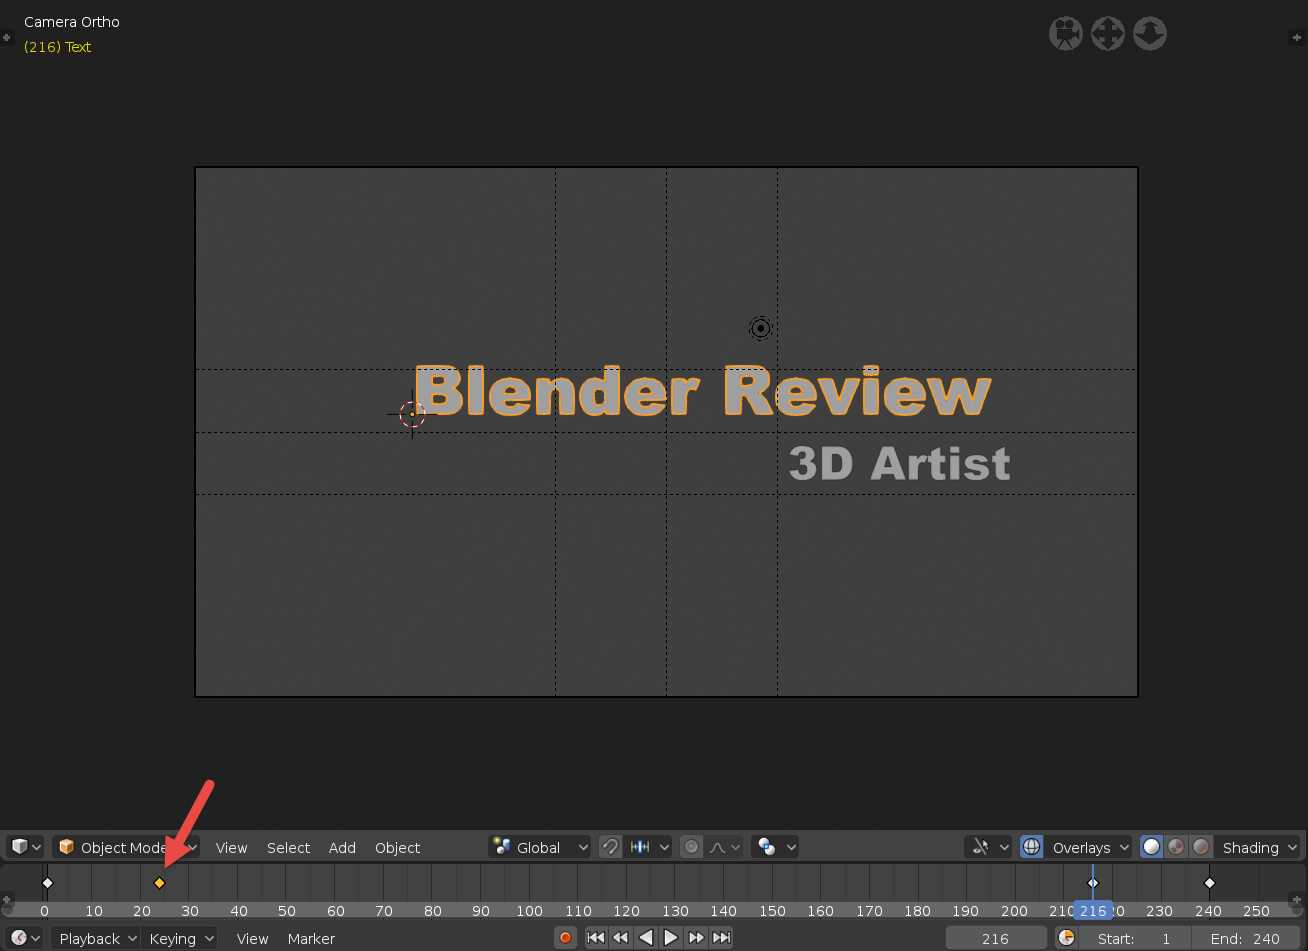
In Blender, you can change timing using the timeline window and the keyframe representation. Look at the window, and you will see that all keyframes appear as small diamond-shaped icons.
If you right-click on one of those icons, you will select a keyframe, as shown here:
Editing and moving keyframes
Once you select a keyframe, it is easy to move and edit it. There are two options for moving keyframes:
- Click and drag with the right mouse button
- Use the G key to move objects around
In the timeline window, and all other parts of Blender, you can use the same shortcut keys to manage selections:
- A key: Select all keyframes
- Alt + A keys: Deselect all keyframes
- B key: Box-select keyframes
- G key:...