Search icon CANCEL
Subscription
0
Cart icon
Your Cart (0 item)
Close icon
You have no products in your basket yet
Save more on your purchases! discount-offer-chevron-icon
Savings automatically calculated. No voucher code required.
Arrow left icon
All Products
Best Sellers
New Releases
Books
Videos
Audiobooks
Learning Hub
Newsletter Hub
Free Learning
Arrow right icon
timer SALE ENDS IN
0 Days
:
00 Hours
:
00 Minutes
:
00 Seconds
Arrow up icon
GO TO TOP
JIRA 7 Administration Cookbook

You're reading from   JIRA 7 Administration Cookbook Over 80 hands-on recipes to help you efficiently administer, customize, and extend your JIRA 7 implementation

Arrow left icon
Product type Paperback
Published in May 2016
Publisher
ISBN-13 9781785888441
Length 264 pages
Edition 2nd Edition
Languages
Tools
Arrow right icon
Author (1):
Arrow left icon
Patrick Li Patrick Li
Author Profile Icon Patrick Li
Patrick Li
Arrow right icon
View More author details
Toc

Table of Contents (15) Chapters Close

JIRA 7 Administration Cookbook - Second Edition
Credits
About the Author
About the Reviewer
www.PacktPub.com
Preface
1. JIRA Server Administration FREE CHAPTER 2. Customizing JIRA for Your Projects 3. JIRA Workflows 4. User Management 5. JIRA Security 6. E-mails and Notifications 7. Integrations with JIRA 8. JIRA Troubleshooting 9. JIRA Service Desk

Setting up a project-specific from e-mail address


By default, all notifications sent from JIRA will have the same From address, configured as a part of the outgoing mail server. However, it is possible to override this at the project level, so each project can have its own From address. This can be very useful if you want to let users reply directly to notifications, and have the reply added as a comment.

How to do it...

Proceed with the following steps to set up a project-specific From address:

  1. Browse to the project from which you want to set up a specific From address.

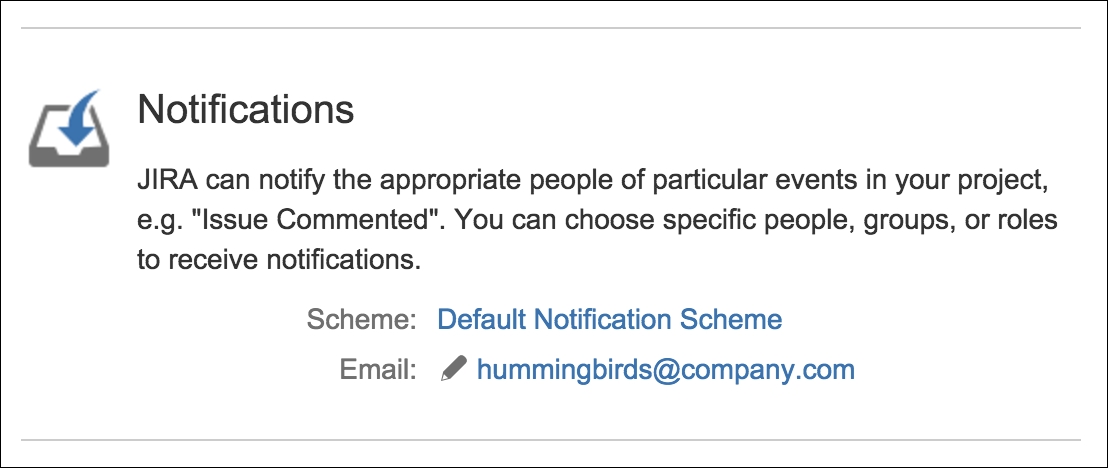
  2. Click on the Administration tab.

  3. Click on the pencil (edit) icon for the Email in Notifications section.

  4. Enter the e-mail address dedicated to the project.

  5. Click on Update to apply the changes.

Note

You can revert to the default values by leaving the field blank.

The following screenshot shows the message that is displayed after we set up a project-specific From address:

lock icon The rest of the chapter is locked
Register for a free Packt account to unlock a world of extra content!
A free Packt account unlocks extra newsletters, articles, discounted offers, and much more. Start advancing your knowledge today.
Unlock this book and the full library FREE for 7 days
Get unlimited access to 7000+ expert-authored eBooks and videos courses covering every tech area you can think of
Renews at £13.99/month. Cancel anytime
Visually different images