Setting up ThingSpeak
Now that we have setup Raspberry Pi 3, we will setup ThingSpeak.
ThingsSpeak is an IoT platform, as discussed earlier, that can collect data and help us run analytics on top of it. We will be using ThingSpeak in this example to load data into the cloud using a simple HTTP API and view the data in real time using charts.
This platform is super easy to use and the best way to get started with IoT exploration. Hence, ThingSpeak has been chosen to explore the basics.
If you are new to ThingSpeak, refer to this: https://thingspeak.com/pages/learn_more.
Creating an account
If you do not have an account already, you can visit https://thingspeak.com/users/sign_up to create one. Once you have created the account, activate it, and log in.
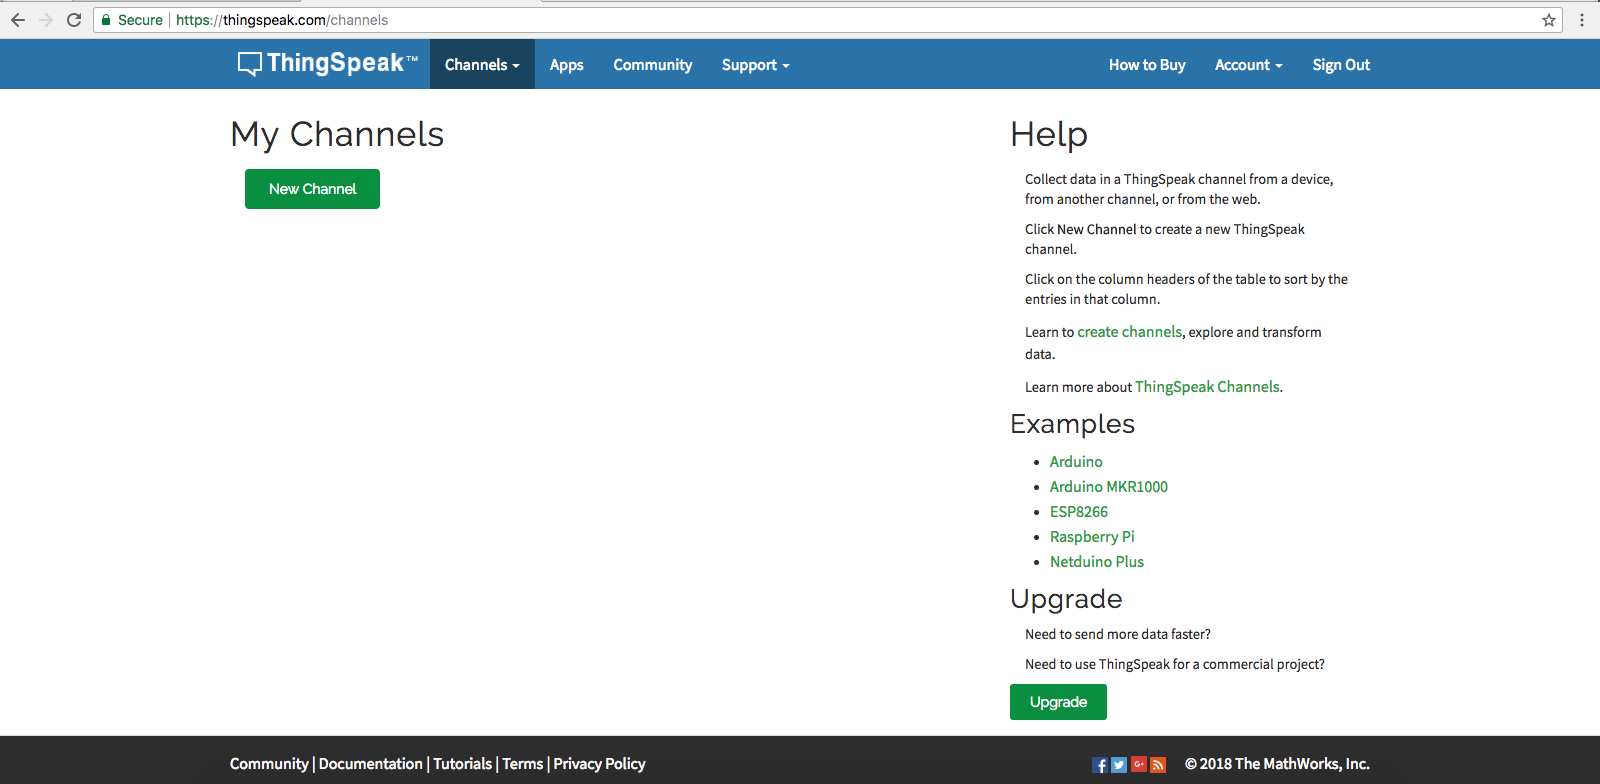
Once you have logged in, you will see an interface like this:
Creating a channel
Now we need a new channel to store all our data. From the home page, click on New Channel and fill in the form as shown here:
Field | Value |
| Pi3 DHT11 Node |
| A Raspberry... |