
Building the solution
Now that we have all the essentials set up, we will get started with the electronics.
Things needed
The things you will need for this are as follows:
- One Raspberry Pi 3: https://www.amazon.com/Raspberry-Pi-Desktop-Starter-White/dp/B01CI58722
- One breadboard: https://www.amazon.com/Solderless-Breadboard-Circuit-Circboard-Prototyping/dp/B01DDI54II
- One DHT11 sensor: https://www.amazon.com/HiLetgo-Temperature-Humidity-Arduino-Raspberry/dp/B01DKC2GQ0
- Three male-to-female jumper cables: https://www.amazon.com/RGBZONE-120pcs-Multicolored-Dupont-Breadboard/dp/B01M1IEUAF/
Note
If you are new to the world of Raspberry Pi GPIO's interfacing, take a look at Raspberry Pi GPIO Tutorial: The Basics Explained: https://www.youtube.com/watch?v=6PuK9fh3aL8.
Schematic
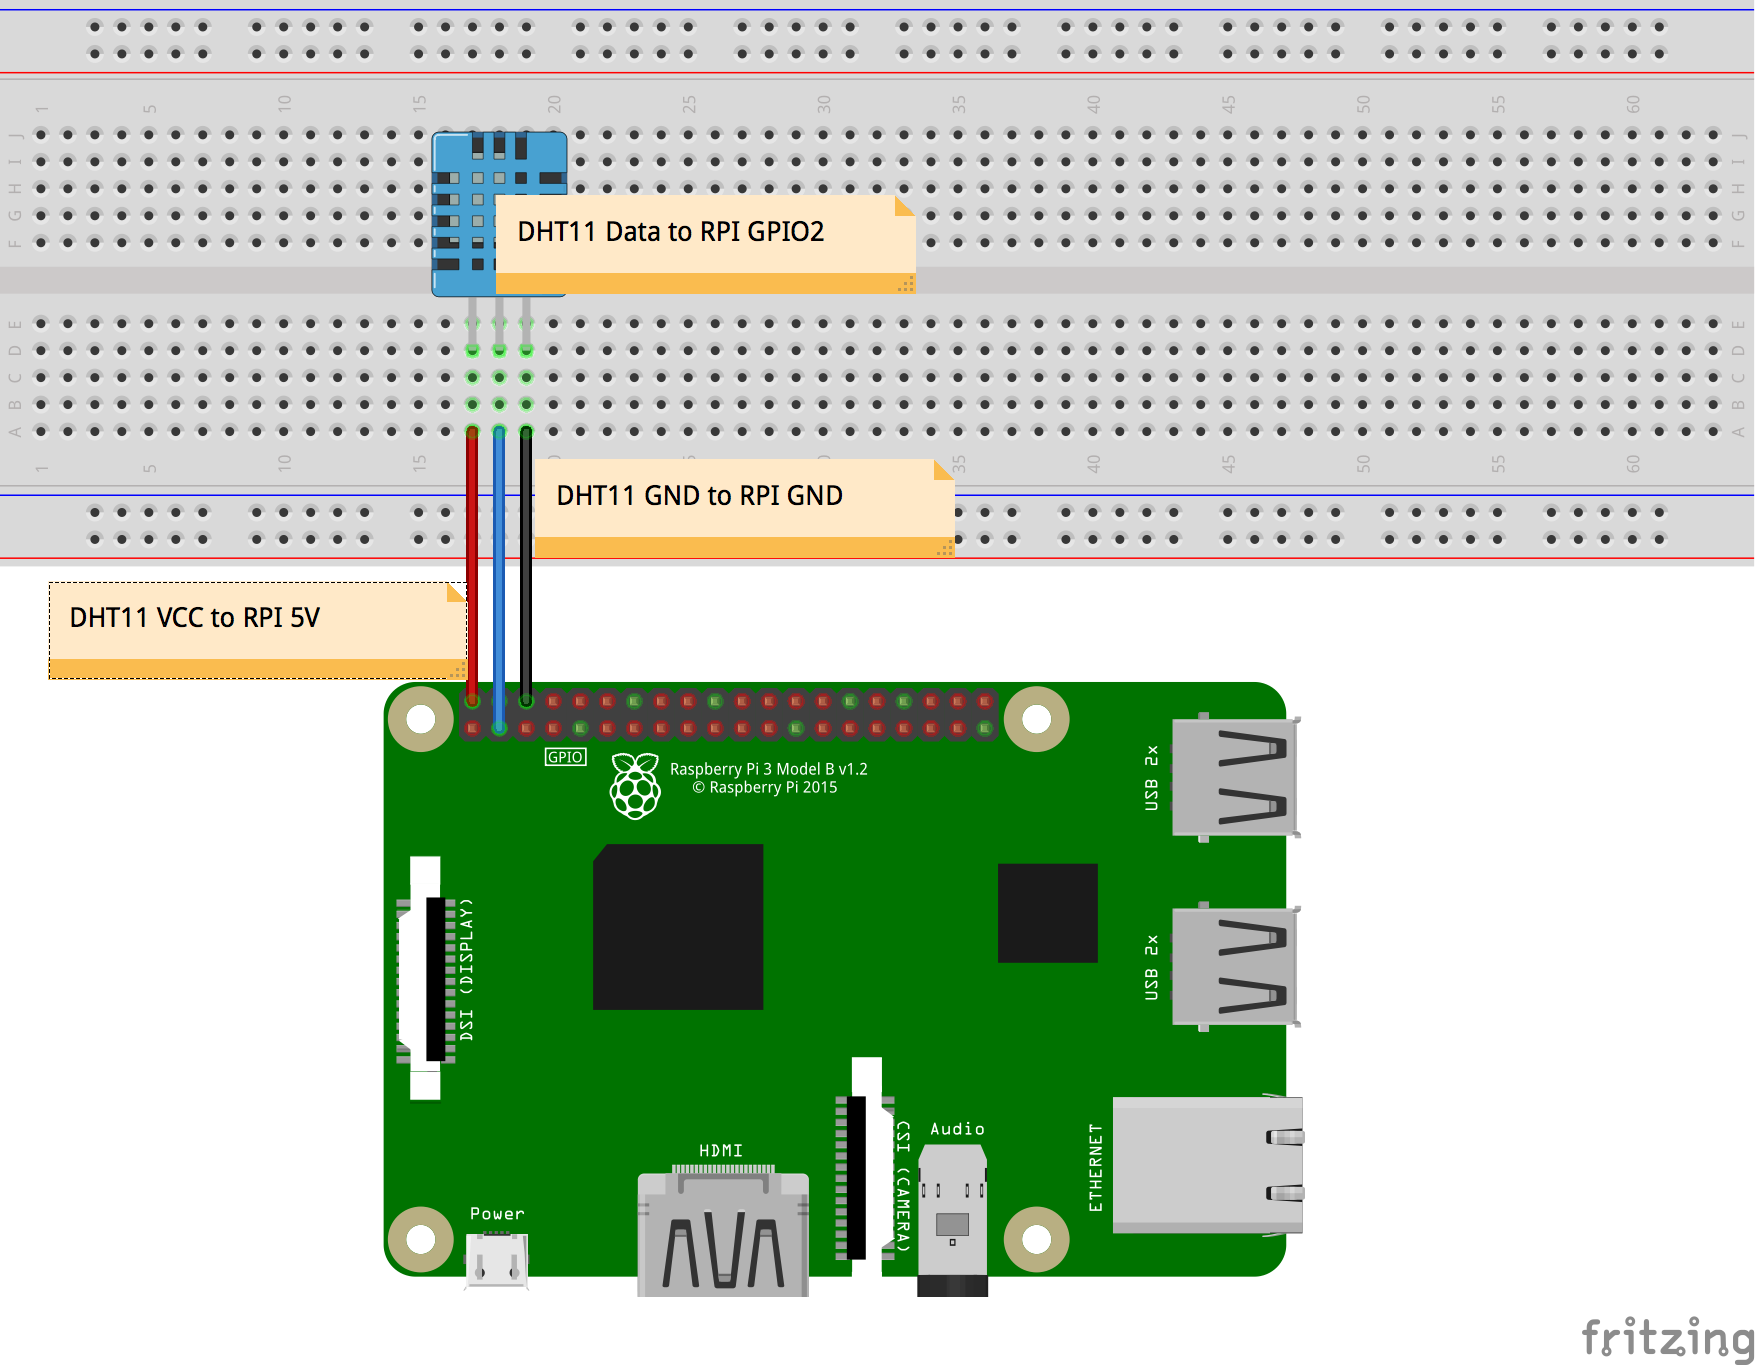
We will now set this up using the following schematic:
- Connect the Raspberry Pi 3 and DHT11 sensor as shown in the following diagram:
- Once this has been done, power on the Raspberry Pi 3 and log into it.
- Next, on the desktop of your Pi...